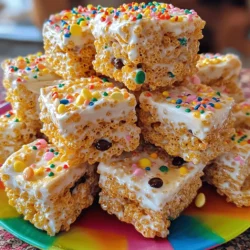
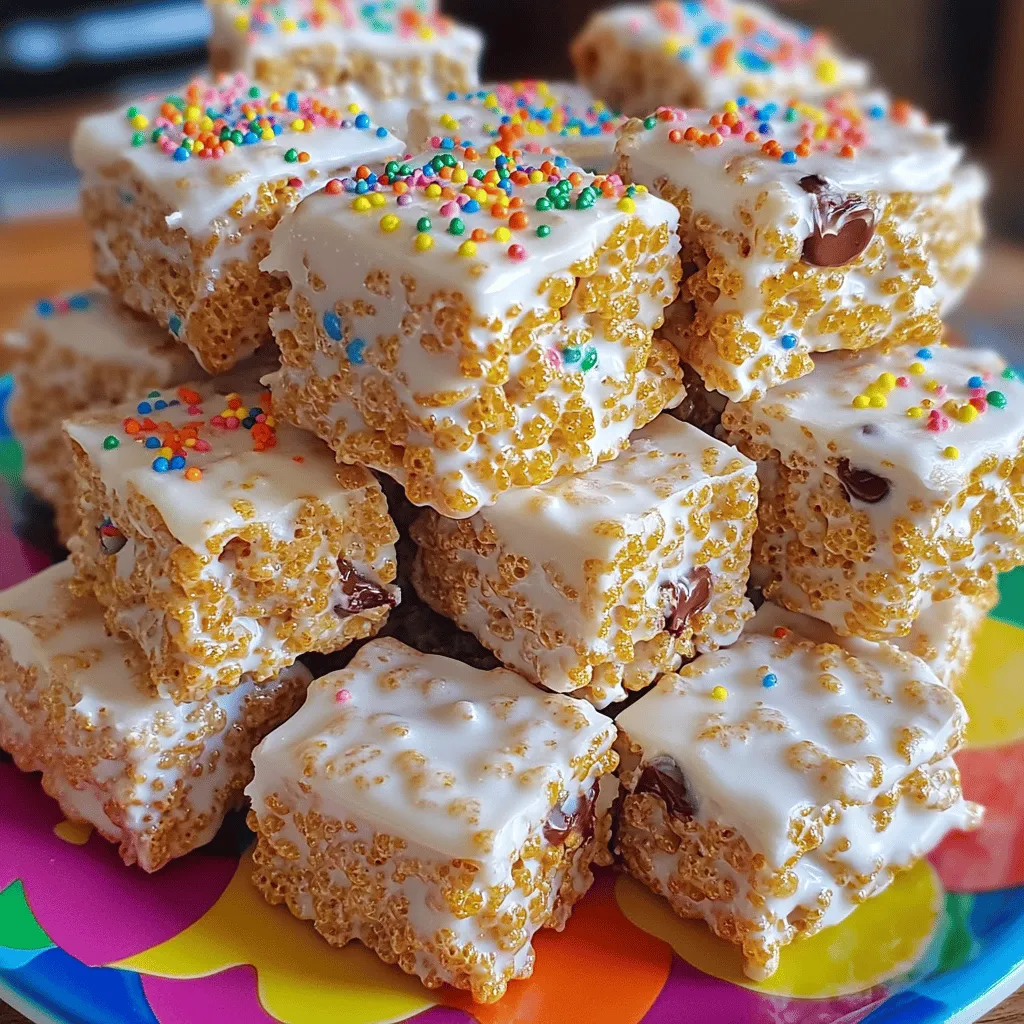
Craving a sweet, chewy bite of nostalgia? In this simple and fun recipe for Chewy Rice Krispies Treats, you’ll whip up a classic that everyone loves. With just a few easy-to-find ingredients, like mini marshmallows, butter, and peanut butter, you’ll create a delightful treat that’s perfect for any occasion. Let’s dive into the steps and tips to make your gooey, crunchy dreams come true!
Ingredients
Essential Ingredients for Chewy Rice Krispies Treats
– 6 cups Rice Krispies cereal
– 1 package (10 oz) mini marshmallows
– 3 tablespoons unsalted butter
– 1 teaspoon vanilla extract
– ½ teaspoon salt
– ½ cup peanut butter (creamy or crunchy)
– ½ cup chocolate chips (optional for added richness)
– ½ cup rainbow sprinkles (optional for a fun, colorful twist)
To make chewy Rice Krispies treats, gather these ingredients first. The Rice Krispies cereal gives the treats their signature crunch. Mini marshmallows add sweetness and help bind everything together. Unsalted butter adds richness. Vanilla extract gives a nice flavor boost. A pinch of salt balances the sweetness. Peanut butter adds a creamy texture and flavor that I love.
Feel free to add optional mix-ins like chocolate chips or rainbow sprinkles. They can make your treats extra fun and tasty. The mix-ins are a great way to customize your treats. You can adjust these ingredients to suit your taste.
Step-by-Step Instructions
Preparation Process
1. Melting the butter
Start with a large saucepan on low heat. Add 3 tablespoons of unsalted butter. Stir until it melts completely. This should take about 2-3 minutes. Watch closely to avoid burning.
2. Incorporating marshmallows
Once the butter is melted, add 10 oz of mini marshmallows. Keep stirring until they melt and blend smoothly. This takes about 3-5 minutes. You want a glossy mixture.
3. Mixing in peanut butter and vanilla
Remove the pan from heat. Quickly add ½ cup of peanut butter. Stir until it blends well. Then, add 1 teaspoon of vanilla extract and ½ teaspoon of salt. Mix until fully combined.
4. Coating the Rice Krispies cereal
In a large bowl, pour the melted mixture over 6 cups of Rice Krispies cereal. Gently fold the cereal into the gooey mixture. Make sure each piece is well-coated.
Finalizing the Treats
1. Folding in optional ingredients
If you want, fold in ½ cup of chocolate chips or ½ cup of rainbow sprinkles. This adds fun flavors and textures to your treats.
2. Preparing the baking pan
Take a 9×13 inch baking pan. Grease it with butter or cooking spray. Make sure to coat the sides well. This helps in removing the treats later.
3. Pressing the mixture evenly
Transfer the Rice Krispies mixture into the greased pan. Use a spatula or your dampened hands to press it down firmly. Make sure to pack it tightly into the corners.
Cooling and Serving
1. Setting time recommendations
Allow the treats to cool at room temperature for about 30 minutes. This helps them set nicely.
2. Cutting the treats into squares
Once cooled, cut the treats into squares or rectangles. You can choose your preferred size. Enjoy your delicious Chewy Rice Krispies Treats!
Tips & Tricks
Achieving the Perfect Chewy Texture
To get that perfect chewy texture, focus on the marshmallow-to-cereal ratio. Use 10 oz of mini marshmallows for 6 cups of Rice Krispies. This keeps your treats soft and gooey. Greasing the pan is also key. Use butter or cooking spray. Make sure you coat the sides well. This helps the treats come out easily.
Avoiding Common Mistakes
One big mistake is overheating the marshmallow mixture. Keep the heat low and stir often. This prevents burning and keeps the mix smooth. Another common error is not packing the mixture tightly. When you press it into the pan, use your damp hands or a spatula. This helps to create nice, firm squares that hold together well.
Enhancements for Flavor
To make your treats even more fun, try different nut butters. Almond or cashew butter can add unique flavors. You can also use flavored extracts. A drop of almond or coconut extract can take your treats to the next level. Mix and match to find your favorite flavors.
Variations
Flavorful Additions
You can easily change up your Chewy Rice Krispies Treats by adding fun flavors. One tasty option is Nutella Rice Krispies Treats. Just add a generous swirl of Nutella when mixing in the marshmallows. This chocolate hazelnut addition gives a rich and creamy twist.
Another fun idea is a S’mores version. Mix in crushed graham crackers and mini chocolate chips. This will give your treats a crunchy texture and a sweet flavor. The addition of melted chocolate on top will enhance that classic campfire taste.
Dietary Modifications
If you need gluten-free treats, use gluten-free Rice Krispies cereal. Check the label to make sure it meets your needs. This way, everyone can enjoy a chewy snack.
For a vegan option, swap the butter for coconut oil. Use vegan marshmallows in place of regular ones. This makes a tasty treat that fits many diets and keeps everyone happy at the table.
Seasonal Themes
You can make your treats festive for different seasons. For holidays, use colored marshmallows to match the theme. Pink and red are great for Valentine’s Day, while green and red work for Christmas.
Adding festive sprinkles also brings fun to parties. Use them on top or mix them in for a surprise. This small touch turns a simple treat into a celebration.
Storage Info
Best Practices for Storing Treats
To keep your chewy Rice Krispies Treats fresh, follow these steps:
– Optimal storage conditions: Store treats in a cool, dry place. Avoid heat and direct sunlight.
– Using airtight containers: Use a sturdy airtight container. This helps maintain moisture and prevents them from hardening.
Shelf Life
How long do chewy Rice Krispies Treats last?
Chewy Rice Krispies Treats stay fresh for about 3 to 5 days at room temperature. If you want to keep them longer, consider freezing them.
Freezing Tips
How do I freeze and thaw treats?
– Process for freezing: Cut the treats into squares before freezing. Wrap each square in plastic wrap, then place them in a freezer bag. This prevents freezer burn.
– Thawing: To thaw, remove the treats from the freezer. Let them sit at room temperature for about 15-20 minutes before enjoying. They will taste just as good as fresh!
FAQs
How do I make sure my Rice Krispies Treats are chewy?
To make chewy Rice Krispies Treats, focus on the marshmallow-to-cereal ratio. Use 6 cups of Rice Krispies for one package of mini marshmallows. This ratio keeps the treats soft and chewy. Adding peanut butter also adds richness and helps with chewiness. Avoid overcooking the marshmallows. Stir them just until melted. If they get too hot, they will harden.
Can I use different types of cereal?
Yes! You can use many types of cereal. Try fruity cereals for a fun twist. Cornflakes or Cocoa Krispies can also work well. Just remember to keep the same amount. This way, your treats stay balanced. Mix and match for a unique flavor. Get creative and have fun!
What should I do if my mixture is too sticky?
If your mixture is too sticky, try greasing your hands and tools. Use butter or cooking spray to help. This will make it easier to handle. You can also let the mixture cool a bit before pressing it into the pan. If it stays sticky, you might need to add a bit more cereal to balance it out.
How can I make Rice Krispies Treats without peanut butter?
You can easily skip the peanut butter. Just follow the main recipe without it. Your treats will still taste great. For added flavor, try using almond butter or sunbutter. You can also add extra marshmallows for a sweeter taste. If you want, include chocolate chips or nuts for extra crunch.
Making chewy Rice Krispies Treats is simple and fun. You need basic ingredients like Rice Krispies cereal, marshmallows, and butter. Follow clear steps to melt, mix, and cool your treats. Remember to use the right ratios for a chewy texture and avoid common mistakes, like overheating marshmallows.
With options for flavor and seasonal themes, you can personalize your treats. Store them in airtight containers for freshness. Now you can enjoy or share these delightful snacks anytime!