
Are you ready to indulge in the warm, gooey delight of homemade cinnamon rolls? In this simple and delicious recipe, I’ll guide you through each step—from mixing the dough to achieving that perfect swirl. With just a few basic ingredients, you’ll create a tempting treat that fills your kitchen with the sweet scent of cinnamon. Let’s get baking and make your brunch unforgettable!
Ingredients
List of Ingredients
– 4 cups all-purpose flour
– 1 cup whole milk
– 1/2 cup granulated sugar
– 1/4 cup unsalted butter (softened)
– 2 large eggs
– 1 packet instant yeast
– 1 teaspoon salt
– 1 tablespoon ground cinnamon
– 1/2 cup packed brown sugar
– 1/4 cup unsalted butter (melted for filling)
– 1 cup powdered sugar (for frosting)
– 2-3 tablespoons milk (for frosting)
– 1 teaspoon vanilla extract (for frosting)
To make the best homemade cinnamon rolls, you need these simple ingredients. Start with all-purpose flour for the dough. Whole milk helps the dough stay soft and moist. Granulated sugar adds sweetness, while softened unsalted butter gives richness.
Using two large eggs adds structure and helps rise the dough. Instant yeast is key for quick rising. Salt gives flavor, while ground cinnamon brings that classic taste we love.
For the filling, packed brown sugar adds depth. Melted butter helps the filling stick and adds flavor. We finish with a frosting made from powdered sugar, a splash of milk, and vanilla extract for sweetness.
This list covers everything you need for heavenly homemade cinnamon rolls. With these ingredients, you can create a treat that delights everyone.
Step-by-Step Instructions
Preparing the Dough
– Step 1: Mix warm milk, sugar, and butter in a large bowl. Stir well until the butter melts.
– Step 2: Add the eggs and yeast. Mix until everything blends well.
– Step 3: Gradually add flour and salt. Stir until a soft dough forms.
Kneading and Rising
– Step 4: Knead the dough for 7-10 minutes. The dough should feel smooth and elastic.
– Step 5: Place the dough in a greased bowl. Cover it and let it rise until it doubles in size, about one hour.
Shaping and Baking
– Step 6: Roll out the dough into a rectangle. Brush it with melted butter, then sprinkle brown sugar and cinnamon evenly.
– Step 7: Starting from one edge, roll the dough tightly into a log. Slice it into 1-inch pieces. Let them rise again for 30-45 minutes.
– Step 8: Preheat your oven to 350°F (175°C). Bake the rolls for 25-30 minutes until golden brown.
Tips & Tricks
Perfecting the Dough
To make great cinnamon rolls, start with warm milk. The milk should be about 110°F. This warmth helps activate the yeast. If the milk is too cold, the yeast may not rise properly. If the dough is too sticky, add a little more flour. You want a soft, slightly tacky dough.
Baking Recommendations
Watch the baking time closely. Overbaking can dry out the rolls. They should be golden brown on top. Rotate the baking dish halfway through baking. This ensures even cooking and helps all rolls bake perfectly.
Frosting Tips
To get the right frosting consistency, adjust the milk. Start with two tablespoons and add more if needed. Drizzle the frosting while the rolls are still warm. This allows the frosting to soak in and makes each bite extra delicious.
Variations
Flavor Additions
You can make your cinnamon rolls even better by adding extras. Here are two great ways to do that:
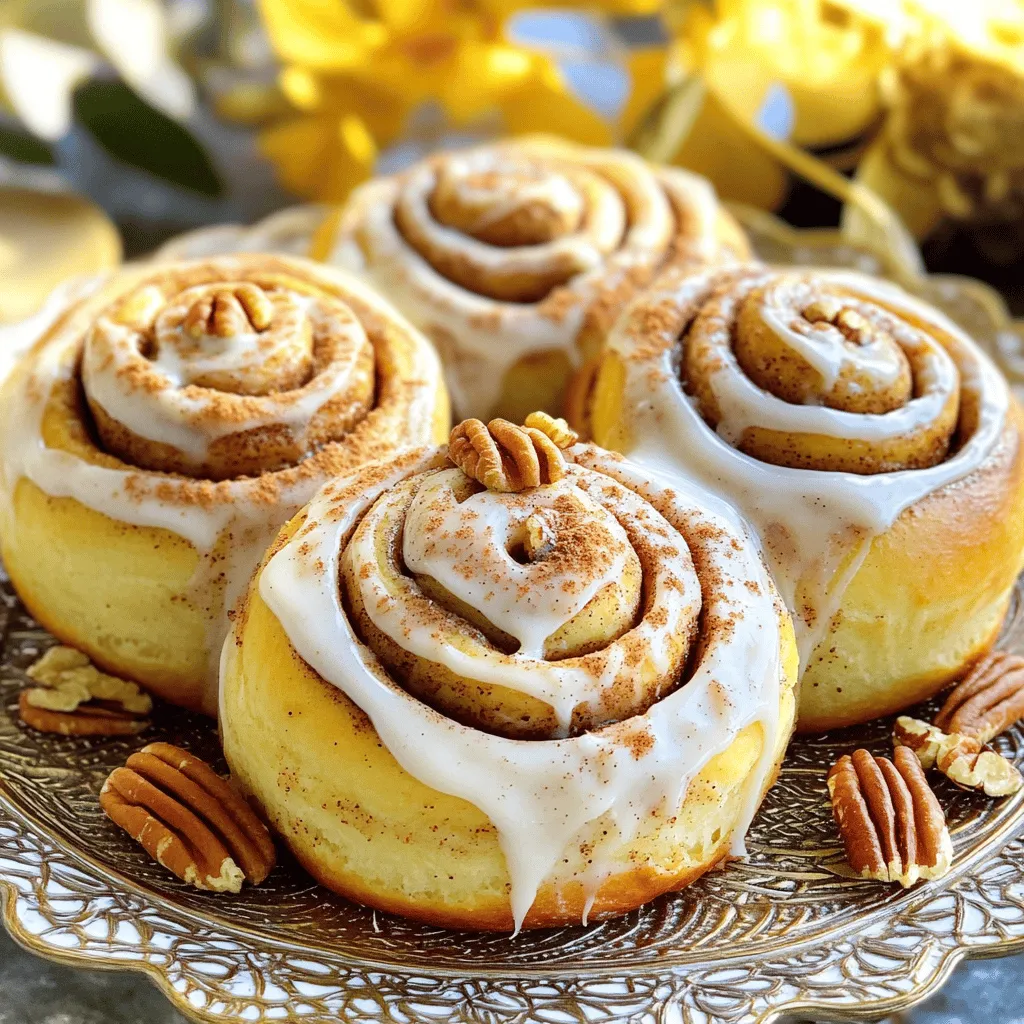
– Nuts: Adding chopped pecans or walnuts can give a nice crunch. Just sprinkle them in with the brown sugar and cinnamon. They add a rich, nutty flavor that pairs well with the sweet rolls.
– Fruit Filling: Try using fruit, like apples or berries. You can mix them with the filling for a fresh twist. A cream cheese topping also works well, adding a creamy, tangy taste that balances the sweetness.
Dietary Adaptations
If you need to change the recipe for specific diets, here are some options:
– Gluten-Free: You can use gluten-free flour blends instead of all-purpose flour. Just make sure to check that your blend is suitable for baking.
– Vegan Substitutions: Replace butter with a plant-based option. Use almond or oat milk instead of regular milk. This way, everyone can enjoy warm, delicious rolls.
Serving Suggestions
How you serve these rolls can make them even more delightful. Here are a couple of ideas:
– Fresh Fruit: Serve your cinnamon rolls with a side of fresh fruit. Berries, oranges, or even sliced apples can add a refreshing touch.
– Coffee or Tea: Pairing your rolls with coffee or tea makes for a cozy brunch. The warmth of the drink complements the sweet rolls perfectly.Enjoy experimenting with these variations!
Storage Info
Storing Leftovers
To keep your cinnamon rolls fresh, place them in an airtight container. This will help lock in moisture. If you don’t have a container, you can wrap them tightly in plastic wrap. Store them at room temperature for up to three days. For longer storage, keep them in the fridge. Just remember to allow them to cool completely before placing them in the fridge. This will help prevent condensation.
Reheating Instructions
To reheat your cinnamon rolls, the oven works best. Preheat it to 350°F (175°C). Place the rolls on a baking sheet and cover with foil. Heat for about 10-15 minutes. This keeps them soft and warm. If you are in a hurry, you can use the microwave. Place a roll on a plate and cover it with a damp paper towel. Heat for about 15-20 seconds. This method is quick but may not keep the texture as good as the oven.
Freezing Options
You can freeze your cinnamon rolls for later enjoyment! Just make sure they are completely cool before freezing. Wrap each roll in plastic wrap and then place them in a freezer-safe bag. They can stay in the freezer for up to three months. When you are ready to enjoy them, remove the rolls from the freezer. Thaw them in the fridge overnight. To reheat, follow the instructions above to restore their soft, gooey goodness.
FAQs
Common Questions
How long do cinnamon rolls last?
Cinnamon rolls can last for about 2 to 3 days at room temperature. Store them in an airtight container to keep them fresh. For longer storage, place them in the fridge for up to a week.
Can I make the dough ahead of time?
Yes, you can make the dough ahead. After mixing, let it rise once, then punch it down. Wrap it tightly and store it in the fridge for up to 24 hours. When ready, let it come to room temperature before rolling it out.
What can I use instead of instant yeast?
You can use active dry yeast instead of instant yeast. Just be sure to activate it in warm water for about 5 to 10 minutes before adding it to the dough mixture.
Troubleshooting Tips
Why are my rolls dense?
Dense rolls may come from using old yeast or not allowing the dough to rise enough. Make sure your yeast is fresh and give the dough enough time to puff up.
How to fix undercooked rolls?
If your rolls are undercooked, return them to the oven right away. Bake them at 350°F for an extra 5 to 10 minutes. Check for a golden-brown color and a soft texture.
General Cinnamon Roll Queries
What is the best way to serve cinnamon rolls?
Serve cinnamon rolls warm on a plate. Drizzle with frosting for extra sweetness. You can also add nuts or a sprinkle of cinnamon on top for flavor and crunch.
Can I use bread flour instead of all-purpose flour?
Yes, you can use bread flour. It makes the rolls chewier and adds a nice texture. Just note that you may need to adjust the amount of liquid in the recipe slightly.Enjoy your baking!
In this blog post, we’ve explored how to make delicious cinnamon rolls from scratch. We covered the key ingredients, step-by-step instructions, and helpful tips. You can enhance your rolls with fills or toppings and adapt recipes for diet needs. Storing and reheating information ensures your rolls stay tasty. Baking can be fun and rewarding, so don’t shy away from experimenting. Enjoy the process, and treat yourself and others to these sweet delights. Happy baking!


