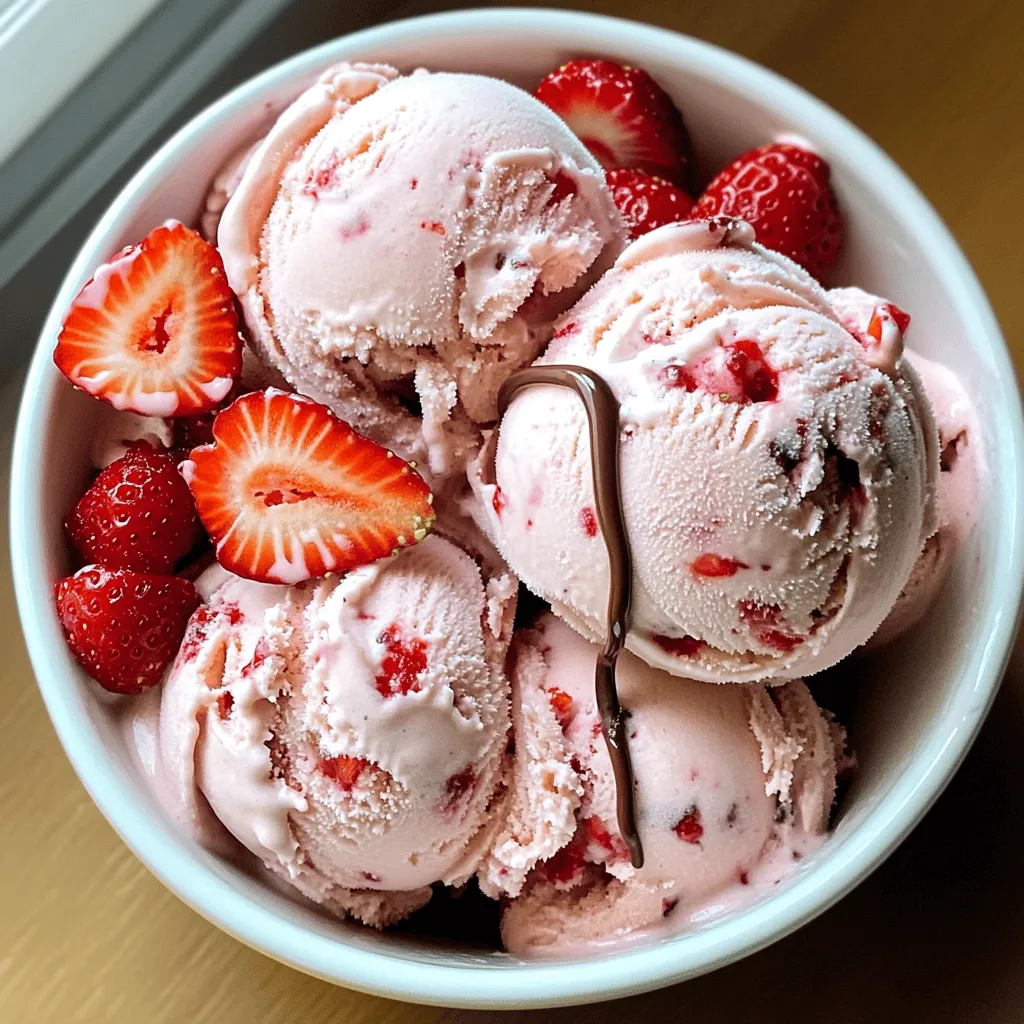
Are you ready to indulge in a bowl of creamy, homemade strawberry ice cream? This recipe is fresh, simple, and perfect for any occasion. Using just a few easy ingredients, you can craft a delightful treat that beats store-bought ice cream every time. Join me as I guide you through each step, share tips for perfect texture, and explore fun variations to try. Let’s take your ice cream game to the next level!
Ingredients
Fresh Ingredients for Homemade Strawberry Ice Cream
To make the best homemade strawberry ice cream, you need fresh, quality ingredients. The stars of this show are strawberries. Choose ripe, juicy strawberries for the best flavor. Here’s a quick list of what you’ll need:
– 2 cups fresh strawberries, hulled and sliced
– 1 cup granulated sugar, divided
– 1 cup whole milk
– 2 cups heavy cream
– 1 teaspoon vanilla extract
– A pinch of salt
Measurement Details
Getting the right measurements is key in ice cream making. Here’s a breakdown:
– Use 2 cups of fresh strawberries. This gives you a strong strawberry flavor.
– Split the sugar into two parts: 1/2 cup for the strawberries and 1/2 cup for the cream base.
– For the cream base, use 1 cup of whole milk and 2 cups of heavy cream.
– Add 1 teaspoon of vanilla extract and a pinch of salt to enhance the taste.
Key Ingredients and Substitutes
If you can’t find fresh strawberries, you can use frozen ones. Just thaw them first. Need dairy-free options? Substitute whole milk and heavy cream with coconut milk or almond milk. For a sweeter taste, you can use honey or agave syrup instead of sugar. Just keep in mind that the texture might change a bit.
Step-by-Step Instructions
Preparing the Strawberries
First, wash and hull the strawberries. This means removing the green tops and any bad spots. Slice them into small pieces. In a medium bowl, mix the sliced strawberries with half a cup of granulated sugar. Toss them gently to coat. Let them sit for about 30 minutes. This step is called maceration. It helps release the sweet juices and boosts the flavor. After they sit, lightly mash the strawberries with a fork or potato masher. You want some chunks for texture. Set the mashed strawberries aside for later.
Making the Cream Base
In a large mixing bowl, combine the remaining half cup of sugar with one cup of whole milk. Add two cups of heavy cream, one teaspoon of vanilla extract, and a pinch of salt. Whisk the mixture well until the sugar dissolves completely. This creates a smooth and rich base for your ice cream. Now, gently stir in the mashed strawberries and their juices. Make sure everything is mixed well. This ensures you get that fruity flavor in every scoop.
Churning and Freezing Process
Next, pour the strawberry-cream mixture into your ice cream maker. Follow the manufacturer’s instructions for churning. This usually takes about 20 to 25 minutes. You want the ice cream to reach a soft serve consistency. Once it’s done churning, transfer the ice cream into an airtight container. Smooth the top with a spatula. Freeze it for at least 2 to 4 hours. This will help it firm up. Before serving, let the ice cream sit out for a few minutes. This will soften it just enough to scoop easily.
Tips & Tricks
Common Mistakes to Avoid
When you make homemade strawberry ice cream, some errors can ruin your treat. Here are a few to watch out for:
– Skipping the maceration step: This step brings out the best strawberry flavor.
– Not measuring your sugar accurately: Too much or too little can change the taste.
– Over-churning the ice cream: This makes it icy instead of creamy. Stop when it’s soft serve.
– Serving too soon: Ice cream needs time to freeze after churning. Be patient!
Techniques for Perfect Texture
Getting the right texture is key for great ice cream. Here are my favorite techniques:
– Use whole milk and heavy cream: This combo creates creaminess.
– Mash the strawberries lightly: Keep some chunks for a better mouthfeel.
– Churn at the right speed: Follow your ice cream maker’s guide for the best results.
– Freeze in a shallow container: This helps the ice cream firm up evenly.
Enhancing Flavor and Sweetness
You can boost the flavor and sweetness of your ice cream using simple tips:
– Use ripe strawberries: They are sweeter and have more flavor.
– Add a splash of lemon juice: This brightens the strawberry taste.
– Experiment with sweeteners: Try honey or agave for a different twist.
– Mix in extras: Consider adding chocolate chips or crushed cookies for fun textures.
Variations
Dairy-Free Strawberry Ice Cream
You can make a dairy-free version of strawberry ice cream. Use coconut milk or almond milk instead of whole milk and heavy cream. These options provide a creamy texture. Choose full-fat coconut milk for the best results. This will give your ice cream a rich taste.
Vegan Alternative Options
For a vegan treat, replace the sugar with maple syrup or agave nectar. These sweeteners are plant-based and work well with strawberries. You can also try using a vegan cream substitute. There are many brands that offer plant-based creams. They will help you create a smooth and creamy base. Just remember to check for vegan labels.
Flavor Additions and Mix-Ins
Get creative with your ice cream! You can add extra flavors to the base. Try mixing in crushed cookies, chocolate chips, or even nuts. Fresh herbs like mint can add a nice twist too. You might also swirl in some fruit purees for a fun look. Just fold these additions in gently after churning. This keeps the flavors bright and distinct.
Storage Info
How to Store Ice Cream Properly
Store your homemade strawberry ice cream in an airtight container. This helps keep ice crystals away. A glass or plastic container works well. Make sure the lid fits tightly. This keeps the ice cream fresh and tasty.
Best Practices for Keeping Ice Cream Fresh
Keep the ice cream at a steady temperature. The freezer should be at 0°F (-18°C) or colder. Avoid opening the freezer too often. Each time you open it, warm air enters. This can cause ice crystals to form. If you plan to keep it for a while, press plastic wrap directly on the surface before sealing the lid. This extra layer helps keep the ice cream creamy.
Freezing and Thawing Tips
When freezing, let the ice cream sit for a few minutes at room temperature before scooping. This makes it easier to serve. If the ice cream gets too hard, don’t worry! Just leave it out for about 5-10 minutes. It will soften up nicely. If you have leftovers, always return them to the freezer promptly. This way, you enjoy your delicious dessert longer.
FAQs
How can I make my ice cream softer?
To make your ice cream softer, let it sit out for a few minutes. This warms it slightly, making it easier to scoop. You can also add more heavy cream to the base. Cream has less water than milk. This leads to a creamier result. You can blend in more sugar as well, as sugar helps the ice cream stay soft.
Can I use frozen strawberries instead?
Yes, you can use frozen strawberries. Just thaw them before using. Drain any extra juice to keep the ice cream from becoming too watery. Frozen strawberries can work well, but fresh ones give the best taste. They have a bright flavor and better texture.
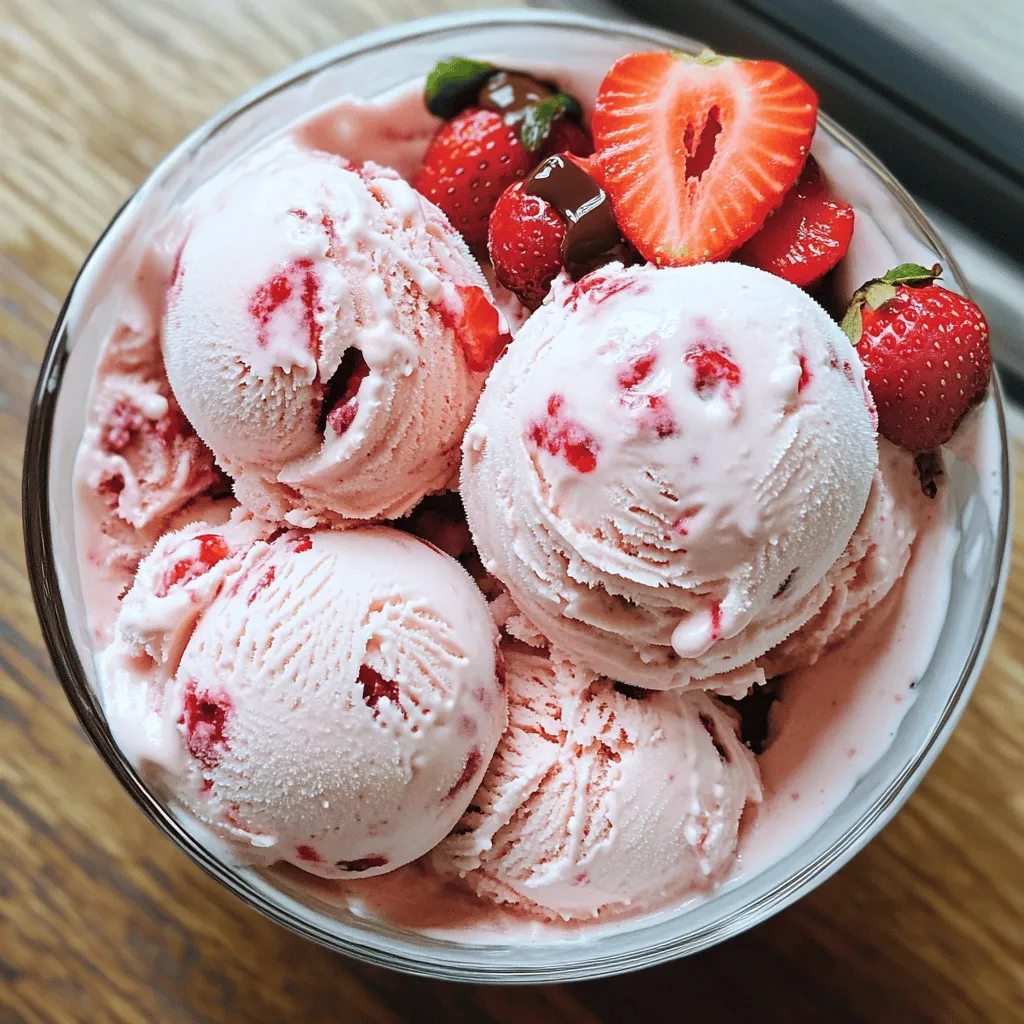
What’s the best way to serve homemade ice cream?
Serve homemade ice cream in chilled bowls. This helps keep it cold and firm. You can add fresh strawberry slices on top for a nice touch. A drizzle of chocolate sauce can make it even better. For fun, you can also pair it with cookies or cake.
How long can I store homemade strawberry ice cream?
You can store homemade strawberry ice cream for about two weeks. Keep it in an airtight container to prevent ice crystals. For the best taste and texture, eat it sooner. After two weeks, the flavor and texture may not be as good.
You’ve learned how to make tasty homemade strawberry ice cream. We covered fresh ingredients and key substitutes. You also learned the steps for preparing, churning, and freezing. Tips helped you avoid mistakes and improve texture. We discussed dairy-free and vegan options, plus fun mix-ins. Finally, you now know how to store your ice cream for the best taste. Enjoy creating this delicious treat! There’s nothing like homemade ice cream to share with family and friends.


