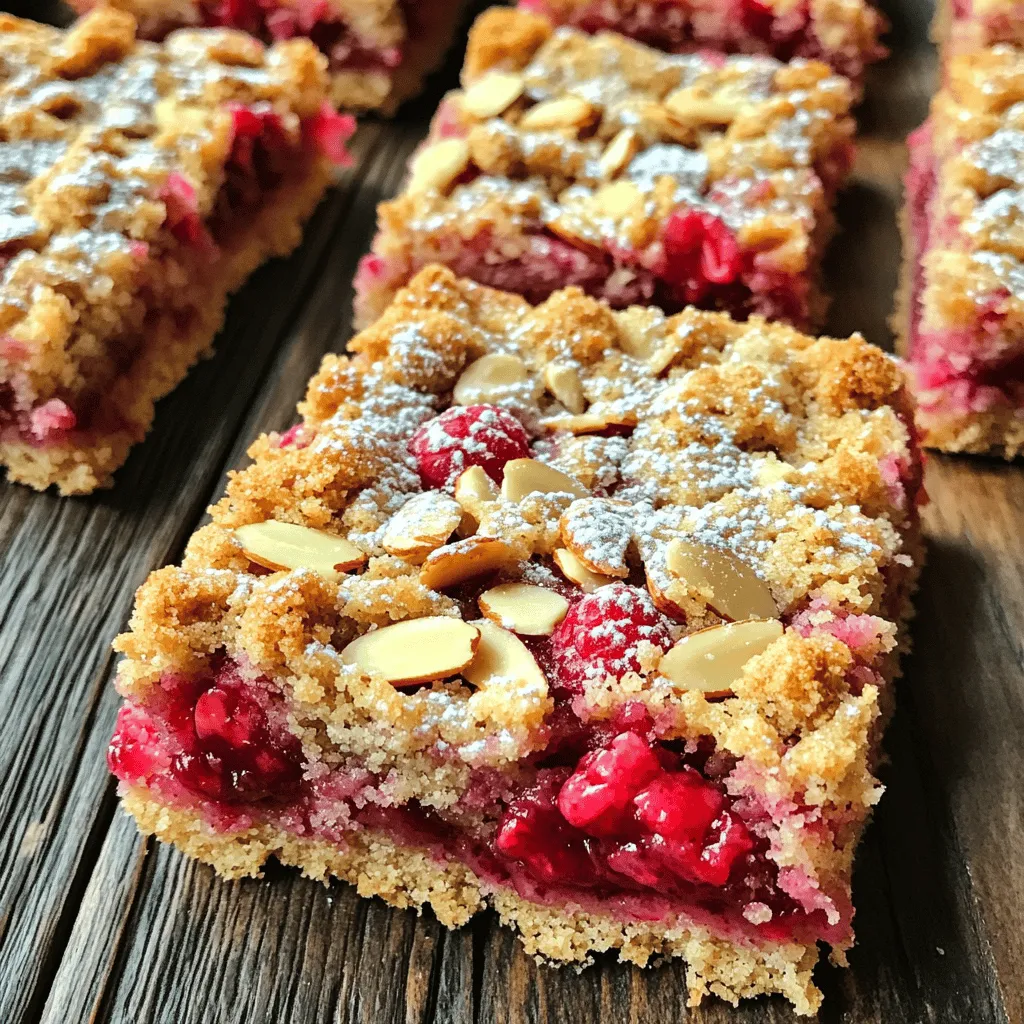
If you’re craving a sweet treat that’s easy to make, you’ve found it! Raspberry Almond Crumb Bars combine juicy raspberries and crunchy almonds in a buttery crust. I’ll guide you through each step, from measuring ingredients to baking a perfect batch. With simple tips and tasty variations, these bars are sure to impress. Let’s dive into this delicious and simple recipe that’ll make your taste buds dance!
Ingredients
Creating Raspberry Almond Crumb Bars starts with gathering the right ingredients. You will need:
– 1 cup all-purpose flour
– 1/2 cup almond flour
– 1/2 cup rolled oats
– 1/2 cup brown sugar, packed tightly
– 1/4 teaspoon fine salt
– 1/2 teaspoon baking powder
– 1/2 cup unsalted butter, melted and slightly cooled
– 1 teaspoon pure vanilla extract
– 1 cup fresh raspberries (or thawed frozen raspberries)
– 1 tablespoon cornstarch
– 1 tablespoon honey (or pure maple syrup)
– 1/4 cup sliced almonds
These ingredients work together to create a sweet, crumbly treat. The all-purpose flour gives the bars structure. Almond flour adds a nutty flavor. Rolled oats bring a lovely texture. Brown sugar sweetens the bars and adds richness. Fine salt balances the sweetness, while baking powder helps them rise.
The melted unsalted butter binds everything together and gives a rich taste. Pure vanilla extract adds warmth and aroma. Fresh raspberries offer a burst of tartness. Cornstarch thickens the raspberry filling, helping it hold together. Honey or maple syrup adds a touch of sweetness, while sliced almonds give a delightful crunch.
This combination leads to a dessert that is both delicious and simple to make.
Step-by-Step Instructions
Preparation Steps
1. Preheating the Oven
Start by preheating your oven to 350°F (175°C). This step is key for even baking.
2. Preparing the Baking Pan
Line an 8×8 inch baking pan with parchment paper. Leave some paper hanging over the edges. This helps you lift out the bars later.
3. Mixing Dry Ingredients
In a large bowl, whisk these dry ingredients together:
– 1 cup all-purpose flour
– 1/2 cup almond flour
– 1/2 cup rolled oats
– 1/2 cup brown sugar
– 1/4 teaspoon fine salt
– 1/2 teaspoon baking powder
Mix well until everything is combined. This ensures an even flavor in your bars.
Assembling the Bars
1. Making the Crust
Pour in 1/2 cup melted unsalted butter and 1 teaspoon vanilla extract into the dry mix. Stir until it gets crumbly. If you can squeeze it together in your hand, it’s ready. Set aside 1 cup of this crumb mix for later.
2. Preparing the Raspberry Filling
In another bowl, gently toss together 1 cup of fresh raspberries, 1 tablespoon cornstarch, and 1 tablespoon honey (or maple syrup). This makes a sweet and thick filling.
3. Layering and Baking
Press the crumb mixture into the bottom of your prepared pan. Bake it for 15 minutes. After that, spread the raspberry mix on top. Next, sprinkle the reserved crumb mixture over the filling. Top it with 1/4 cup sliced almonds for a nice crunch.
Return the pan to the oven. Bake for another 25-30 minutes. You want the topping to turn golden and the raspberries to bubble.
Once done, cool in the pan for 10 minutes. Use the parchment paper to lift out the bars onto a wire rack. Let them cool completely.
When cooled, slice into squares and enjoy these delicious raspberry almond crumb bars.
Tips & Tricks
Baking Tips
Ensuring a Perfect Crust
To make the crust just right, use cold butter. Cold butter makes the crust flaky. Mix the dry ingredients well before adding the butter. This helps everything blend better. Press the crust firmly into the pan. This gives it strength and keeps it from falling apart. Bake it until it’s just starting to turn golden. This shows it’s ready for the filling.
Achieving Optimal Raspberry Filling
For the best raspberry filling, pick ripe, fresh berries. They burst with flavor and sweetness. If using frozen berries, thaw them first and drain excess liquid. Toss the raspberries gently with cornstarch and honey. This helps thicken the filling and adds sweetness. Spread the filling evenly over the crust. This ensures each bite has lots of yummy raspberry goodness.
Presentation Tips
Serving Suggestions
When serving, slice the bars into squares. This makes them easy to grab. You can serve them warm or at room temperature. For a more elegant touch, dust the bars with powdered sugar. It adds a pretty look and a hint of sweetness. Pair them with a scoop of vanilla ice cream for a special treat.
Garnishing Ideas
Garnish the bars with sliced almonds on top. This adds a nice crunch and flavor. You can also add a dollop of whipped cream on the side. Fresh mint leaves can add a pop of color. These simple touches make your dish look beautiful and inviting.
Variations
Ingredient Substitutes
Gluten-Free Option
If you want a gluten-free version of these bars, swap all-purpose flour for a gluten-free blend. Look for one that contains xanthan gum. This will help the bars hold together well.
Alternative Fruits
You can change the raspberries to other fruits. Think about strawberries, blueberries, or peaches. Each fruit will give a different flavor and color. Just remember to adjust the sugar if the fruit is sweeter or tarter.
Flavor Additions
Adding Spices
Spices can add warmth and depth to your bars. Try a pinch of cinnamon or nutmeg in the crumb mix. You can also add some almond extract for a stronger almond flavor.
Incorporating Chocolate
If you love chocolate, mix in some chocolate chips. Dark chocolate pairs well with raspberries. You can add them to the filling or sprinkle them on top before baking. This will add a rich taste to your dessert.
Storage Info
Storing the Bars
Storage Duration
You can store your Raspberry Almond Crumb Bars for about five days. Keep them in an airtight container at room temperature. If you want them to last longer, consider freezing them.
Best Practices for Preservation
To keep your bars fresh, wrap them tightly in plastic wrap. Then, place them in a container. This method helps to lock in moisture and flavor. Avoid direct sunlight, as heat can make them soggy.
Freezing and Reheating
How to Freeze
To freeze the bars, first, let them cool completely. Slice them into squares, then wrap each piece in plastic wrap. Place the wrapped bars in a freezer bag. Remove as much air as possible to prevent freezer burn. They can stay frozen for up to three months.
Reheating Instructions
To reheat, take out the number of bars you want. Let them thaw in the fridge overnight. Then, warm them in the oven at 350°F (175°C) for about 10 minutes. This makes them taste fresh and delicious again. Enjoy your treat!
FAQs
What can I use instead of almond flour?
If you do not have almond flour, you can use all-purpose flour. You can also use ground oats or coconut flour. Keep in mind that these options may change the taste a bit. Almond flour adds a nutty flavor and soft texture.
How do I know when the bars are done baking?
You can tell the bars are done when the top is golden brown. Also, look for bubbling around the edges. If you insert a toothpick, it should come out clean, except for some raspberry juice.
Can I use frozen raspberries instead of fresh?
Yes! Frozen raspberries work well in this recipe. Just make sure to thaw them first. Drain any excess liquid from the raspberries to avoid a soggy crust. The flavor will still be delicious!
How do I cut the bars for even pieces?
To cut even pieces, wait until the bars are fully cooled. Use a sharp knife for clean cuts. You can score the bars lightly with the knife first to guide your cuts. This will help you get nice, even squares. For cleaner edges, wipe the knife with a damp cloth between cuts.
These raspberry bars are a tasty treat you can make at home. We covered essential ingredients like flour and fresh raspberries. You learned how to prepare and bake with clear step-by-step instructions. Tips helped ensure your bars turn out perfectly every time. Plus, you now have ideas for variations and storage.
Enjoy experimenting with this recipe. It’s simple and fun. You’ll love sharing your delicious bars with friends and family!