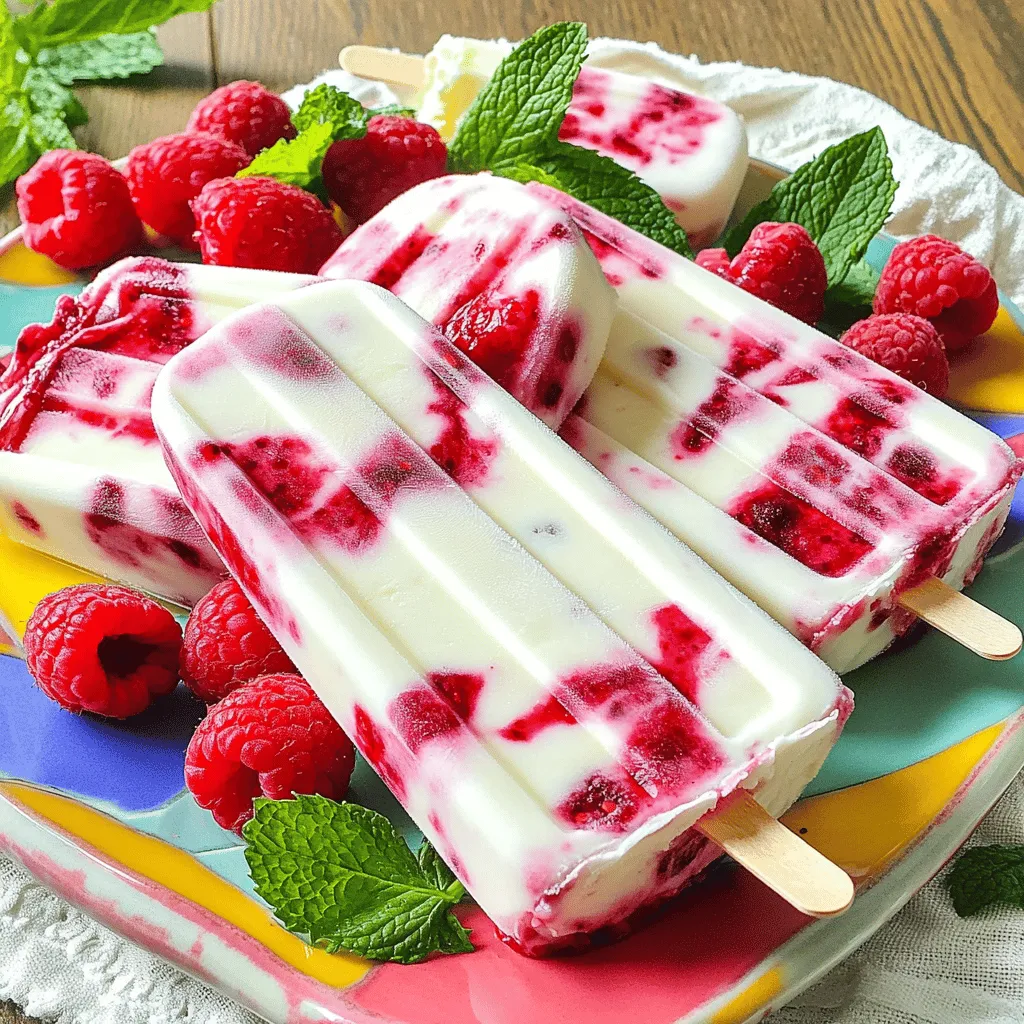
Looking for a fun and easy treat to cool you off? Try my Raspberry Swirl Yogurt Popsicles! They’re creamy, fruity, and perfect for any hot day. With just a few simple ingredients and steps, you can create these delightful popsicles at home. Say goodbye to store-bought treats and hello to a healthier, tastier option. Let’s dive into this refreshing recipe that will impress your family and friends!
Ingredients
Main Ingredients for Raspberry Swirl Yogurt Popsicles
To make your popsicles, gather these main ingredients:
– 2 cups Greek yogurt (plain or vanilla)
– 1 cup fresh raspberries (plus more for decoration)
– 2 tablespoons honey or maple syrup
– 1 teaspoon pure vanilla extract
– A pinch of salt
These ingredients come together to create a creamy, tangy, and sweet treat. The Greek yogurt gives a nice thickness and protein boost. Fresh raspberries add a burst of flavor and color.
Optional Ingredients and Garnishes
You can enhance your popsicles with these optional items:
– Fresh mint leaves for garnish
Mint adds a fresh taste and looks pretty on the plate. Feel free to get creative with other garnishes, too!
Equipment Needed
To make your Raspberry Swirl Yogurt Popsicles, you will need:
– A blender
– A mixing bowl
– Popsicle molds
– Popsicle sticks
Having the right tools makes the process easier and more fun. The blender helps mix the raspberry sauce. Molds shape your popsicles perfectly!
Step-by-Step Instructions
Preparing the Raspberry Mixture
To start, gather your fresh raspberries. Place them in a blender. Add honey or maple syrup and a pinch of salt. Blend until smooth. I like to leave some chunks for texture. This gives the popsicles a burst of flavor.
Combining the Yogurt Ingredients
Next, take a mixing bowl. Add the Greek yogurt and the vanilla extract. Stir until everything is smooth. Make sure there are no lumps. This will be the creamy base of your popsicles.
Layering the Popsicles in Molds
Now, grab your popsicle molds. Pour a layer of the yogurt mixture into each mold. Fill it about one-third of the way. Then, add a layer of the raspberry mixture. Spread it gently. Follow this with another layer of yogurt. Keep alternating until the molds are full. Aim for beautiful swirls in the mixture.
Freezing and Serving Tips
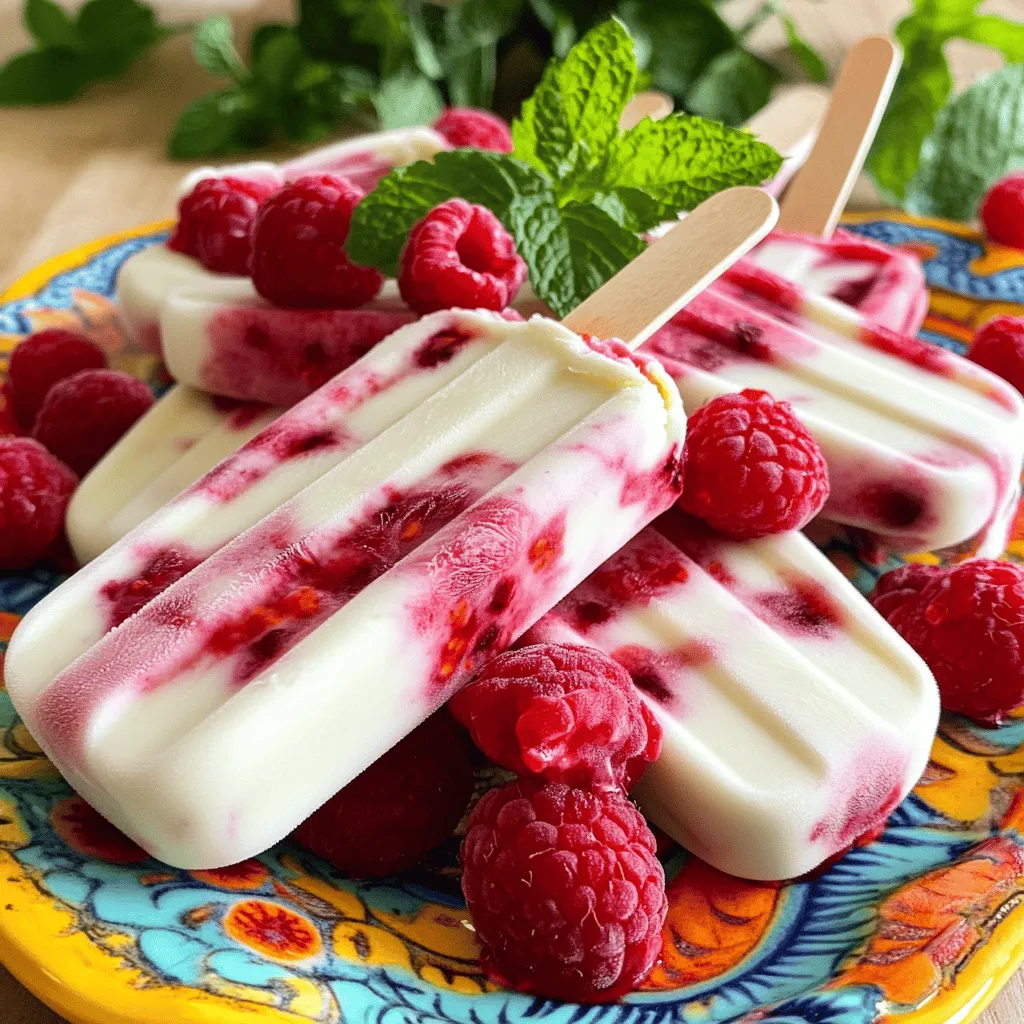
Insert popsicle sticks into each mold. Place them in the freezer. Let them freeze for at least 4 to 6 hours. When they are solid, run warm water over the outside of the molds. This helps release the popsicles. Serve them on a nice platter. Garnish with fresh mint leaves and extra raspberries for a stunning look.
Tips & Tricks
Achieving the Perfect Swirl
To get that stunning swirl, you want to layer the mixtures well. Pour yogurt and raspberry layers one after the other. Use a knife or stick to gently swirl the raspberry sauce into the yogurt. This way, you get pretty patterns and keep the flavors mixed. Don’t overdo it; just a few swirls will do the trick.
Adjusting Sweetness Levels
Taste is key when making these pops. If you like it sweeter, add more honey or maple syrup. Start with the two tablespoons, then try the mix. You can always add a little more if it needs more sweetness. Remember, the raspberries will add some natural sugar too.
Storage Tips for Leftover Ingredients
If you have extra raspberry or yogurt mix, store them in airtight containers. Keep them in the fridge for up to three days. You can use leftover yogurt for smoothies or as a dip. For raspberry sauce, consider drizzling it over pancakes or yogurt for added flavor.
Variations
Alternative Flavor Ideas
You can mix it up with different fruits. Try mango, strawberries, or blueberries. Each fruit gives a unique taste. For a tropical twist, add some coconut milk. You can also use flavored yogurt, like berry or lemon, for an extra kick.
Dairy-Free Versions
If you’re avoiding dairy, use coconut or almond yogurt. These options still taste great and keep the creamy texture. You can also blend in a banana for creaminess. This will help make the popsicles smooth and yummy while keeping them dairy-free.
Add-Ins for Extra Nutrition
Boost the nutrition of your popsicles by adding spinach or kale. These greens blend well without changing the flavor much. You can also mix in chia seeds or flaxseeds for fiber. These add-ins help make your popsicles a nutritious snack that kids will love.Enjoy creating your own variations!
Storage Info
How to Properly Store Popsicles
Once your raspberry swirl yogurt popsicles are ready, store them in an airtight container. You can use a plastic container or a freezer-safe bag. Make sure to label the container with the date. This way, you will know when you made them.
Freezing Duration and Best Practices
To get the best results, freeze your popsicles for at least 4 to 6 hours. If you want them extra firm, you can leave them in the freezer overnight. Avoid opening the freezer too often. Every time you do, warm air enters and might slow down the freezing process.
Shelf Life of Homemade Popsicles
Homemade popsicles can last up to two months in the freezer. After that, they might lose flavor and texture. For the best taste, enjoy them within one month. If they start to look frosty, it is best to toss them out. You want every bite to be fresh and delicious.
FAQs
How do I prevent my popsicles from sticking?
To stop your popsicles from sticking, use warm water. When you want to eat a popsicle, run warm water over the mold. This will help loosen the popsicle. You should also grease the molds lightly before adding the mixture. A small amount of cooking spray works well. This makes them easier to remove once frozen.
Can I use frozen raspberries instead of fresh?
Yes, you can use frozen raspberries! They work great in this recipe. Just remember to let them thaw a bit before blending. This helps blend them smoothly. Frozen raspberries may make the popsicles a bit softer, but they will still taste delicious.
What other fruits can I swirl with yogurt for popsicles?
You can swirl many other fruits with yogurt. Strawberries, blueberries, and mangoes are great options. Each fruit brings its own flavor. You can blend them like the raspberries or slice them for a chunkier texture. Mixing different fruits can create fun, colorful popsicles.
Is there a store-bought version of raspberry swirl yogurt popsicles?
Yes, you can find store-bought versions of raspberry swirl yogurt popsicles. Many brands offer them in the frozen aisle. Just check the ingredients if you want to avoid added sugars or artificial flavors. However, making them at home allows you to control the ingredients and flavors.
You learned how to make tasty raspberry swirl yogurt popsicles. We explored the key ingredients, easy steps, and best ways to store them. You can customize your popsicles with different flavors and nutrition add-ins. Remember to adjust the sweetness to fit your taste. With these tips and tricks, you’ll create delicious treats at home. Enjoy sharing these popsicles with friends and family. They are fun, easy, and healthy! Now, it’s time to make your own tasty popsicles.