WANT TO SAVE THIS RECIPE?
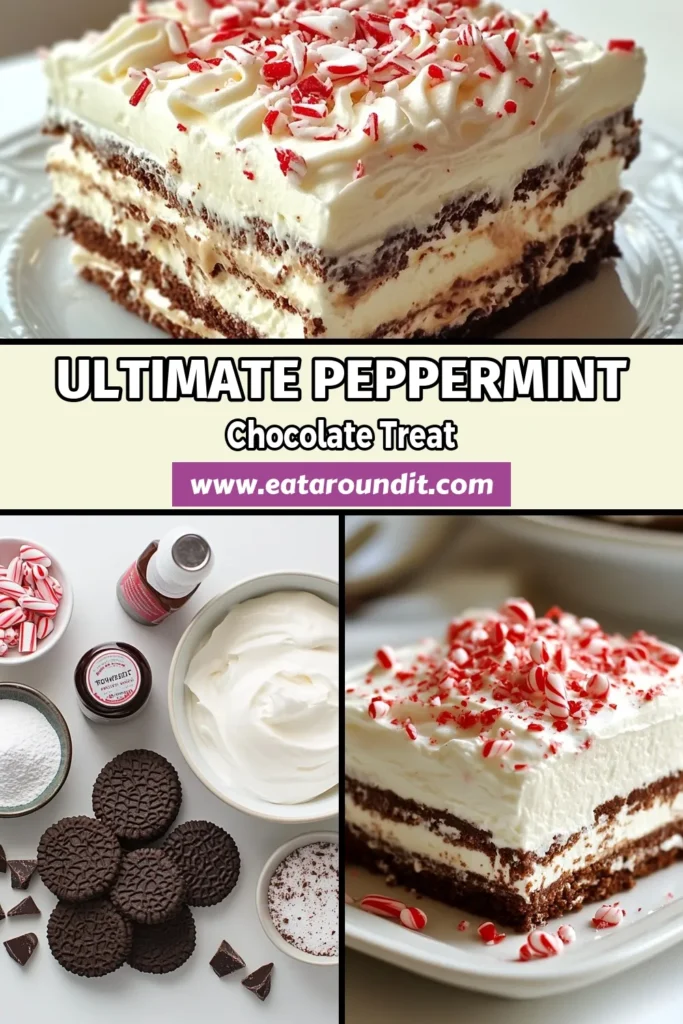
Do you crave a dessert that’s easy to make and full of flavor? I’m excited to share my Peppermint Chocolate Icebox Cake recipe! This delightful treat layers rich chocolate with refreshing peppermint for a perfect finish. Whether you’re hosting a party or enjoying a quiet night in, this cake is sure to impress. Let’s dive into the ingredients and methods to create this delicious dessert that will leave everyone wanting more!
Why I Love This Recipe
- Festive Flavor: This icebox cake combines the refreshing taste of peppermint with rich chocolate, making it a perfect holiday dessert.
- No-Bake Convenience: With minimal effort required, this recipe is simple to prepare and doesn’t require any baking, perfect for busy holiday schedules.
- Make-Ahead Magic: This cake can be made a day in advance, allowing the flavors to meld and making it an easy dessert option for gatherings.
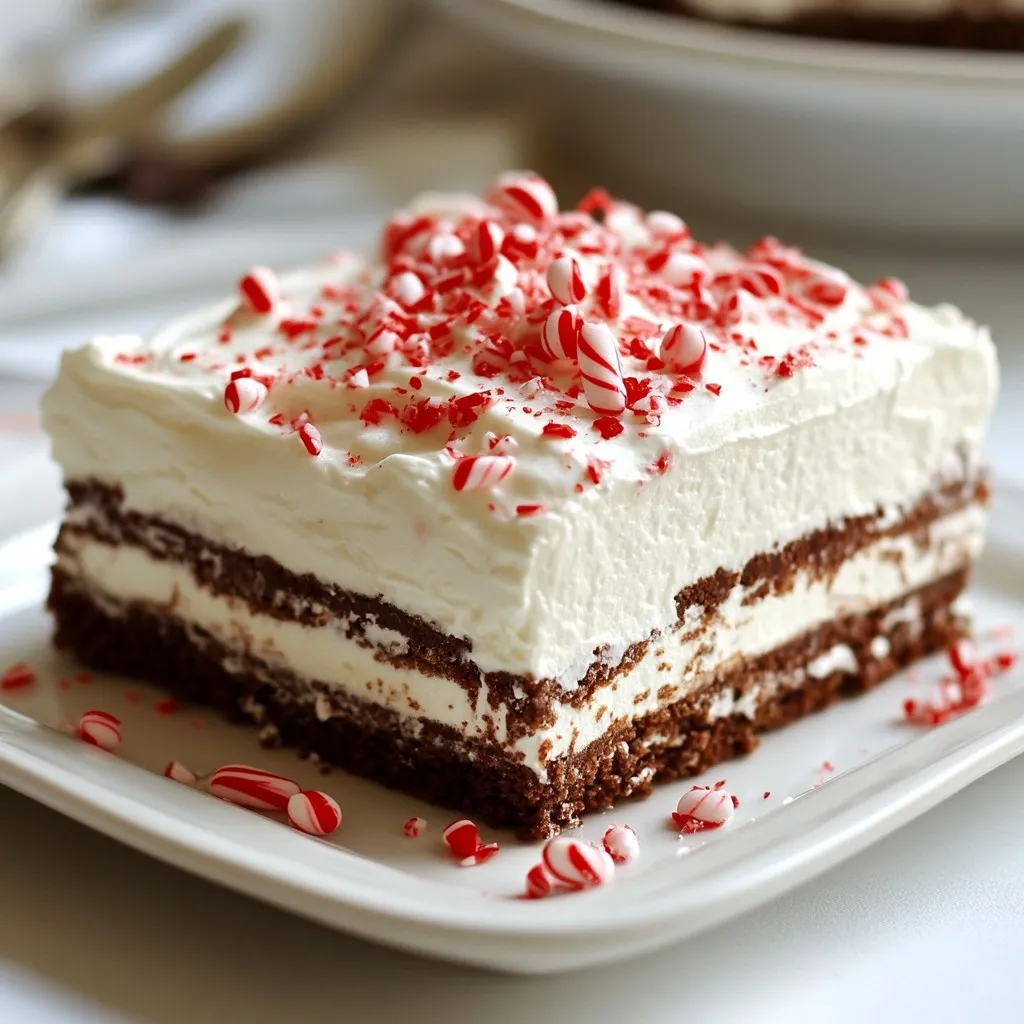
- Beautiful Presentation: With its layered look and optional chocolate shavings, this cake is not only delicious but also visually stunning for any festive table.
Ingredients
Detailed Ingredients List
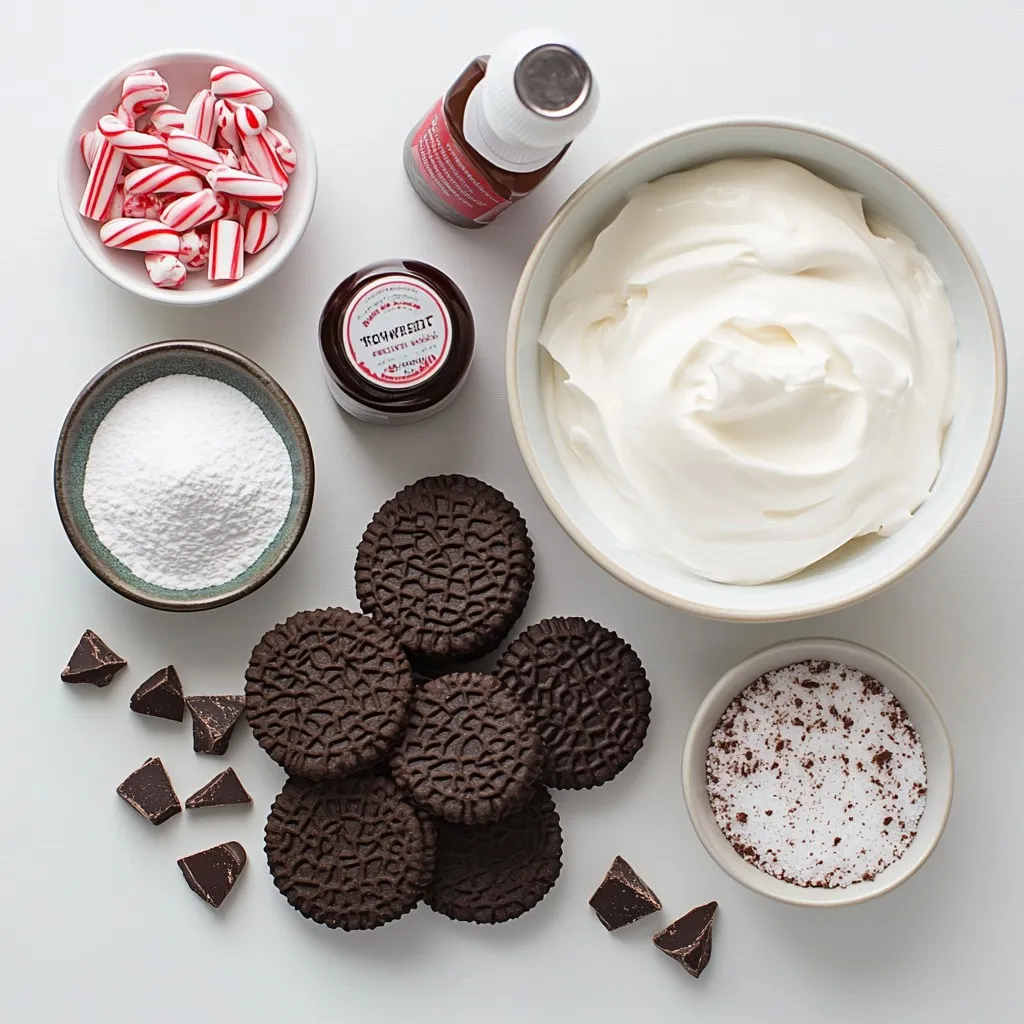
To make a delightful peppermint chocolate icebox cake, gather these simple ingredients:
– 2 cups heavy whipping cream
– 1 cup powdered sugar
– 1 teaspoon pure vanilla extract
– 1 teaspoon peppermint extract
– 20-24 chocolate wafer cookies
– 1 cup crushed peppermint candies (or crushed candy canes)
– 1 cup chocolate shavings (optional for garnish)
Ingredient Substitutions
You can easily swap some ingredients if needed. For heavy cream, use coconut cream for a dairy-free option. Instead of powdered sugar, granulated sugar works, but it may change the texture. If you don’t have peppermint extract, a few drops of mint extract can work in a pinch. For the cookies, try graham crackers or chocolate cookies.
Tips for Selecting Fresh Ingredients
Choosing fresh ingredients is key for the best taste. For heavy cream, look for a brand with a high-fat content, around 36%. This ensures a rich whipped cream. When picking peppermint candies, choose vibrant, unbroken pieces for the best flavor. Always check the expiration dates on any packaged items, especially the whipping cream. Fresh ingredients make your cake not just tasty but also a treat to share!

Step-by-Step Instructions
Preparation of Whipped Cream
To start, gather your ingredients. You need heavy whipping cream, powdered sugar, vanilla extract, and peppermint extract. In a large bowl, combine these ingredients. Use an electric mixer set to medium speed. Whip the mixture for about 3 to 5 minutes. Watch for stiff peaks to form. This means your cream is ready! Be careful not to whip too long, or it can become grainy.
Layering the Cake
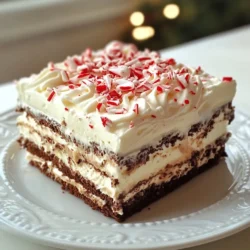
Now, it’s time to build your cake. Grab a 9×5 inch loaf pan. Start by spreading a thin layer of whipped cream on the bottom. This layer acts like glue for the cookies. Next, take chocolate wafer cookies and place them in a single layer on top of the cream. Make sure they cover the bottom. If needed, break some cookies to fit snugly. After that, spread another layer of whipped cream over the cookies. Sprinkle some crushed peppermint candies on top for a burst of flavor. Repeat this process. Add more cookies, then whipped cream, and more crushed candy. Keep going until you use all ingredients. Finish with whipped cream on top for a lovely look.
Setting and Serving
Cover the loaf pan tightly with plastic wrap. Place it in the fridge for at least 4 hours. If you can, let it chill overnight. This time helps the cookies soften and flavors blend. When ready to serve, gently invert the cake onto a platter. If you like, add chocolate shavings and extra peppermint candies for garnish. Slice the cake and serve on festive plates. For extra cheer, add a sprig of fresh mint and a sprinkle of powdered sugar on each slice. Enjoy your treat!
Tips & Tricks
Achieving the Perfect Whipped Cream
To make the best whipped cream, start with cold heavy cream. It whips better when cold. Use a large mixing bowl. This helps when you whip the cream. Add powdered sugar, vanilla extract, and peppermint extract to the bowl. Whip the mixture on medium speed for 3 to 5 minutes. Stop when you see stiff peaks. Be careful not to overwhip. Overwhipped cream can become grainy.
Common Mistakes to Avoid
One common mistake is using warm cream. Always chill your heavy cream and bowl first. Another mistake is not measuring the powdered sugar. Too much sugar can make the cream too sweet. When layering the cookies, some may not fit perfectly. Break cookies if needed to cover gaps. Lastly, don’t rush the chilling time. Letting the cake chill overnight improves the taste and texture.
Best Practices for Layering
Start with a thin layer of whipped cream in your loaf pan. This helps the cookies stick. Lay the cookies flat on the cream, covering the base well. After each layer of cookies, add whipped cream and crushed peppermint. Make sure to spread the cream evenly. Keep layering until you use all the ingredients. Finish with a thick layer of whipped cream on top. This creates a nice look and adds flavor.
Pro Tips
- Whipping Cream Consistency: Make sure to whip the cream until it reaches stiff peaks, but be cautious not to overwhip, as this can lead to a grainy texture.
- Layering Technique: For a more visually appealing cake, alternate the layering of cookies and cream, ensuring each layer is even and well-distributed for balanced flavor in every bite.
- Chilling Time: For the best results, chill the cake overnight. This allows the flavors to meld together and the cookies to soften beautifully.
- Garnish with Care: When garnishing, add chocolate shavings and crushed peppermint candies just before serving to keep them fresh and visually striking.
Variations
Alternative Flavor Options
You can change the flavor in many fun ways. For a rich twist, try chocolate mint or mocha. Use chocolate syrup in the cream for a deeper chocolate taste. You can also swap peppermint extract with orange or almond extract for a new vibe. Try using vanilla bean paste for a warm touch. This way, you can make a cake that fits any season or mood.
Using Different Types of Cookies
Chocolate wafer cookies are classic, but you can explore other choices. Use graham crackers for a sweeter taste and a crunchy bite. Oreos can add a fun twist with their cream filling. For a gluten-free option, look for gluten-free chocolate cookies. You can even use ginger snaps for a spicy kick during the holidays. Each cookie brings its own charm to the cake.
Custom Garnishes and Toppings
Garnishes can make your cake shine. Use chocolate shavings for a fancy touch. You can also add extra crushed peppermint for a bold flavor burst. Fresh mint leaves add a bright green color and a fresh scent. For a rich finish, drizzle melted dark chocolate over the top. You can even add whipped cream dollops for a fluffy look. Let your creativity run wild to impress your guests!
Storage Info
Proper Refrigeration Methods
To keep your peppermint chocolate icebox cake fresh, store it in the fridge. Use plastic wrap to cover the loaf pan tightly. This step prevents the cake from drying out and keeps it safe from odors. If you have leftovers, place them in an airtight container. This helps maintain the cake’s creamy texture.
Freeze Instructions
You can freeze the peppermint chocolate icebox cake for later enjoyment. Wrap the entire cake in plastic wrap. Then, wrap it in aluminum foil to protect it from freezer burn. Make sure to label it with the date. You can also freeze individual slices for easy treats. Just pack them in a freezer-safe container.
How Long It Lasts
In the fridge, the cake stays fresh for about 4 to 5 days. If you freeze it, it can last up to 2 months. However, for the best taste and texture, enjoy it within the first month. When you are ready to eat the frozen cake, thaw it in the fridge overnight. This keeps the icebox cake nice and creamy.
FAQs
Can I make this cake ahead of time?
Yes, you can make this cake ahead of time. In fact, I recommend it! Preparing the peppermint chocolate icebox cake a day in advance allows the flavors to blend well. The cookies soften and absorb the cream, making each bite even better. Just cover it tightly with plastic wrap. Store it in the fridge until you’re ready to serve.
What can I substitute for heavy cream?
If you need a substitute for heavy cream, try using coconut cream. Chill a can of coconut milk overnight, and scoop out the thick cream on top. You can also use whole milk mixed with butter. For each cup of heavy cream, mix 3/4 cup of whole milk with 1/4 cup of melted butter. This will help you achieve a rich and creamy texture.
How do I make it gluten-free?
To make this cake gluten-free, swap the chocolate wafer cookies for gluten-free cookies. Look for brands that use almond flour or coconut flour. You can also use gluten-free graham crackers. Just check the labels to ensure they are certified gluten-free. This way, everyone can enjoy your delicious peppermint chocolate icebox cake!
You learned how to make a delicious cake with whipped cream. We covered the best ingredients and tips for using them. You also saw steps for layering and serving your cake. I highlighted common mistakes to avoid and tasty variations to try. Lastly, we discussed storage for your cake, so it stays fresh. Enjoy creating your cake and impress your friends and family with your skill
Peppermint Chocolate Icebox Cake
A refreshing and festive dessert featuring layers of chocolate wafer cookies, whipped cream, and crushed peppermint candies.
Prep Time 30 minutes mins
Total Time 4 hours hrs 30 minutes mins
Course Dessert
Cuisine American
Servings 8
Calories 250 kcal
- 2 cups heavy whipping cream
- 1 cup powdered sugar
- 1 teaspoon pure vanilla extract
- 1 teaspoon peppermint extract
- 20-24 pieces chocolate wafer cookies
- 1 cup crushed peppermint candies
- 1 cup chocolate shavings
In a large mixing bowl, combine the heavy whipping cream, powdered sugar, pure vanilla extract, and peppermint extract. Using an electric mixer on medium speed, whip the mixture until stiff peaks form, which should take about 3 to 5 minutes. Be careful not to overwhip.
Take a 9x5 inch loaf pan and spread a generous thin layer of the whipped cream mixture evenly across the bottom.
Place a single layer of chocolate wafer cookies directly on top of the cream, ensuring that they cover the entire base.
Spread another layer of the whipped cream mixture over the cookies, smoothing it out to cover them completely. Lightly sprinkle some of the crushed peppermint candies over this layer.
Continue the process of layering: add more chocolate wafer cookies, followed by whipped cream, and then more crushed candy, until all ingredients are exhausted. Finish with a layer of whipped cream on top.
Cover the loaf pan tightly with plastic wrap and refrigerate for a minimum of 4 hours, but overnight is best.
Once the cake has chilled and set, gently remove it from the pan by inverting it onto a serving platter. If desired, add chocolate shavings and remaining crushed peppermint candies on top before slicing.
For an extra touch of holiday cheer, garnish each slice with a sprig of fresh mint and a sprinkle of powdered sugar.
Keyword chocolate, holiday dessert, icebox cake, peppermint
WANT TO SAVE THIS RECIPE?