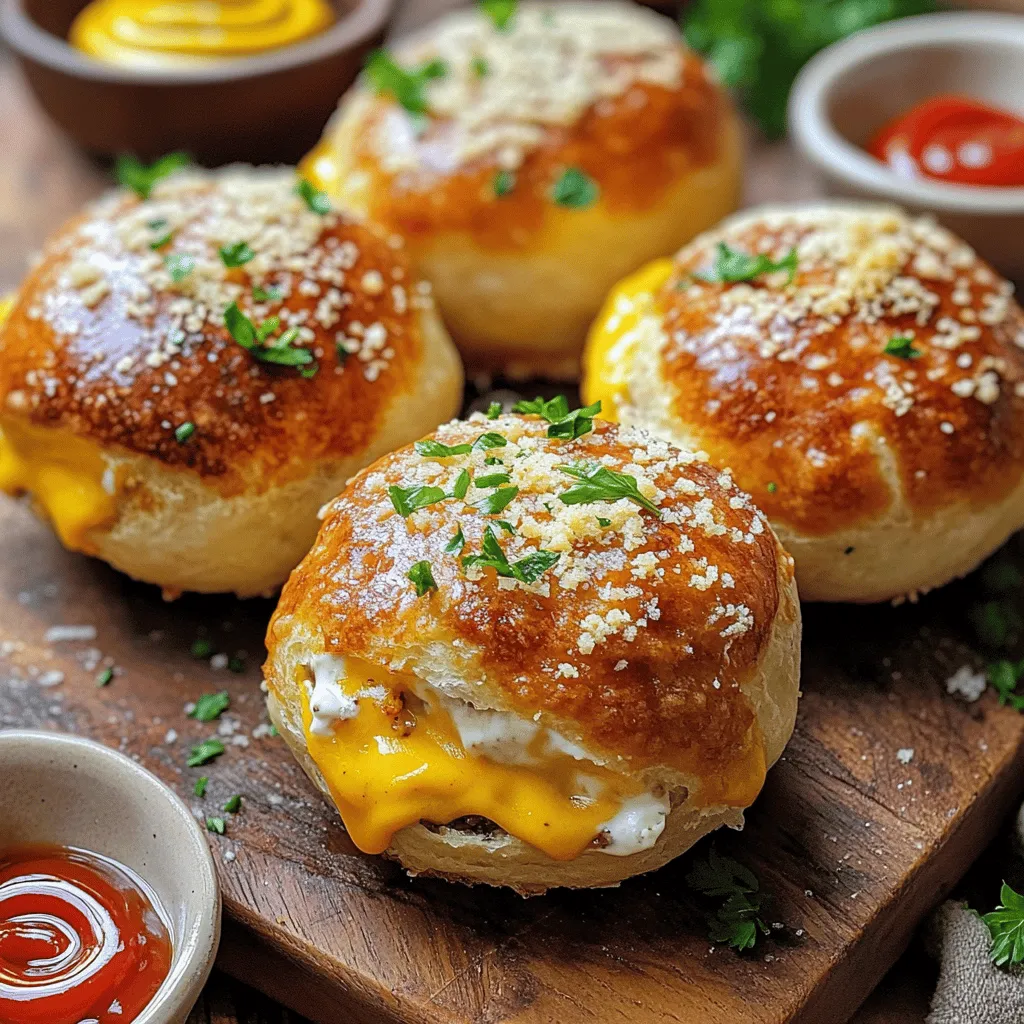
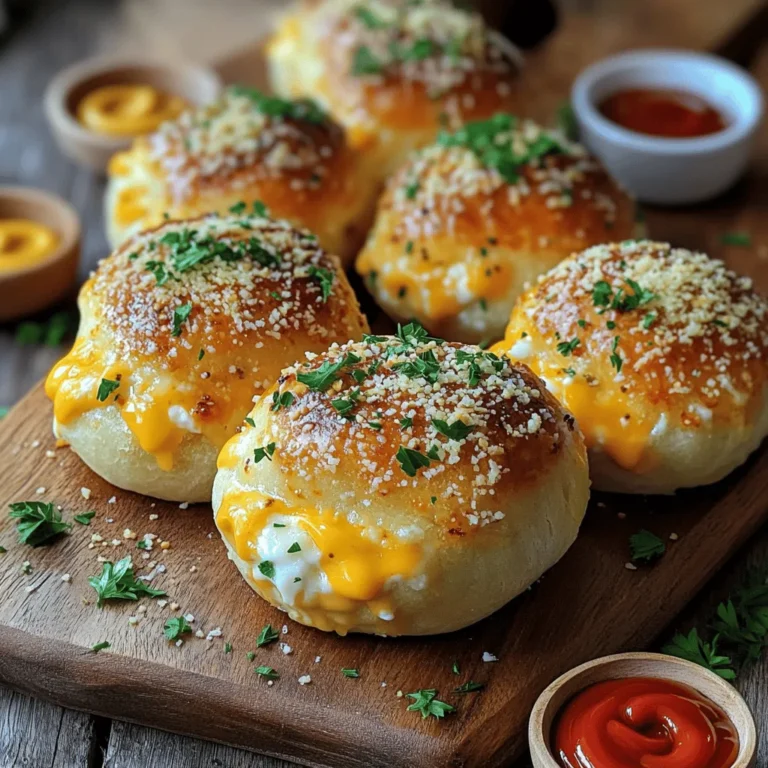
If you’re craving a delicious twist on the classic cheeseburger, you’re in the right place! Garlic Parmesan Cheeseburger Bombs are a crowd-pleaser that combines juicy beef and melted cheese in a warm biscuit shell. This recipe is easy and fun to make, perfect for any meal or snack. Let’s dive in and unleash your inner chef with these tasty bites that everyone will love!
Ingredients
Main Ingredients
– 1 lb (450g) ground beef
– 1 cup (100g) shredded cheddar cheese
– 1/2 cup (120g) cream cheese, softened
– 1/4 cup (25g) grated Parmesan cheese
The main ingredients create a rich and tasty filling. Ground beef gives a hearty base. Cheddar cheese adds sharpness, while cream cheese makes it creamy. Parmesan cheese provides a nutty flavor that ties everything together.
Seasoning and Additional Ingredients
– 1 teaspoon garlic powder
– 1 teaspoon onion powder
– Salt and pepper to taste
– 1 can (8-count) refrigerated biscuits
These seasonings boost the flavor of the filling. Garlic powder adds depth, while onion powder gives a slight sweetness. A pinch of salt and pepper brings all the tastes out. The refrigerated biscuits serve as the dough, wrapping up the delicious filling.
Garnishing Elements
– 2 tablespoons (30ml) melted butter
– Fresh parsley, chopped (for garnish)
Melted butter gives the bombs a golden and crispy top. Fresh parsley adds a pop of color and freshness. It makes your Garlic Parmesan Cheeseburger Bombs look great and taste even better.
Step-by-Step Instructions
Preparation Steps
1. Preheat oven and prepare baking sheet: Start by preheating your oven to 375°F (190°C). Line a baking sheet with parchment paper. This will help the bombs not stick during baking.
2. Mix beef and cheese ingredients: In a large bowl, add the ground beef, cheddar cheese, cream cheese, Parmesan cheese, garlic powder, onion powder, salt, and pepper. Use your hands or a spoon to mix until everything is well combined.
Assembling the Bombs
1. Flatten biscuits and add filling: Open the can of biscuits and carefully separate each one. Flatten them slightly by pressing them in your hand or on a clean surface. Aim to make small discs.
2. Seal and arrange on baking sheet: Place about a tablespoon of the cheeseburger mixture in the center of each biscuit. Fold the edges over the filling and pinch the seams tightly. Arrange these filled bombs seam-side down on the baking sheet.
Baking Process
1. Brush with butter and bake: Take a pastry brush and generously coat the tops of each bomb with melted butter. This will help them turn golden brown. Place the baking sheet in the oven and bake for 15-20 minutes. Look for them to puff up and turn golden.
2. Cooling and garnishing: Once they are baked, remove the bombs from the oven. Let them cool for a few minutes. This cooling time is important as the filling will be hot. For a fresh touch, sprinkle some chopped parsley on top before serving.
Tips & Tricks
Perfecting the Recipe
To get the best flavor and texture, sealing is key. Make sure to pinch the edges of each biscuit tightly. This keeps the filling inside while baking. If they are not sealed well, the filling may leak out, making a mess.
Keep an eye on your baking time. I recommend checking your bombs around 15 minutes. If they look golden and puffed, they are ready to come out. Overbaking can dry them out, so set a timer.
Serving Suggestions
Dipping sauces can add a fun twist. Ketchup and mustard are classics. Ranch dressing also pairs well. You can even make a spicy mayo for a kick.
For a creative touch, serve your bombs on a wooden board. Scatter fresh parsley around them to add color. This small detail makes a big difference in how your dish looks.
Kitchen Equipment
You will need some essential tools to make this recipe easy. A large mixing bowl is a must for blending the ingredients. A baking sheet lined with parchment paper helps with cleanup.
Using a pastry brush is great for applying melted butter. This ensures even coverage and enhances flavor. A rolling pin can also help if you want to flatten the biscuits evenly.Enjoy making these tasty Garlic Parmesan Cheeseburger Bombs!

Variations
Ingredient Swaps
You can mix things up by using different cheeses. Try mozzarella or gouda for a new twist. Each cheese brings its own taste and texture. You can also change the protein. Ground turkey or chicken works well if you prefer a lighter option. You could even use plant-based meat for a vegetarian choice.
Flavor Enhancements
To boost flavor, add spices or herbs. Try a pinch of paprika or some Italian herbs. These additions can make your bombs extra tasty. You can also toss in some veggies. Diced bell peppers or chopped onions can add crunch and nutrients. Just be careful not to overload the filling. Too many veggies can make it hard to seal the biscuits.
Serving Styles
Garlic Parmesan Cheeseburger Bombs work great as appetizers or a main dish. If you serve them as appetizers, make smaller versions. They are perfect for parties or game days. As a main dish, pair them with sides. Fries or a fresh salad are great choices. You could also serve them with dipping sauces. Ketchup, mustard, or ranch dressing can add extra flavor. Enjoying these bombs in different ways keeps your meals exciting.
Storage Info
Leftover Storage
To keep your Garlic Parmesan Cheeseburger Bombs fresh, store them in an airtight container. Place parchment paper between layers to prevent sticking. They stay good in the fridge for about 3 days. Always check for any signs of spoilage before eating.
Reheating Instructions
For the best results, reheat your bombs in the oven. Set it to 350°F (175°C) for 10-15 minutes. This method keeps them crispy. If you use a microwave, place a paper towel over them. This helps avoid sogginess but may not keep them as crisp.
Freezing Options
You can freeze these bombs before or after baking. If freezing before baking, arrange them on a tray, then freeze until firm. Transfer to a bag for longer storage. For thawing, leave them in the fridge overnight before baking. If frozen after baking, reheat in the oven, as mentioned above.
FAQs
Common Questions
Can I use turkey instead of beef?
Yes, you can use ground turkey. It makes a lighter bomb. Just make sure to add some extra seasoning. Turkey can be less flavorful than beef.
What can I substitute for cream cheese?
You can use Greek yogurt or sour cream. Both options keep the filling creamy. They also add a nice tangy flavor.
Troubleshooting
Why did my bombs not rise?
If your bombs didn’t rise, check the biscuits. Make sure they are fresh and not expired. Old biscuits might not puff up.
How can I prevent soggy biscuits?
To avoid soggy biscuits, don’t overfill them. Seal the edges tightly. Brush with melted butter just before baking. This helps create a nice crust.
Recipe Adaptations
Can I make this gluten-free?
Yes, use gluten-free biscuits. Many brands offer good alternatives. Check labels for gluten-free options at your store.
What to serve with Garlic Parmesan Cheeseburger Bombs?
These bombs pair well with dipping sauces. Try ketchup, mustard, or ranch. Serve with a fresh salad or crispy fries for a full meal.
This blog covered how to make delicious Garlic Parmesan Cheeseburger Bombs. We explored key ingredients, step-by-step instructions, and tips for success. You learned about ingredient swaps and creative ways to serve these treats.
In closing, this recipe is flexible and fun. Don’t hesitate to make it your own. Enjoy every bite and impress your friends and family!


