Get ready to indulge in a dessert that combines rich chocolate, bold espresso, and cozy pumpkin flavors—all without needing to turn on the oven! In this guide, I’ll show you how to create No Bake Chocolate Espresso Pumpkin Truffles that are not only quick to make but also a perfect treat for any occasion. Join me as we dive into a world of creamy, dreamy bites that everyone will love!
Ingredients
Complete Ingredient List
To make these No Bake Chocolate Espresso Pumpkin Truffles, gather the following items:
– 1 cup pumpkin puree (canned or freshly made)
– 1 cup almond flour (finely ground)
– 1/2 cup unsweetened cocoa powder
– 1/2 cup pure maple syrup
– 1 tablespoon espresso powder (adjust for stronger coffee flavor)
– 1 teaspoon vanilla extract
– 1/4 teaspoon ground cinnamon
– Pinch of sea salt
– 1/2 cup dark chocolate chips (opt for dairy-free if desired)
– Unsweetened shredded coconut or additional cocoa powder for rolling
Ingredient Substitutions
If you don’t have almond flour, try using oat flour or coconut flour. Both work well in this recipe. For a nut-free option, you can use sunflower seed flour. If you want less sugar, substitute maple syrup with agave nectar or honey. You can also adjust the espresso powder based on your taste. Add less for a milder flavor or more for a stronger kick. If you can’t find dark chocolate chips, semi-sweet chips work too.
Nutritional Information
Each truffle offers a blend of flavors and nutrients. Here is a rough idea of their nutrition per truffle:
– Calories: 120
– Protein: 2g
– Fat: 6g
– Carbohydrates: 15g
– Fiber: 2g
– Sugar: 5g
These truffles are a delightful treat without being overly sweet. They provide a tasty way to enjoy pumpkin and chocolate while getting some healthy fats from almond flour and dark chocolate.
Step-by-Step Instructions
Mixing the Base
Start by gathering a large mixing bowl. Add 1 cup of pumpkin puree. Then, mix in 1 cup of almond flour. Next, pour in 1/2 cup of unsweetened cocoa powder. This adds rich chocolate flavor. Follow with 1/2 cup of pure maple syrup for sweetness. Stir in 1 tablespoon of espresso powder for a coffee kick. Add 1 teaspoon of vanilla extract for aroma. Then, sprinkle in 1/4 teaspoon of ground cinnamon. Finally, include a pinch of sea salt to balance flavors. Use a spatula to mix everything until smooth and thick.
Chilling for Consistency
Once your mixture is well combined, cover the bowl. Use plastic wrap or a clean kitchen towel. Place the bowl in the refrigerator for about 30 minutes. Chilling helps the mixture firm up. This step makes it easier to shape later.
Forming and Coating Truffles
After chilling, take the bowl out. Use a tablespoon to scoop portions of the mixture. Roll each portion between your palms. Aim for small balls, about 1 inch wide. Place the truffles on a lined baking sheet. Make sure they are spaced apart. This prevents them from sticking.
Now, melt the dark chocolate chips in a microwave-safe bowl. Heat them in the microwave at 20-second intervals. Stir in between each interval. Stop when the chocolate is smooth and melted. Be careful not to overheat.
Dip each truffle into the melted chocolate. Make sure it is fully coated. Use a fork to lift it out. Let any excess chocolate drip back into the bowl. Place the coated truffle back onto the baking sheet.
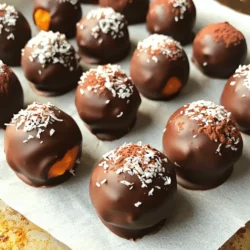
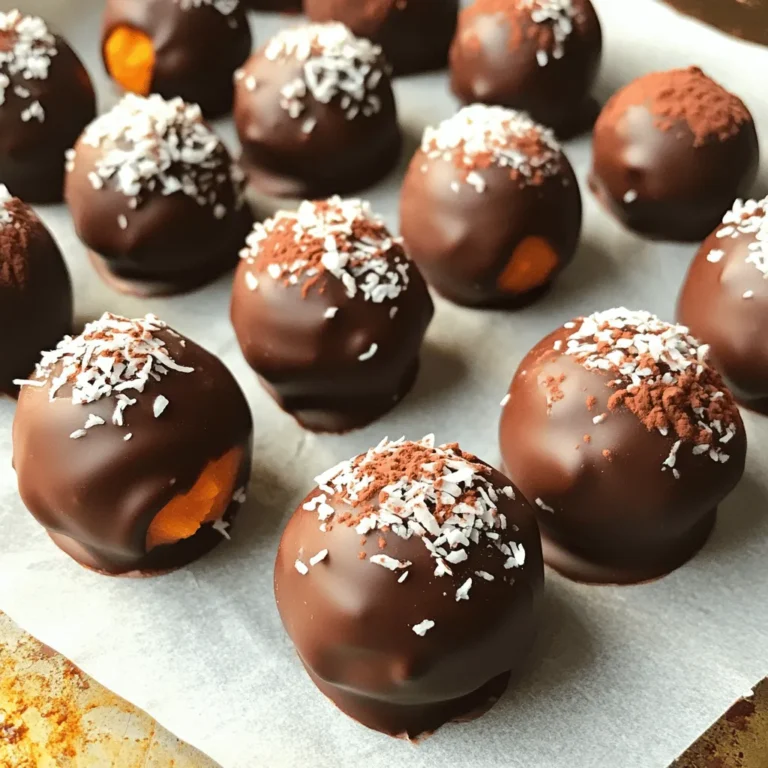
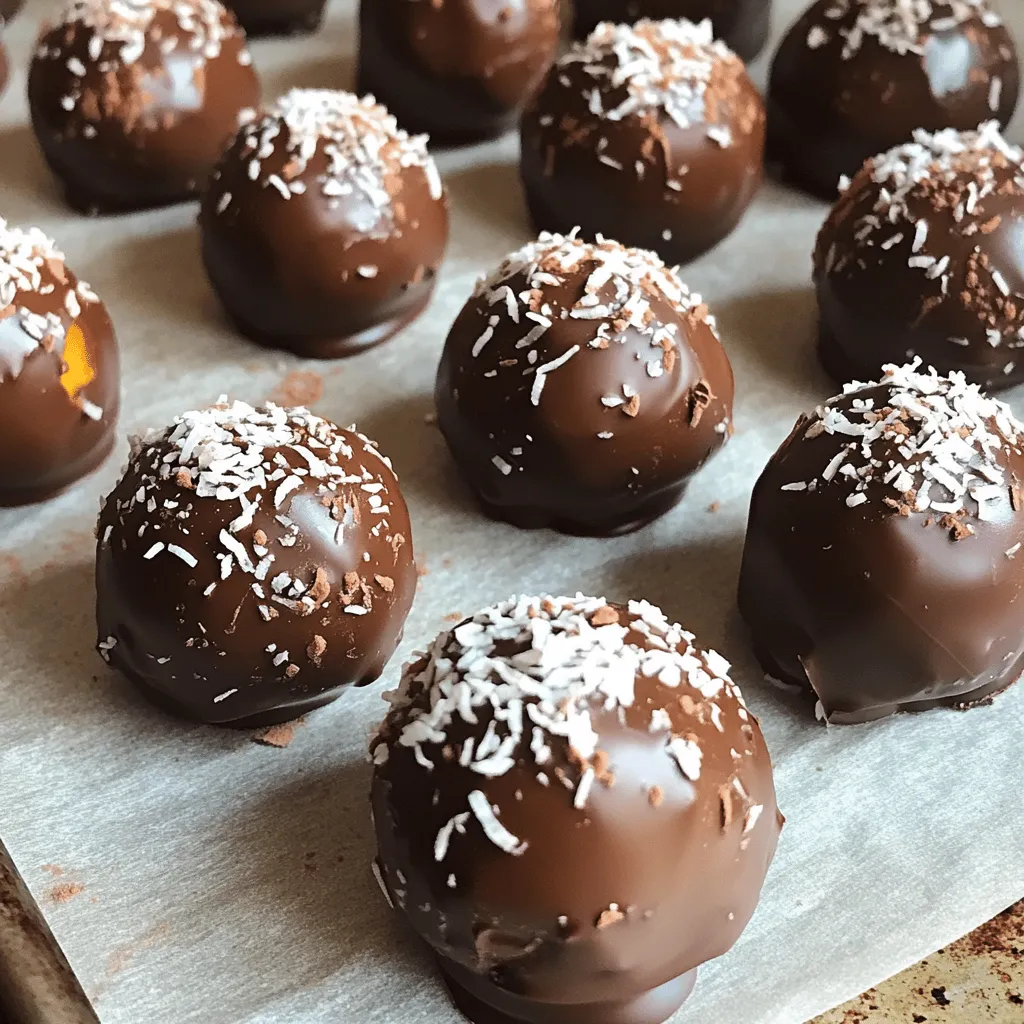
While the chocolate is still wet, roll the truffles in shredded coconut or cocoa powder. This adds extra flavor and looks nice. Once coated, put the truffles back in the fridge. Let them chill for about 15 minutes. This helps the chocolate set properly. Enjoy these treats chilled or at room temperature.
Tips & Tricks
How to Perfect the Texture
To get the best texture in your truffles, start with good mixing. Make sure the pumpkin puree is smooth. It should blend well with the almond flour and cocoa powder. If the mixture feels too wet, add more almond flour. If it’s too dry, a splash of maple syrup can help. After mixing, chill the dough for about 30 minutes. This step makes it easier to form truffles. The cold mixture holds its shape better.
Melting Chocolate Safely
When melting chocolate, do it slowly. Place chocolate chips in a microwave-safe bowl. Heat them in short bursts, about 20 seconds at a time. Stir the chocolate after each burst. This method helps avoid burning. If you see small lumps, keep stirring. The heat will melt them away. Once smooth, use it right away for dipping. If it cools too much, it will thicken and won’t coat well.
Serving Suggestions
These truffles look great when served nicely. Use a decorative box or a tiered stand for a fancy touch. You can also sprinkle extra cocoa powder or shredded coconut on top. This adds color and makes them more appealing. For a fun twist, pair the truffles with coffee or tea. The flavors work very well together. Enjoy them chilled or at room temperature for a treat anytime!
Variations
Adding Flavor Elements
You can add new flavors to your truffles. Try adding a splash of orange zest for a bright twist. Ground ginger adds a warm spice that pairs well with pumpkin. If you love nuts, mix in some finely chopped walnuts or pecans for crunch. You can also switch the espresso powder for instant coffee for a milder taste. Each addition brings a unique touch to your truffles.
Dietary Adjustments (Vegan, Gluten-Free)
These truffles can easily fit different diets. To make them vegan, ensure you use dairy-free chocolate chips. Almond flour is already gluten-free, making these truffles perfect for gluten-sensitive folks. Instead of maple syrup, you could use agave nectar for a different sweetener. Always check labels to ensure all your ingredients meet dietary needs.
Different Rolling Coatings
Rolling your truffles in different coatings can change their look and taste. Unsweetened shredded coconut gives a tropical feel. You can also roll them in crushed nuts or finely chopped coffee beans for extra texture. For a sweeter touch, use powdered sugar or cocoa powder. Each choice adds a fun twist to every bite, making these truffles even more exciting.
Storage Info
Best Storage Practices
To keep your No Bake Chocolate Espresso Pumpkin Truffles fresh, store them in an airtight container. Line the bottom with parchment paper to avoid sticking. Place a layer of truffles in the container, leaving space between each one. Cover the container tightly to keep out air. This helps maintain their rich flavor and soft texture.
How Long Do They Last?
These truffles can last up to one week in the fridge. If you keep them sealed, they stay delicious and safe to eat. After a week, you may notice a change in texture. They might not taste as fresh, but they will still be safe to enjoy.
Freezing Instructions
Freezing these truffles is a great option for longer storage. First, let the truffles set in the fridge for about 15 minutes. Then, place them on a baking sheet lined with parchment paper, making sure they aren’t touching. Freeze them for about two hours. Once they are firm, transfer the truffles into a freezer-safe bag or container. They can last up to three months in the freezer. When you want to eat them, just let them thaw in the fridge overnight.
FAQs
Can I use different nut flours?
Yes, you can use different nut flours. Almond flour works great, but try cashew or hazelnut flour too. Each will bring a unique flavor. Just keep the same amount as the almond flour in the recipe. Remember, different flours may change the texture slightly.
How do I make them sweeter?
To make these truffles sweeter, add more maple syrup. Start with an extra tablespoon and taste as you go. You can also use powdered sugar or agave syrup if you prefer. Adjust until you reach your desired sweetness.
What’s the best way to serve them?
Serve the truffles chilled for the best taste. Place them in a decorative box or on a tiered stand. A light dusting of cocoa powder or shredded coconut makes them look fancy. They are perfect for parties or as a sweet gift!
In this blog post, we covered how to make delicious truffles. We discussed ingredients, step-by-step instructions, and tips to improve texture. You learned about variations for different diets and how to store your truffles.
Truffles can be fun and easy to make. With the right ingredients and methods, you can impress anyone. Enjoy the process and share your tasty truffles with friends!