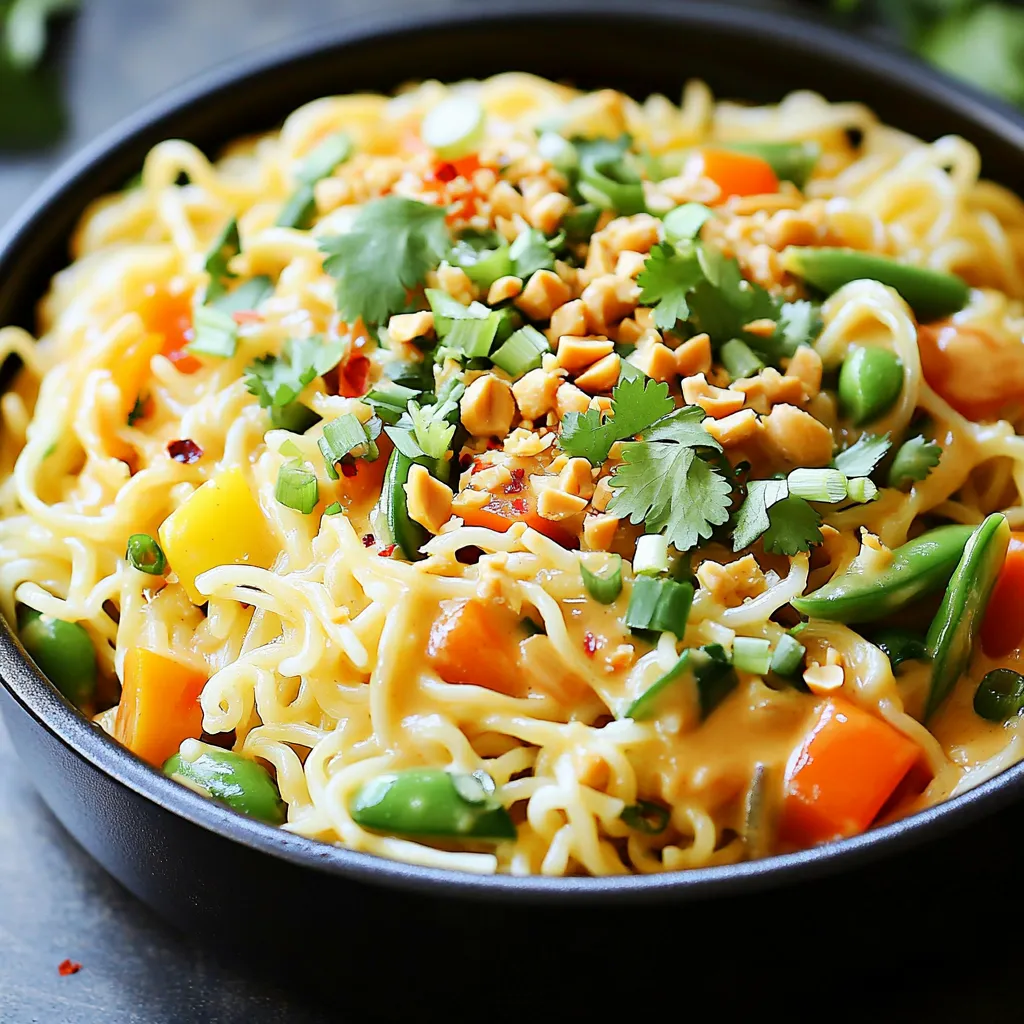
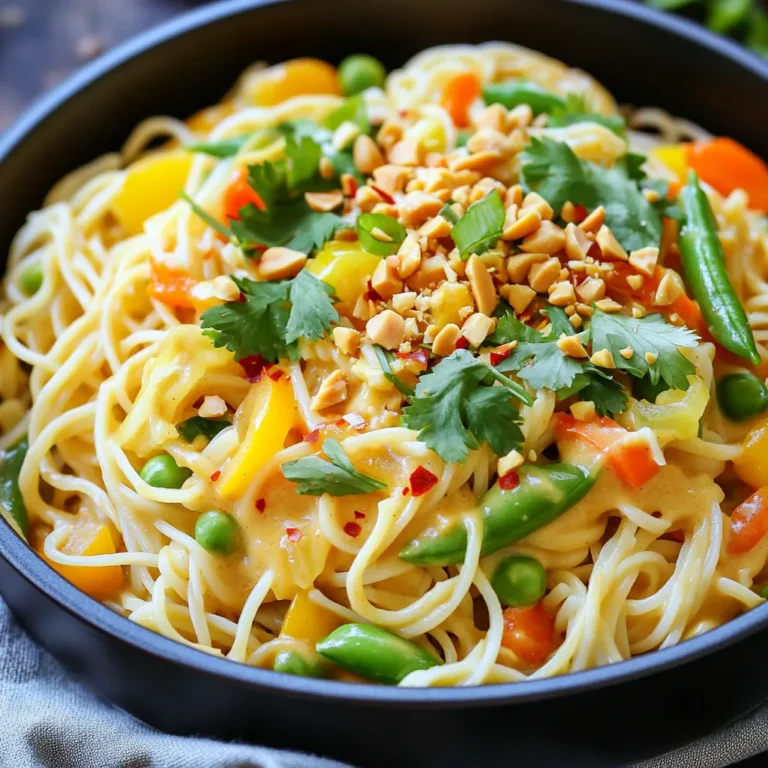
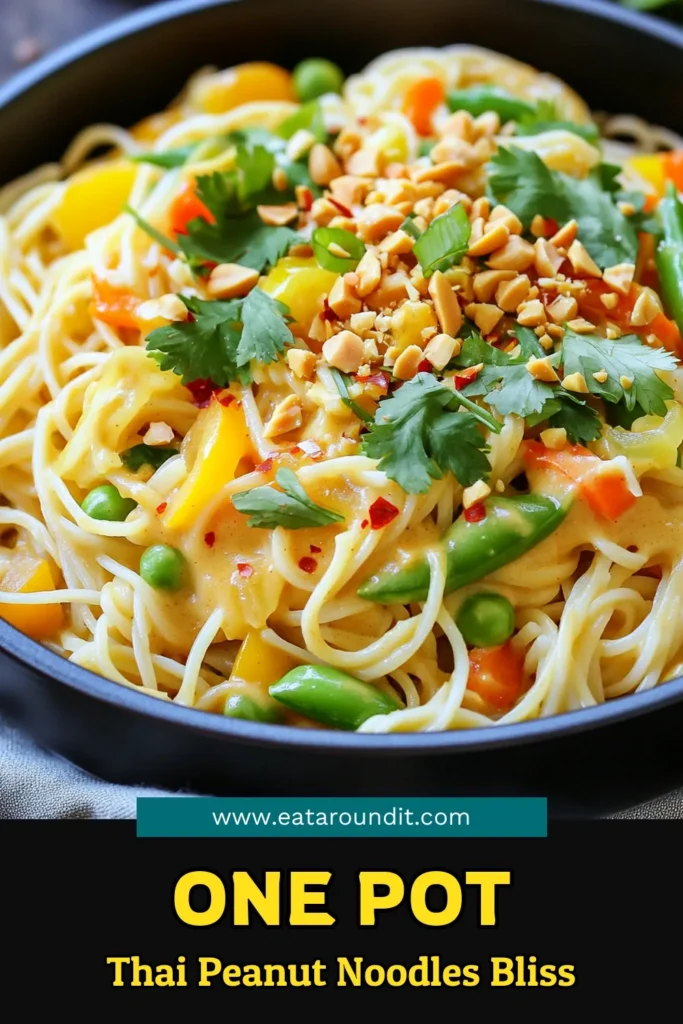
Looking for a quick and easy meal? One-Pot Creamy Thai Peanut Noodles deliver big flavor with little fuss. You’ll enjoy a rich, creamy sauce that you can whip up in just one pot. Whether you’re a busy parent or a student on the go, this dish takes minutes to prepare and satisfies everyone. Join me as I guide you through this tasty Thai treat that makes dinner a breeze!
Ingredients
Complete ingredient list for One-Pot Creamy Thai Peanut Noodles
To make this dish, you will need:
– 8 oz rice noodles
– 1 cup coconut milk
– 1/2 cup creamy peanut butter
– 2 tablespoons soy sauce (or tamari for a gluten-free option)
– 2 tablespoons freshly squeezed lime juice
– 1 tablespoon brown sugar
– 1 tablespoon sesame oil
– 2 cups mixed vegetables (like bell peppers, finely sliced carrots, and snap peas)
– 2 green onions, thinly sliced
– 1/4 cup fresh cilantro, roughly chopped
– Crushed peanuts for garnish
– Red pepper flakes (optional for extra heat)
Dietary considerations for substitutions (gluten-free, vegan, etc.)
If you need gluten-free options, use tamari instead of soy sauce. For vegan needs, check that your peanut butter and sugar are vegan-friendly. You can skip the crushed peanuts for a nut-free version. If you want to add protein, consider tofu or chickpeas, both of which fit well into this dish.
Tips for choosing fresh ingredients
Choose rice noodles that are smooth and unbroken. Fresh vegetables should be bright and firm. Look for coconut milk that is creamy and without additives. Fresh herbs like cilantro and green onions should smell fragrant. This will help you create a dish that bursts with flavor and looks great on the plate.
Step-by-Step Instructions
Detailed cooking process for One-Pot Creamy Thai Peanut Noodles
1. Start by boiling 4 cups of water in a large pot.
2. Once the water boils, add 8 oz of rice noodles. Cook them until they are al dente, as per the package instructions.
3. Drain the noodles in a colander and set them aside for now.
4. In the same pot, lower the heat to medium. Pour in 1 cup of coconut milk.
5. Add in 1/2 cup of creamy peanut butter, 2 tablespoons of soy sauce, and 2 tablespoons of lime juice.
6. Mix in 1 tablespoon of brown sugar and 1 tablespoon of sesame oil. Stir this well until it forms a smooth sauce.
7. Next, toss in 2 cups of mixed vegetables. Cook them for about 5 minutes. Stir occasionally until they are tender but still a bit crisp.
8. Now, return the cooked rice noodles to the pot. Toss them gently with the sauce and vegetables. Make sure everything is coated well and heated through.
9. Serve the noodles in bowls. Top with sliced green onions, chopped cilantro, and crushed peanuts. Add red pepper flakes if you want extra heat.
Visual aids: potential images or video link suggestions for each step
– Step 1 & 2: Image of boiling water with noodles.
– Step 3: Video of noodles being drained.
– Step 4: Photo of coconut milk being poured into the pot.
– Step 5: Video of mixing peanut butter and other ingredients.
– Step 6: Image showing the smooth sauce consistency.
– Step 7: Photo of mixed vegetables in the pot.
– Step 8: Video of tossing noodles with sauce and veggies.
– Step 9: Final dish presentation image with toppings.
Common mistakes to avoid in the cooking process
– Do not overcook the noodles; they should be al dente.
– Make sure to stir the sauce well to avoid lumps.
– Avoid adding too many vegetables at once; this can make them soggy.
– Don’t skip the toppings; they add flavor and texture.
– Be careful with the heat level; adjust red pepper flakes to your taste.
Tips & Tricks
How to achieve the perfect creamy sauce consistency
To get a creamy sauce, start with high-quality coconut milk. Use full-fat coconut milk for best results. Mix the peanut butter in well. Heat the pot on medium for a smooth blend. Stir often to avoid lumps and ensure a creamy texture. If it’s too thick, add a splash of water or more coconut milk.
Suggestions for ingredient swaps to enhance flavor
You can swap soy sauce for tamari if you need a gluten-free option. For more zing, add a bit of ginger or garlic. Try using almond butter instead of peanut butter for a twist. If you want more color, add red bell peppers or snap peas. Fresh herbs like basil can also boost the taste.
Time-saving tips for meal prep and cooking
Prep your veggies ahead of time. Slice them the night before and store them in the fridge. You can also cook the noodles early and store them. This makes cooking faster when you’re ready to eat. A large pot saves time by cooking everything in one go. Clean as you go to make it easier later.

Variations
Incorporating protein options (chicken, tofu, shrimp, etc.)
You can easily add protein to your One-Pot Creamy Thai Peanut Noodles. For chicken, use cooked, shredded chicken. It adds a nice texture and works well with the sauce. If you like shrimp, add them in the last few minutes of cooking. They cook fast and absorb great flavors. Tofu is a fantastic plant-based choice. Just cube it and sauté it before adding to the noodles. This way, it gets crispy and adds depth to your dish.
Vegan-friendly modifications for a plant-based dish
Making this dish vegan is simple. Start with tofu as your protein. You can also swap the creamy peanut butter for a nut-free butter if you have allergies. Use tamari instead of soy sauce to keep it gluten-free. All other ingredients fit well into a vegan diet. This way, everyone can enjoy the creamy goodness without meat or dairy.
Seasonal vegetable suggestions for variety
To keep things fresh, use seasonal veggies in your Thai peanut noodles. In spring, add snap peas and asparagus. In summer, use bell peppers and zucchini. Fall is great for squash and carrots, while winter calls for hearty greens like kale. Changing the vegetables can change the dish’s flavor while keeping it colorful and healthy. Plus, it gives you a chance to try new textures and tastes.
Storage Info
Best practices for storing leftover One-Pot Thai Peanut Noodles
To keep your One-Pot Thai Peanut Noodles fresh, store them in an airtight container. Make sure to let the noodles cool down to room temperature before sealing. This helps prevent moisture buildup, which can make them soggy. You can keep them in the fridge for up to three days. If you know you won’t eat them right away, consider freezing them.
Reheating instructions for optimal taste and texture
When ready to eat your leftovers, reheat them gently. You can use a microwave or a stovetop. If using a microwave, place the noodles in a bowl and add a splash of water. Cover the bowl with a damp paper towel to keep moisture in. Heat them in short bursts, stirring in between. For stovetop reheating, place the noodles in a pan over low heat. Add a bit of coconut milk or water to keep them creamy. Stir until they are heated through.
Freezing guidelines for long-term storage
To freeze your Thai Peanut Noodles, portion them into freezer-safe bags. Remove as much air as possible before sealing. Label each bag with the date to track freshness. These noodles can last up to three months in the freezer. When you’re ready to eat, thaw them in the fridge overnight. Reheat as mentioned above for the best results.
FAQs
What can I substitute for soy sauce in the recipe?
You can use tamari for a gluten-free option. If you want a different flavor, use coconut aminos. This choice has a mild taste and is less salty. Both options work well in this dish.
How do I make the dish spicier?
To add heat, sprinkle in red pepper flakes while cooking. You can also add sliced fresh chilies or a dash of hot sauce. Start with a little, then taste as you go. This way, you can find the spice level you enjoy.
Can I use a different type of noodle?
Yes, you can swap rice noodles for other types. Try soba noodles or whole grain spaghetti. Just be sure to adjust the cooking time based on the noodle type. Each will give a unique twist to your dish.
What are the origins of Thai peanut noodles?
Thai peanut noodles come from Thailand, where peanut sauces are common. The dish blends Thai flavors with Asian noodles. It reflects the balance of sweet, salty, and spicy tastes in Thai cuisine.
How long do leftovers last in the fridge?
Leftovers can last up to three days in the fridge. Store them in an airtight container to keep them fresh. When reheating, add a splash of coconut milk if the noodles seem dry. This keeps the dish creamy and delicious.
In this post, we covered how to make One-Pot Creamy Thai Peanut Noodles. We explored key ingredients, cooking steps, and tips for a tasty dish. You can customize it with proteins or spices. Remember, choose fresh ingredients for the best flavor. Proper storage will keep your leftovers delicious. Enjoy your cooking, and feel free to ask questions if you have them. Your kitchen will shine with this meal!


