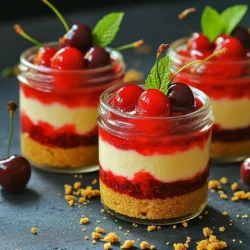
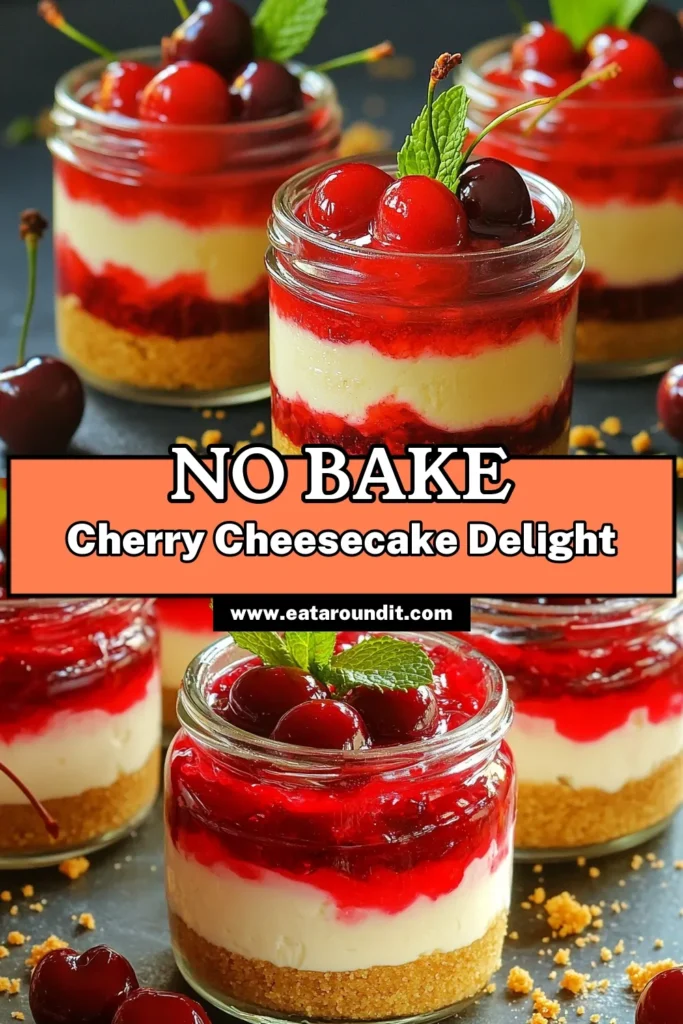
Are you ready to whip up a delicious dessert that’s easy to make and fun to eat? No-bake cherry cheesecake jars are the perfect treat for any occasion. These tasty jars combine creamy cheesecake with sweet cherry topping, and you won’t need to turn on the oven! Follow my simple steps to create this delightful dessert. Let’s dive in and make your new favorite treat!
Ingredients
Essential Ingredients for No-Bake Cherry Cheesecake Jars
For this delightful treat, you will need a few key ingredients:
– 1 cup graham cracker crumbs
– 4 tablespoons unsalted butter, melted
– 8 oz cream cheese, softened at room temperature
– 1/2 cup powdered sugar
– 1 teaspoon vanilla extract
– 1 cup heavy cream, chilled
– 1 can (15 oz) cherry pie filling
– Optional garnishes: Fresh cherries and mint leaves
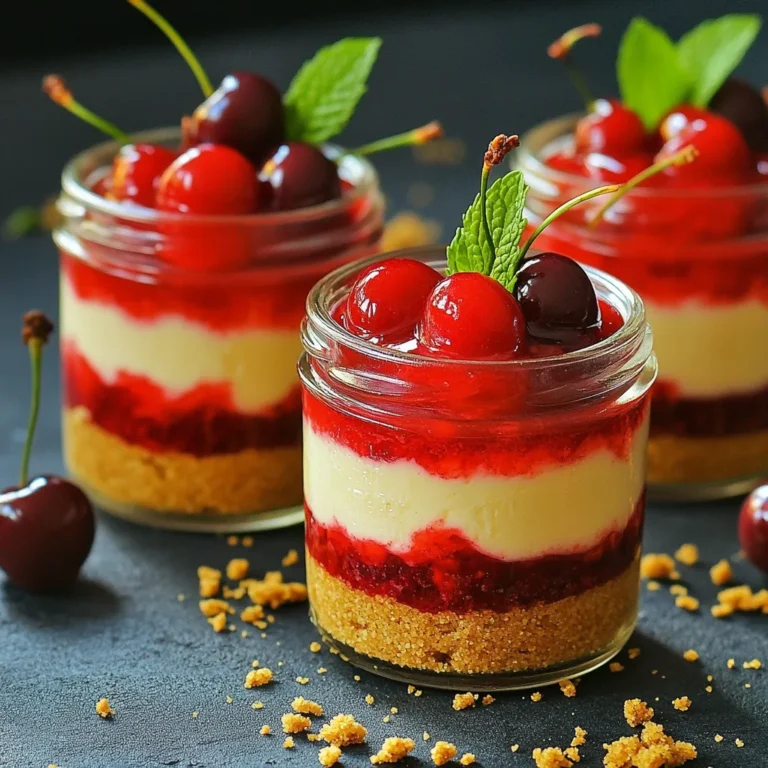
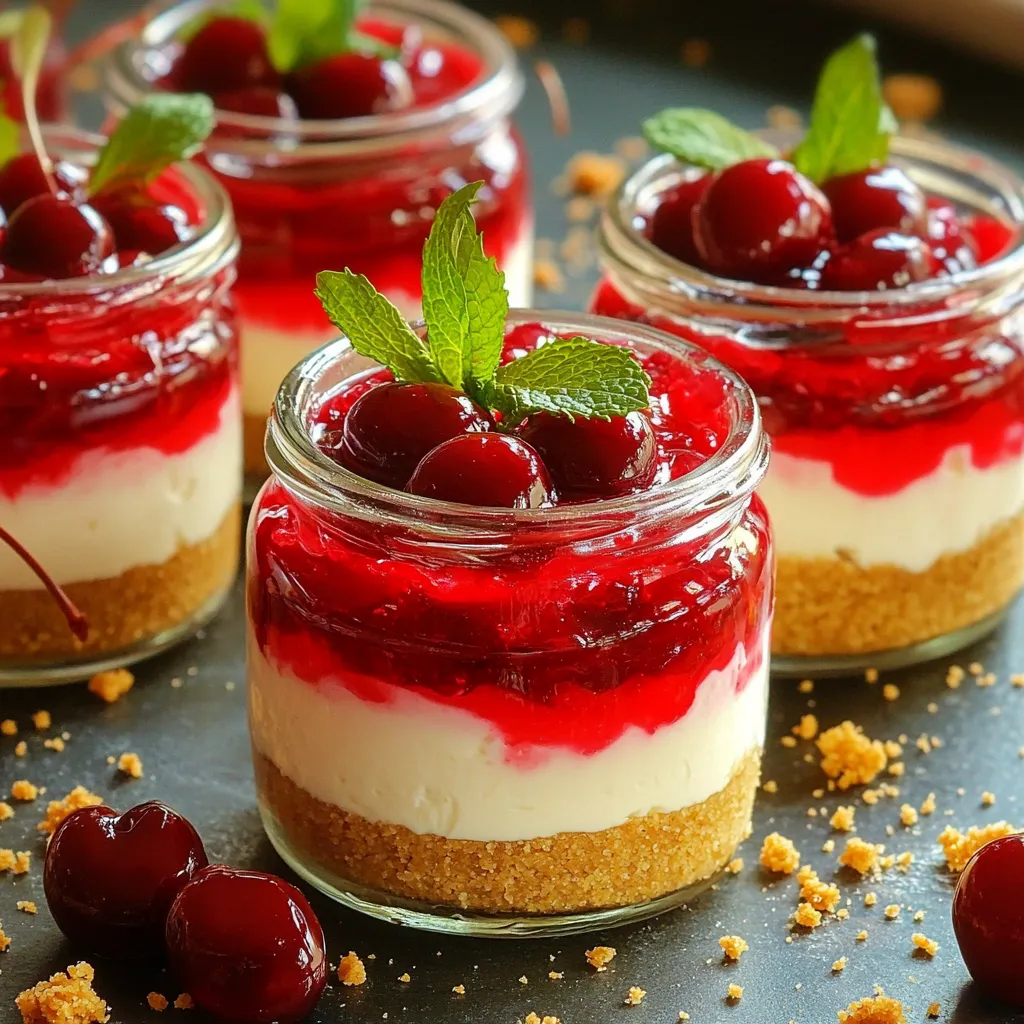
These ingredients create a rich, creamy cheesecake with a buttery crust. The graham crackers give the base a nice crunch. The melted butter helps hold the crust together. Cream cheese adds that smooth, creamy texture we love. The powdered sugar sweetens it just right, while the vanilla adds a warm flavor. Chilled heavy cream makes the filling light and fluffy. Top it all with cherry pie filling for a sweet finish. You can add fresh cherries or mint leaves for a pretty touch. This recipe is simple, fun, and perfect for any occasion!
Step-by-Step Instructions
Preparing the Base and Crust Layer
1. Start by mixing the graham cracker crumbs with melted butter in a bowl.
2. Stir until the mix looks like wet sand. This helps form a great crust.
3. Take small jars and scoop about 2 tablespoons of this mix into each jar.
4. Use the back of a spoon to press the mix down firmly. This makes a solid base.
Making the Cheesecake Filling
1. In a new bowl, beat the softened cream cheese with an electric mixer. Mix until smooth.
2. Gradually add the powdered sugar and vanilla extract. Keep mixing until there are no lumps.
3. In another bowl, pour the chilled heavy cream. Whip it until stiff peaks form. This gives the cheesecake a fluffy texture.
Assembling the Cheesecake Jars
1. Carefully fold the whipped cream into the cream cheese mix using a spatula. Don’t deflate the whipped cream.
2. Spoon or pipe the cheesecake filling on top of the crust in each jar. Fill them halfway and smooth the tops.
3. Add a layer of cherry pie filling over the cheesecake. This adds a sweet, tangy flavor.
4. If you have enough, repeat the layers of cheesecake and cherry filling until you fill the jars.
5. Finish with cherry pie filling on top for a beautiful look.
6. Cover the jars tightly and place them in the refrigerator. Chill for at least 4 hours. This helps the cheesecake set.
Tips & Tricks
Ensuring a Perfect Cheesecake Texture
Using room temperature ingredients is key. It helps the cream cheese mix well. Softened cream cheese blends into a smooth filling. Cold cream cheese can cause lumps. Remember to take it out early to warm up.
Folding whipped cream is a skill. You want to keep its lightness. Gently scoop from the bottom and fold over the top. Avoid stirring too hard. This keeps the air in the cream.
Presentation Tips
Choose fun and decorative jars for serving. Clear jars show off the layers. Use small jars for single servings. It adds charm and makes sharing easy.
For garnish, fresh cherries and mint leaves work well. They add color and freshness. You can also use a drizzle of chocolate for extra flair. Adding these touches makes your dessert look amazing.
Variations
Flavor Variations
You can switch up the flavors for your no-bake cherry cheesecake jars. Instead of cherry pie filling, try other fruit toppings. Fresh strawberries, blueberries, or even mango can add a new twist. Each fruit gives a different taste and look.
You can also add chocolate or lemon flavor to the cheesecake filling. For chocolate, mix in cocoa powder or melted chocolate. For lemon, add lemon juice and zest. These flavors make the cheesecake bright and fun.
Dietary Adjustments
If you need to make dietary changes, it’s easy. To create a gluten-free graham cracker crust, use gluten-free graham crackers. Crush them and mix with melted butter just like the original recipe.
For a dairy-free option, swap the cream cheese and heavy cream. Use dairy-free cream cheese and coconut cream. This still gives a creamy texture, and it tastes great too. Enjoy these variations while keeping the fun and flavor you love!
Storage Info
Proper Storage Techniques
To keep your no-bake cherry cheesecake jars fresh, store them in the fridge. Use tight lids or plastic wrap. This keeps the flavors strong and the texture smooth. Your jars can last for up to five days in the fridge. Always check for freshness before serving.
Freezing Instructions
Yes, you can freeze no-bake cheesecake jars! Just make sure they are covered well. This helps prevent freezer burn. They can stay good for up to two months.
To enjoy them later, thaw the jars in the fridge overnight. This keeps the texture creamy. Once thawed, serve them cold. Add fresh cherries on top for a nice touch. Enjoy your delicious treat!
FAQs
How long do no-bake cheesecake jars need to chill?
No-bake cheesecake jars need to chill for at least 4 hours. This time helps the cheesecake set properly. If you can, let them chill overnight. The longer they chill, the better the flavors meld together.
Can I use a different type of crust for this recipe?
Yes, you can use a different type of crust. Try crushed cookies like Oreos or vanilla wafers. You can also make a nut-based crust for a gluten-free option. Just make sure to mix the crust with melted butter for the right texture.
What is the best way to serve no-bake cheesecake jars?
Serve the jars chilled straight from the fridge. You can garnish with fresh cherries or mint leaves for a nice touch. These little jars look great on a table. They are easy to grab for guests, too.
This no-bake cherry cheesecake jars recipe is simple and tasty. You can enjoy making the layers of crust and cheesecake filling easily. Remember to use room temperature ingredients for the best texture. Try different fruits and flavors to make it your own. These jars look great and stay fresh in the fridge. End your meal on a sweet note with these treats. Happy baking!