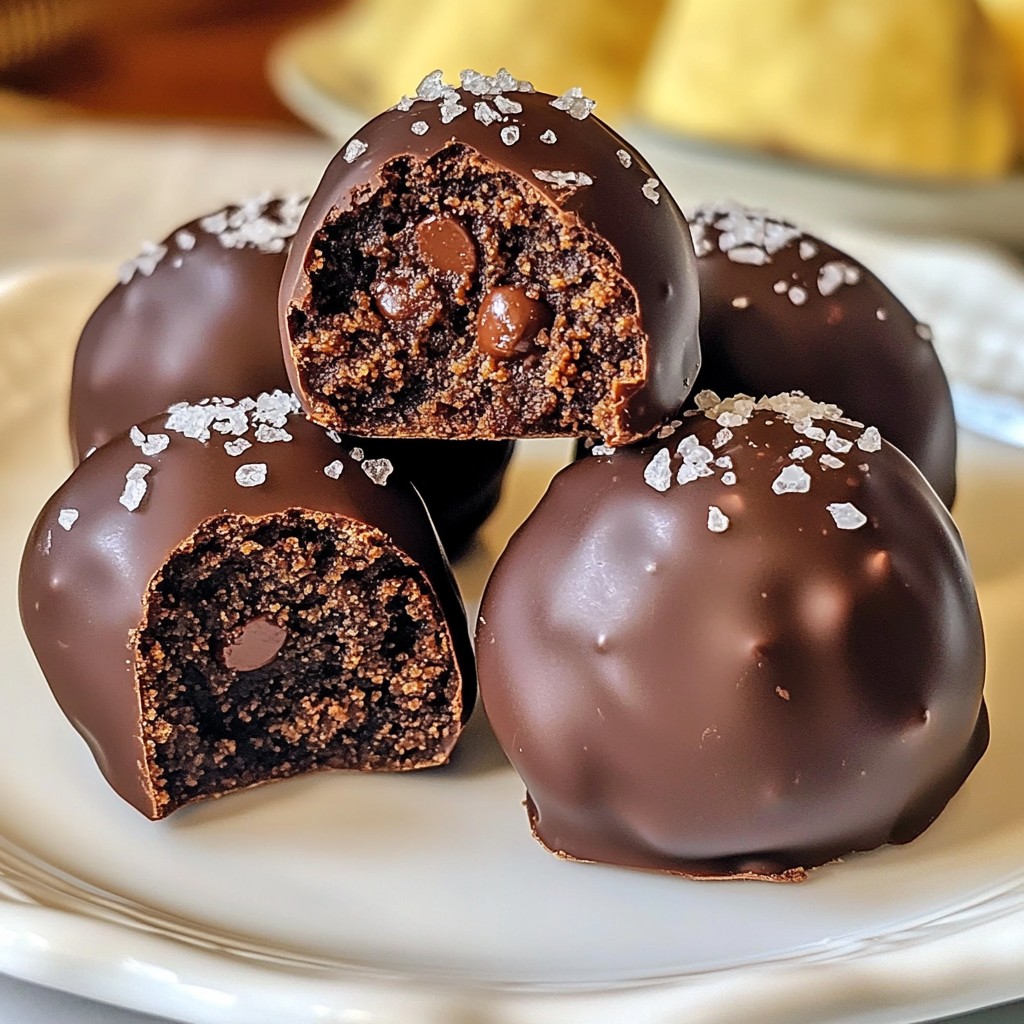
If you love cookie dough and chocolate, you’re in for a treat! These Chocolate Chip Cookie Dough Truffles are the perfect bite-sized joy you never knew you needed. Imagine rich, sweet dough wrapped in a smooth chocolate shell. I'll guide you through easy steps and helpful tips to create these blissful bites. Get ready to impress your friends with this simple yet delightful recipe! Let’s dive into making these irresistible truffles together!
Why I Love This Recipe
- Irresistible Flavor: These truffles combine the classic taste of chocolate chip cookies with a rich chocolate coating, creating a dessert that's hard to resist.
- Easy to Make: This recipe is simple and straightforward, making it perfect for both novice and experienced bakers.
- Customizable: You can easily modify the recipe by adding nuts, different types of chocolate, or even flavor extracts to suit your taste.
- Perfect for Gift Giving: These truffles are beautifully presented and make a delightful gift for friends and family during the holidays or special occasions.
Ingredients
List of Essential Ingredients
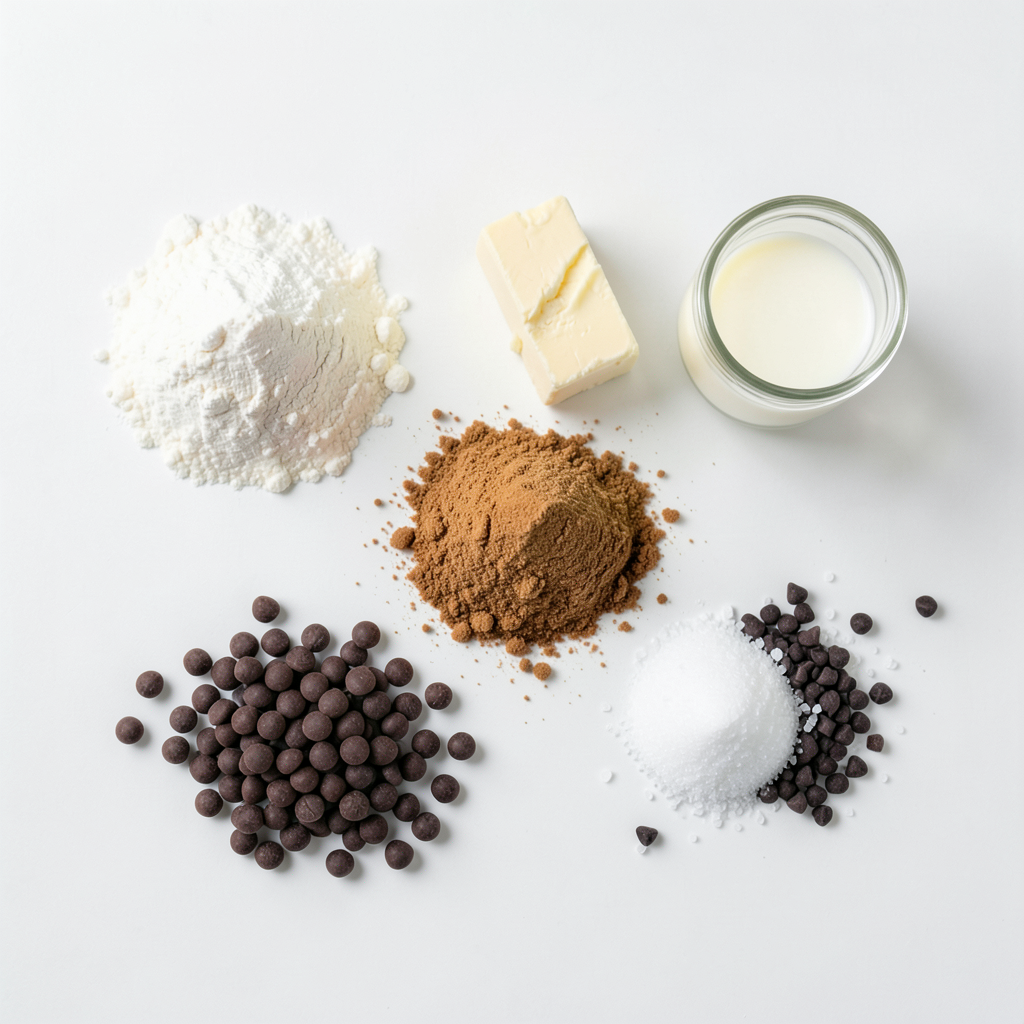
To make these delightful truffles, you need the following ingredients:
- 1 cup all-purpose flour
- 1/2 cup unsalted butter, softened to room temperature
- 1/2 cup light brown sugar, tightly packed
- 1/4 cup granulated sugar
- 2 tablespoons milk (whole or your choice)
- 1 teaspoon pure vanilla extract
- 1/2 cup mini chocolate chips
- 1 cup dark chocolate chips (for coating)
- Sea salt (for finishing, optional)
Ingredient Substitutions
If you need to make changes, consider these swaps:
- Use coconut oil instead of butter for a dairy-free option.
- Substitute brown sugar with coconut sugar for a different flavor.
- Try oat flour or almond flour to make the recipe gluten-free.
- Use almond milk or oat milk instead of regular milk.
- Replace dark chocolate with milk chocolate for a sweeter taste.
Tips for Choosing Quality Ingredients
Selecting the best ingredients makes a big difference. Here’s how to choose wisely:
- Butter: Always go for unsalted butter for better control over salt in your recipe.
- Sugar: Choose light brown sugar that is fresh and tightly packed for the best texture.
- Flour: Use high-quality all-purpose flour to ensure great results.
- Chocolate: Pick dark chocolate that contains at least 60% cacao for rich flavor.
- Vanilla: Use pure vanilla extract instead of imitation for a more natural taste.
Using fresh and quality ingredients enhances the flavor and texture of your cookie dough truffles. Enjoy the baking process!
Step-by-Step Instructions
Detailed Preparation Steps
1. Prepare the Flour: First, take your all-purpose flour. Heat it in the microwave for 1-2 minutes. This step is key. It kills any bacteria in the flour. After heating, let it cool completely before using.
2. Cream the Base: Next, grab a large mixing bowl. Use a hand mixer to cream together the softened butter, brown sugar, and granulated sugar. Mix on medium speed for about 2-3 minutes. The goal is a light and fluffy mixture.
3. Combine Ingredients: Now, add the cooled flour, milk, and vanilla extract to the creamed mixture. Mix on low speed until just combined. Be careful not to overmix. We want to keep the dough soft.
4. Incorporate Chocolate Chips: Gently fold in the mini chocolate chips. Use a spatula or wooden spoon for this. Make sure the chips are evenly spread throughout the dough.
5. Shape the Dough: With clean hands, scoop out tablespoon-sized portions of dough. Roll each piece into a smooth ball. Place the balls on a parchment-lined baking sheet, leaving space between them.
6. Chill the Dough: Put the baking sheet in the refrigerator for about 30 minutes. This helps the dough firm up for easier coating later.
7. Melt the Chocolate: While the dough chills, melt the dark chocolate chips. Use a microwave-safe bowl. Heat in 30-second bursts, stirring in between. Keep doing this until the chocolate is smooth.
8. Coat the Dough Balls: Once the dough balls are chilled, dip each one into the melted chocolate. Make sure each ball is fully coated. Use a fork to lift it out and let excess chocolate drip back into the bowl.
9. Set the Truffles: Place the chocolate-coated truffles back on the baking sheet. If you like, sprinkle a pinch of sea salt over each one. This adds a nice touch to the flavor.
10. Final Chill: Return the truffles to the fridge for about 15 minutes. This allows the chocolate coating to set and harden.
Important Cooking Techniques
- Microwave Flour Safely: Always microwave flour to kill bacteria. This step is crucial for food safety.
- Mixing Technique: Creaming butter and sugars properly is key. It adds air and creates a light texture.
- Gentle Folding: When adding chocolate chips, fold gently. This keeps the dough airy and light.
- Chilling for Coating: Chilling the dough balls makes coating easier. It prevents the chocolate from melting too quickly.
Visuals or Video Recommendations for Each Step
- For the flour preparation, a quick video showing the microwaving process can help make it clear.
- The creaming step benefits from a visual to show the light and fluffy texture.
- A video of the folding process can show how to mix without overdoing it.
- Lastly, visuals of the coating technique can guide readers on how to achieve a smooth finish.
Tips & Tricks
How to Avoid Common Mistakes
To make perfect cookie dough truffles, pay attention to the flour. Always heat the flour first to kill any germs. This step is key for safe eating. Make sure the butter is softened but not melted. Softened butter mixes better and gives a nice texture. When mixing, avoid overmixing. This keeps the dough soft and chewy.
Enhancing Flavor and Texture
You can boost the flavor by using high-quality vanilla extract. This small change makes a big impact. Consider adding a pinch of sea salt into the dough for a sweet-salty flavor. For a richer taste, use dark brown sugar instead of light brown sugar. It adds depth to the sweetness. Always use mini chocolate chips for added texture in each bite.
Perfecting the Chocolate Coating
When melting chocolate, do it slowly. Use a microwave in 30-second bursts to avoid burning. Stir between each burst until smooth. This ensures a shiny finish. After coating the truffles, sprinkle a little sea salt on top. It elevates the taste and makes them look fancy. For a fun twist, drizzle white chocolate over the dark coating for a pretty design.
Pro Tips
- Chill for Better Coating: Ensure the dough balls are well-chilled before coating them in chocolate. This helps the chocolate coating to adhere better and maintain its shape.
- Choose Quality Chocolate: Use high-quality dark chocolate for coating to enhance the flavor of your truffles. The better the chocolate, the more decadent your truffles will taste.
- Experiment with Mix-ins: Feel free to customize your truffles by adding different mix-ins like nuts, dried fruits, or flavored extracts to the cookie dough for a unique twist.
- Store Properly: Keep the finished truffles in an airtight container in the refrigerator to maintain their freshness. They can last up to a week, but they're best enjoyed within a few days.
Variations
Flavor Variations
You can change the flavor of your truffles easily. For a nutty twist, add chopped nuts like walnuts or pecans to the dough. You can also use nut butter, like peanut or almond butter, for a richer taste. If you want spice, try adding a dash of cinnamon or nutmeg. These flavors blend well with the chocolate and enhance the overall taste.
Dietary Adjustments
If you're looking for vegan options, swap the butter for coconut oil or a vegan butter substitute. Use almond or oat milk instead of regular milk. For gluten-free truffles, replace the all-purpose flour with a gluten-free flour blend. These changes keep the truffles tasty while fitting your dietary needs.
Holiday and Seasonal Twists
You can make these truffles fun for any holiday. For Halloween, add orange food coloring to the chocolate coating and sprinkle with festive toppings. During Christmas, mix in peppermint extract and top with crushed candy canes. These ideas give your truffles a seasonal flair, making them perfect for any celebration.
Storage Info
Best Practices for Storing Truffles
To keep your chocolate chip cookie dough truffles fresh, store them in an airtight container. This helps prevent them from drying out or absorbing other smells. Place parchment paper between layers if stacking them. Keep the container in the fridge to maintain firmness and flavor.
Freezing Instructions for Long-term Storage
You can freeze your truffles if you want to save some for later. First, place the truffles on a baking sheet and freeze them until solid. Then, transfer them to an airtight container or freezer bag. They can last up to three months in the freezer. When ready to enjoy, let them thaw in the fridge for a few hours.
Shelf Life and Quality Maintenance Tips
These truffles will stay fresh in the fridge for about a week. After that, the quality may decline. Check for any changes in texture or smell before eating. If you notice anything off, it’s best to toss them. Enjoy your truffles while they are at their best!
FAQs
Can I use pre-made cookie dough?
Yes, you can use pre-made cookie dough. This option saves time and effort. Look for a brand that has a good flavor and texture. Just scoop and roll the dough into balls. Then, chill them and coat in melted chocolate. This method still gives you a fun treat without much work.
How do I make these truffles gluten-free?
To make gluten-free truffles, swap the all-purpose flour for a gluten-free blend. Many brands offer gluten-free flour that works well in recipes. Be sure to check the label to ensure it is safe for your needs. Follow the same steps in the recipe. Enjoy your delicious truffles without gluten!
What is the best way to melt chocolate?
The best way to melt chocolate is using a microwave. Place chocolate chips in a microwave-safe bowl. Heat them in 30-second intervals. Stir after each interval until smooth. This method helps avoid burning the chocolate. You can also melt chocolate using a double boiler for more control. Just be careful not to let water touch the chocolate.
In this post, we covered essential ingredients, cooking steps, and tips for making truffles. You learned how to choose quality items, avoid common mistakes, and try fun flavor twists. I shared ways to store your treats for long-lasting taste.
Remember, following these steps leads to delicious results. Enjoy your truffle-making journey! Happy cooking!