Are you ready to make a sweet treat that everyone loves? Chocolate Covered Peanut Clusters are a simple and delightful snack that’s perfect for any occasion. With just a few ingredients, you can create these crunchy, chocolaty bites at home. I’ll guide you through the easy steps, tips, and tasty variations. Let’s dive into this delicious journey and get munching!
Ingredients
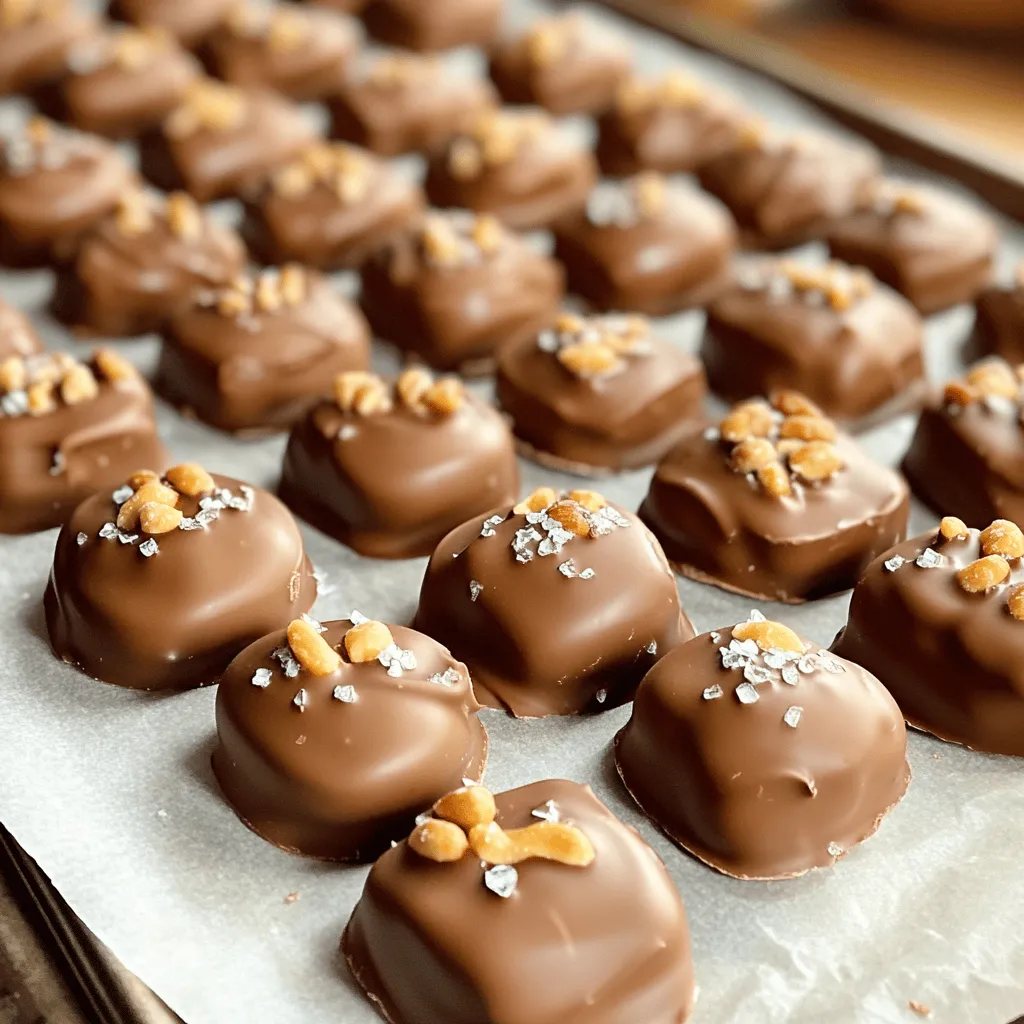
Here’s what you need to make chocolate covered peanut clusters:
– 2 cups unsalted roasted peanuts
– 1 cup semi-sweet chocolate chips
– 1/2 cup milk chocolate chips
– 1 teaspoon coconut oil (optional)
– Sea salt (optional)
These ingredients are simple and easy to find. Start with unsalted roasted peanuts for the best flavor. The semi-sweet and milk chocolate chips blend well. The coconut oil helps make the chocolate smooth, but you can skip it if you want. A sprinkle of sea salt adds a nice touch, but it’s not a must.
Gather these items, and you’re ready to create a sweet treat!
Step-by-Step Instructions
Preparation of Workspace
Start by preparing your workspace. Line a baking sheet with parchment paper. This helps prevent sticking and makes cleanup easy. Set this lined sheet aside for later use.
Melting the Chocolate
Next, we need to melt the chocolate. Combine 1 cup of semi-sweet chocolate chips and 1/2 cup of milk chocolate chips in a heatproof mixing bowl. If you want a smoother texture, add 1 teaspoon of coconut oil. Melt the chocolate using a double boiler on the stove or in the microwave. If using the microwave, heat in 30-second bursts, stirring well in between. This ensures the chocolate melts evenly and stays smooth.
Mixing the Ingredients
Once the chocolate is melted, remove it from the heat. Let it cool for one to two minutes. This prevents the peanuts from getting too hot. Now, gently fold in 2 cups of unsalted roasted peanuts. Stir carefully to coat each peanut evenly with the chocolate.
Forming the Clusters
Use a spoon or cookie scoop to portion out the chocolate-coated peanuts. Place them onto the lined baking sheet. Make sure to space each cluster about an inch apart. This gives them room to set without sticking together.
Setting the Clusters
To set the clusters, move the baking sheet to the refrigerator. Chill them for about 30 minutes. This time allows the chocolate to harden fully. After chilling, gently lift the clusters off the parchment paper. Store them in an airtight container to keep them fresh.
Tips & Tricks
Achieving a Smooth Chocolate Texture
Using coconut oil can improve your chocolate’s texture. It makes the chocolate melt smoothly. This is perfect for coating the peanuts. You only need a small amount, about one teaspoon. If you skip this step, your chocolate may not be as silky. The oil helps create a nice sheen on your clusters, making them look great.
Storing Chocolate Covered Peanut Clusters
To keep your chocolate covered peanut clusters fresh, store them in an airtight container. This helps prevent them from getting stale. You can keep them at room temperature for a week. If you want them to last longer, place them in the fridge. Just remember to let them warm up a bit before eating. This keeps the chocolate from being too hard.
Serving Suggestions
When serving these clusters, think about how they look. You can use a decorative plate to make them stand out. Another fun idea is to place them in colorful treat bags as gifts. They make great snacks for parties or special occasions. You can also add a little note to the bags for a personal touch. This adds a fun element to your homemade treat!

Variations
Alternative Ingredients
You can change the nuts in your clusters. Try using almonds, cashews, or pecans. Each nut brings its own taste and crunch. Think about mixing nuts for a fun blend!
You can also swap out the chocolate. Dark chocolate offers a richer flavor, while white chocolate gives a sweet twist. Each choice changes the clusters’ taste, so pick what you love.
Flavor Enhancements
Want to mix it up? Add a splash of vanilla extract to the melted chocolate. This small change adds a warm flavor. You can also sprinkle sea salt on top. The salt balances the sweetness and makes each bite special.
Try different spices like cinnamon or even a hint of chili powder for a kick. These flavors can surprise your taste buds!
Dietary Modifications
If you need gluten-free snacks, you’re in luck! This recipe is naturally gluten-free, so enjoy without worry.
For a vegan version, choose dairy-free chocolate chips. Many brands offer great options. Check the labels to ensure they fit your diet. You can still enjoy these treats without the animal products!
Storage Info
Best Storage Practices
To keep your chocolate covered peanut clusters fresh, place them in an airtight container. This helps stop air from making them stale. Glass or plastic containers work well. Remember to store them in a cool, dry place away from sunlight. Avoid areas with strong smells, as chocolate can absorb those scents.
Shelf Life
These tasty treats can last up to two weeks if stored properly. After that, they may lose their flavor and crunch. Check for any changes in smell or texture before enjoying them after a week. If they look good, they are likely still safe to eat!
Freezing Guidelines
You can freeze chocolate covered peanut clusters for longer storage. To do this, place them in a single layer on a baking sheet. Freeze them for about an hour until firm. Once frozen, transfer the clusters to an airtight container or freezer bag. They can stay in the freezer for up to three months. When you want to enjoy them, take them out and let them thaw in the fridge for a few hours. This keeps the chocolate smooth and tasty!
FAQs
Can I use different types of chocolate?
Yes, you can use different types of chocolate. Each type gives a unique taste. Dark chocolate is rich and bold. Milk chocolate is sweet and creamy. White chocolate offers a sweet, buttery flavor but lacks cocoa. You can mix these chocolates too! This mix can create a more complex taste in your clusters.
Are there nut-free options?
If you need nut-free options, use seeds instead. Sunflower seeds or pumpkin seeds work well. These seeds add crunch and flavor. You can also try using crispy rice cereal. It gives a nice texture without nuts. Remember to check for allergies in all ingredients!
How do I know when the clusters are set?
You will know the clusters are set when the chocolate is hard. The chocolate should feel firm to the touch. You can also look for a shiny finish. If the clusters are still soft, they need more time in the fridge. Usually, 30 minutes is enough.
Can I add other mix-ins?
Absolutely! There are many fun mix-ins to try. You can add dried fruit like cranberries or raisins. Mini marshmallows or pretzel pieces can add a sweet or salty crunch. Coconut flakes also add a tropical twist. Just remember not to overdo it—keep the balance right!
This blog post covers how to make chocolate-covered peanut clusters. You learned the right ingredients and easy steps to create this treat. We discussed tips for smooth chocolate and smart storage to keep them fresh. Remember, you can use different nuts and flavors for fun twists. With these methods, you can impress your friends and family. Enjoy crafting your tasty clusters at home!