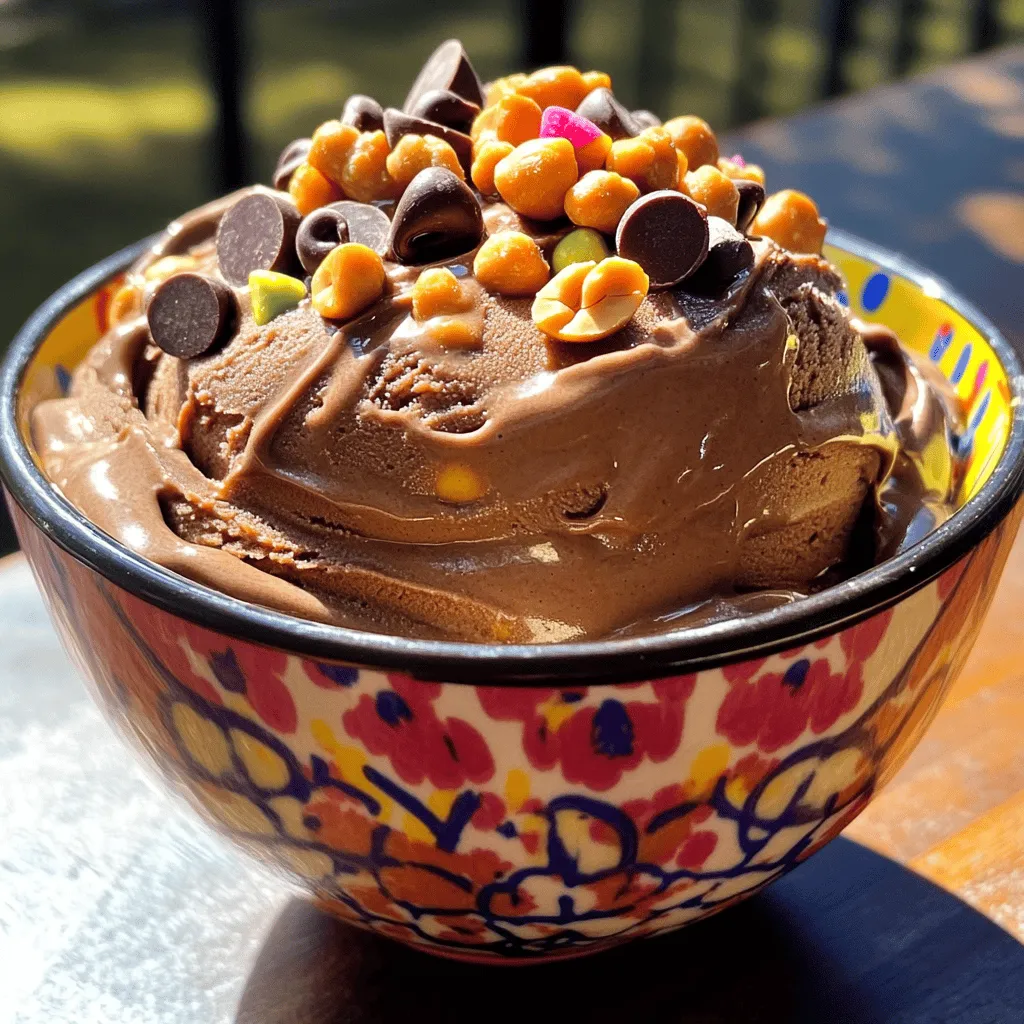
Looking for a sweet treat that’s healthy and easy to make? Meet Chocolate Peanut Butter Banana Nice Cream! This creamy delight is great for hot days or late-night cravings. With just a few ingredients, you can whip up a dessert that checks all the boxes: delicious, nutritious, and guilt-free. Join me as we explore how to make this tasty dessert that will leave everyone wanting more!
Ingredients
List of Essential Ingredients for Nice Cream
To make Chocolate Peanut Butter Banana Nice Cream, you need:
– 4 ripe bananas, peeled, sliced into coins, and frozen
– 2 tablespoons unsweetened cocoa powder
– 3 tablespoons natural peanut butter
– 1 teaspoon pure vanilla extract
– A pinch of sea salt
These ingredients create a rich and smooth base for your nice cream. The frozen bananas give it that creamy texture, while cocoa and peanut butter add flavor.
Optional Ingredients for Sweetness
If you want to add more sweetness, consider these options:
– 1 tablespoon maple syrup or honey
This step is not a must, but it can make your nice cream even sweeter. Taste the mixture during blending. If it needs more sweetness, add the maple syrup or honey, then blend again briefly.
Suggested Garnishes
To elevate your nice cream, you can add these garnishes:
– Chopped roasted peanuts
– Chocolate chips
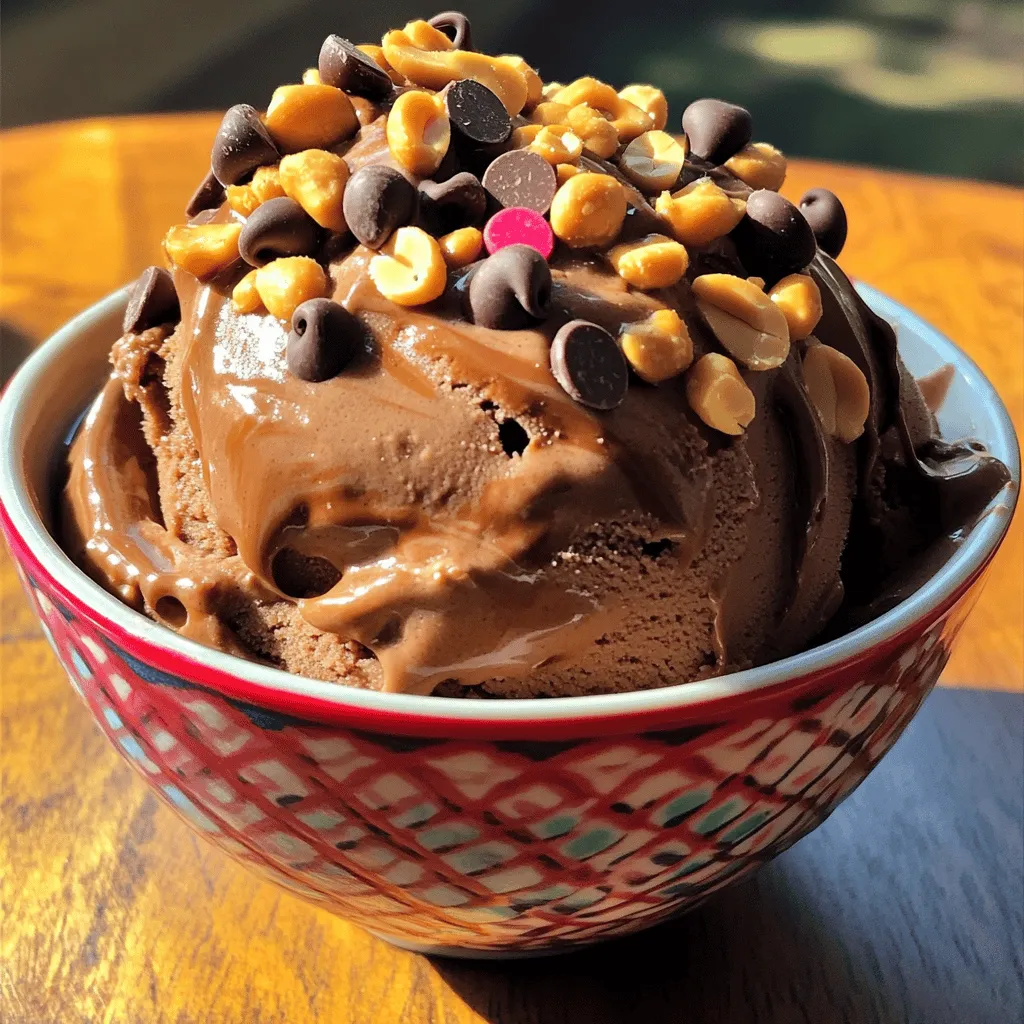
These toppings add crunch and extra flavor. They make your nice cream look even more appealing and fun. Sprinkle them on just before serving for a delightful finish!
Step-by-Step Instructions
Preparing the Bananas
First, take 4 ripe bananas. Peel each one and slice them into coins. Lay the banana coins on a baking sheet lined with parchment paper. It is key to spread them in a single layer. Next, place the baking sheet in the freezer. Leave them in the freezer for at least 4 hours. This step makes sure the bananas are completely frozen.
Blending the Ingredients
Once the bananas are frozen, it is time to blend. Put the frozen banana coins into a food processor. Add 2 tablespoons of unsweetened cocoa powder, 3 tablespoons of natural peanut butter, and 1 tablespoon of maple syrup or honey if you want extra sweetness. Don’t forget to add 1 teaspoon of pure vanilla extract and a pinch of sea salt.
Adjusting Sweetness and Texture
Secure the lid on the food processor. Blend everything until it is smooth and creamy. This should take about 2-3 minutes. Stop every now and then to scrape down the sides. Taste the nice cream. If you want it sweeter, add more maple syrup or honey. Blend again for just a few seconds to mix it well.
Serving Suggestions
You can serve the nice cream right away for a soft-serve feel. Just scoop it into bowls and enjoy! If you like it firmer, put the mixture into an airtight container. Freeze it for an extra hour before serving. For a fun touch, sprinkle chopped roasted peanuts and chocolate chips on top. Serve in chilled bowls to keep it cold longer. Enjoy your treat!
Tips & Tricks
Achieving the Perfect Creamy Texture
To get that smooth and creamy nice cream, frozen bananas are key. Make sure your bananas are ripe. Ripe bananas have more sweetness and flavor. Slice them into coins before freezing. This helps them blend easier. Blend the frozen bananas for 2-3 minutes. Stop to scrape the sides to mix well. This ensures every bit gets creamy.
Freezing and Thawing Recommendations
Freeze banana slices for at least 4 hours. This gives the best texture. If you want soft-serve, serve it right after blending. For firmer nice cream, freeze it in a container for an hour. When ready to serve, let it thaw for about 5-10 minutes. This makes it easier to scoop.
Alternative Sweeteners and Flavor Enhancements
You can use maple syrup or honey for extra sweetness. If you want a healthier touch, try agave syrup or stevia. For a richer flavor, add a bit more cocoa powder. You can also try mixing in a scoop of protein powder. This adds nutrition without changing the taste much.
Variations
Adding Other Fruits
You can add other fruits to your nice cream for fun flavors. Berries work great. Try strawberries or blueberries for a sweet twist. You can also add mango or pineapple for a tropical taste. Just mix them in when you blend the bananas. This way, you get a fruity nice cream that’s still creamy.
Nut Butter Alternatives
If you want to switch up the nut butter, you have options. Almond butter gives a nice flavor too. Cashew butter is creamy and sweet, perfect for this recipe. Sunflower seed butter is a great choice for those with nut allergies. Each option adds a unique taste to your nice cream.
Flavor Combinations for Chocolate Lovers
For chocolate lovers, add extra cocoa powder for a rich flavor. You can also mix in some chocolate chips while blending. A dash of espresso powder enhances the chocolate taste. If you love mint, add a drop of peppermint extract for a minty twist. These easy changes will keep your nice cream exciting!
Storage Info
Best Practices for Freezing
To keep your Chocolate Peanut Butter Banana Nice Cream fresh, freeze it right. Use an airtight container to prevent ice crystals. Before sealing, smooth the top. This helps keep the nice cream creamy and prevents freezer burn. You can also cover the top with plastic wrap before sealing. This extra step adds more protection.
How Long Does Nice Cream Last in the Freezer?
Your nice cream can last up to two weeks in the freezer. After that, it may lose flavor and texture. For best taste, try to enjoy it within the first week. Label your container with the date you made it. This way, you can track how long it has been stored.
Re-thawing Tips for Optimal Texture
When you are ready to enjoy your nice cream again, take it out of the freezer. Let it sit at room temperature for about 10 to 15 minutes. This softens it enough to scoop easily. If it still feels too hard, give it a few more minutes. You want it creamy, not icy. If you want to speed things up, you can blend it again for a few seconds. This helps restore its smooth texture.
FAQs
Can I make Chocolate Peanut Butter Banana Nice Cream without a food processor?
Yes, you can make it without a food processor. Use a strong blender instead. It may take longer to get smooth. You can also mash the bananas by hand. Then, mix in the cocoa powder and peanut butter with a fork. This method works, but the texture will not be as creamy.
Is this nice cream recipe vegan-friendly?
Yes, this nice cream is vegan-friendly. It uses ripe bananas, cocoa powder, and natural peanut butter. Maple syrup can replace honey for sweetness. All these ingredients are plant-based. You can enjoy this treat without worrying about animal products.
How can I make this recipe healthier?
To make this recipe healthier, try these tips:
– Use less maple syrup or skip it. The ripe bananas are sweet enough.
– Add spinach or kale for extra nutrients without changing the flavor much.
– Use unsweetened cocoa powder for lower sugar.
– Swap regular peanut butter for a nut butter with no added sugar.
These changes will still give you a tasty treat and boost its health benefits.
You learned how to make delicious nice cream using easy steps and simple ingredients. We discussed essential ingredients, flavor variations, and how to store your treats. By using tips for creamy texture, you can elevate your nice cream game. Remember, this treat is fun to make and enjoy! Now go ahead and create your own unique flavors. Your nice cream journey starts here!