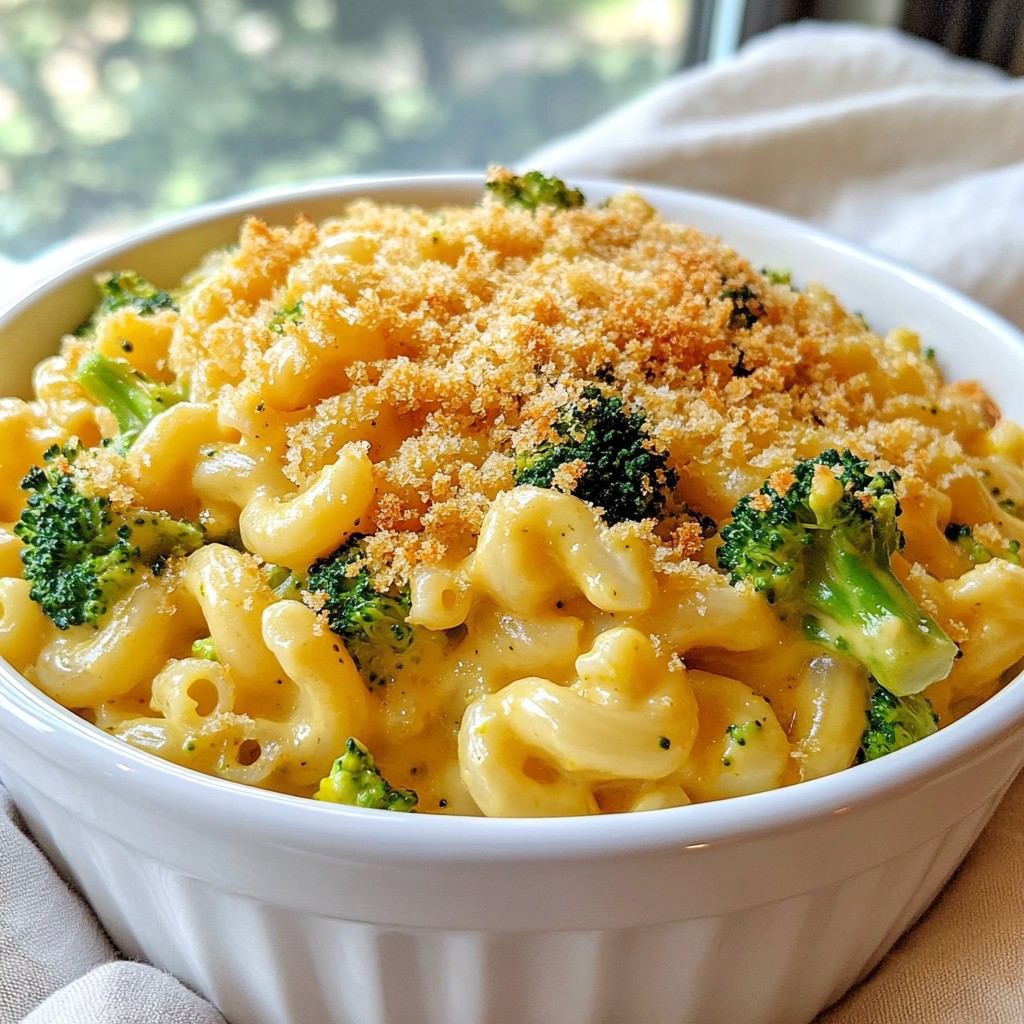
Looking for the ultimate comfort meal? Look no further than this Creamy Broccoli Mac and Cheese! Packed with cheesy goodness and fresh broccoli, this dish is perfect for a cozy night in. Whether you're a beginner or a kitchen pro, my easy step-by-step guide will help you create a delightful meal that everyone will love. Ready to dive into cheesy heaven? Let's get cooking!
Why I Love This Recipe
- Comforting Flavor: This creamy broccoli mac and cheese combines the richness of cheese with the freshness of broccoli, creating a comforting dish that's hard to resist.
- Quick and Easy: With a total prep and cooking time of only 30 minutes, this recipe is perfect for busy weeknights when you want something delicious without the fuss.
- Customizable: You can easily adapt this recipe by adding your favorite proteins or vegetables, making it a versatile meal that suits everyone’s tastes.
- Kid-Friendly: The cheesy goodness is a hit with kids, making it a great option for family dinners and a sneaky way to include vegetables in their diet.
Ingredients
Main Ingredients
- 8 ounces elbow macaroni
- 2 cups fresh broccoli florets
- 2 tablespoons unsalted butter
- 2 tablespoons all-purpose flour
- 2 cups whole or 2% milk
- 2 cups shredded sharp cheddar cheese
- 1/2 cup grated Parmesan cheese
Seasoning and Optional Ingredients
- 1 teaspoon garlic powder
- 1/2 teaspoon onion powder
- Kosher salt and freshly ground black pepper to taste
- 1/4 teaspoon cayenne pepper (optional, for a spicy kick)
- 1/2 cup breadcrumbs (optional, for an extra crunchy topping)
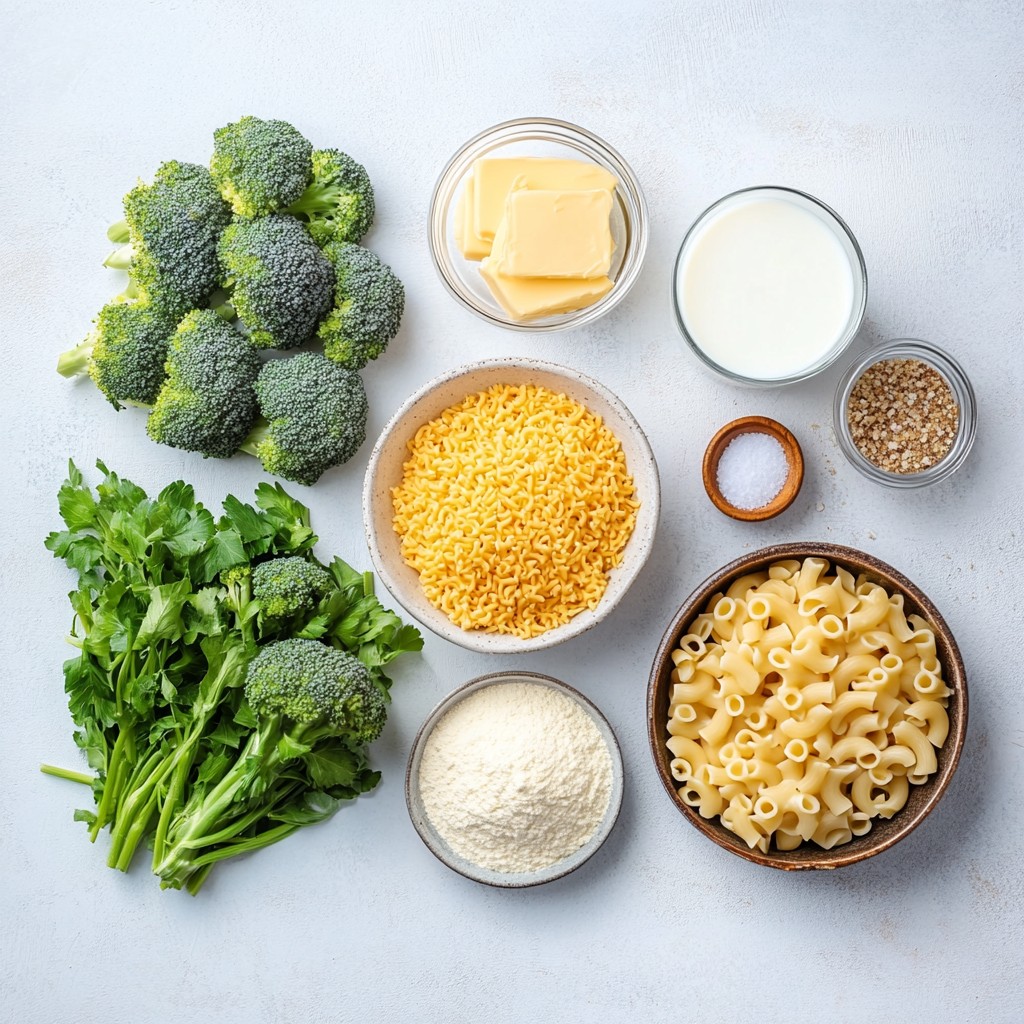
Gathering the right ingredients is key for your creamy broccoli mac and cheese. You’ll start with elbow macaroni, a classic choice that cooks up soft and chewy. Fresh broccoli florets add a lovely pop of color and nutrition. For the creamy sauce, you need unsalted butter and all-purpose flour. This combo forms a roux, which thickens your cheese sauce.
Milk is essential for making the sauce smooth and rich. Sharp cheddar cheese gives it that bold flavor, while the Parmesan adds a nice touch of nuttiness.
Seasoning is important for taste. Garlic powder and onion powder add depth, while kosher salt and black pepper bring balance. If you want a bit of heat, cayenne pepper works well but is optional.
You can also add breadcrumbs on top for a crunchy finish. This gives your dish a nice texture contrast. Feel free to mix and match these ingredients to suit your taste. Enjoy the cooking process and get ready for a delightful meal!
Step-by-Step Instructions
Cooking the Pasta
First, get a large pot. Fill it with water and add a good amount of salt. Bring the water to a rolling boil. Once it boils, add 8 ounces of elbow macaroni. Cook the macaroni until it is al dente, about 7-8 minutes. In the last 2 minutes, gently add 2 cups of fresh broccoli florets. This step cooks the broccoli just right. After that, drain the pasta and broccoli together. Set them aside.
Preparing the Cheese Sauce
Now, use the same pot for the cheese sauce. Melt 2 tablespoons of unsalted butter over medium heat. Once melted, sprinkle in 2 tablespoons of all-purpose flour. Whisk the mixture for about 1 minute until it turns a light golden color. This is called a roux. Next, gradually pour in 2 cups of whole or 2% milk while whisking. Continue to stir for 3-5 minutes until the sauce thickens and coats the back of a spoon. After that, remove the pot from heat. Stir in 2 cups of shredded sharp cheddar cheese and 1/2 cup of grated Parmesan cheese. Mix until the cheese melts and the sauce is creamy. Season with 1 teaspoon of garlic powder, 1/2 teaspoon of onion powder, salt, and black pepper to taste. If you like it spicy, add 1/4 teaspoon of cayenne pepper.
Combining Ingredients
Next, add the drained macaroni and broccoli to the cheese sauce. Use a spatula or wooden spoon to fold them in gently. Make sure every piece of pasta and broccoli is coated in that cheesy goodness. If you want, you can transfer this cheesy mix into a greased baking dish.
Finishing Touches
For extra crunch, sprinkle 1/2 cup of breadcrumbs over the top if you like. If you want it crispy, broil the dish for 2-3 minutes. Keep a close eye on it to avoid burning. Once done, take it out of the oven and let it cool for a few minutes. Serve warm and enjoy your creamy broccoli mac and cheese!
Tips & Tricks
Perfecting the Cheese Sauce
To make a smooth cheese sauce, you must avoid lumps while adding milk. Always whisk the milk into the roux slowly. I find that pouring it in a little at a time helps keep the sauce silky. If the sauce is too thin, just cook it longer. The heat will help it thicken nicely.
Serving Suggestions
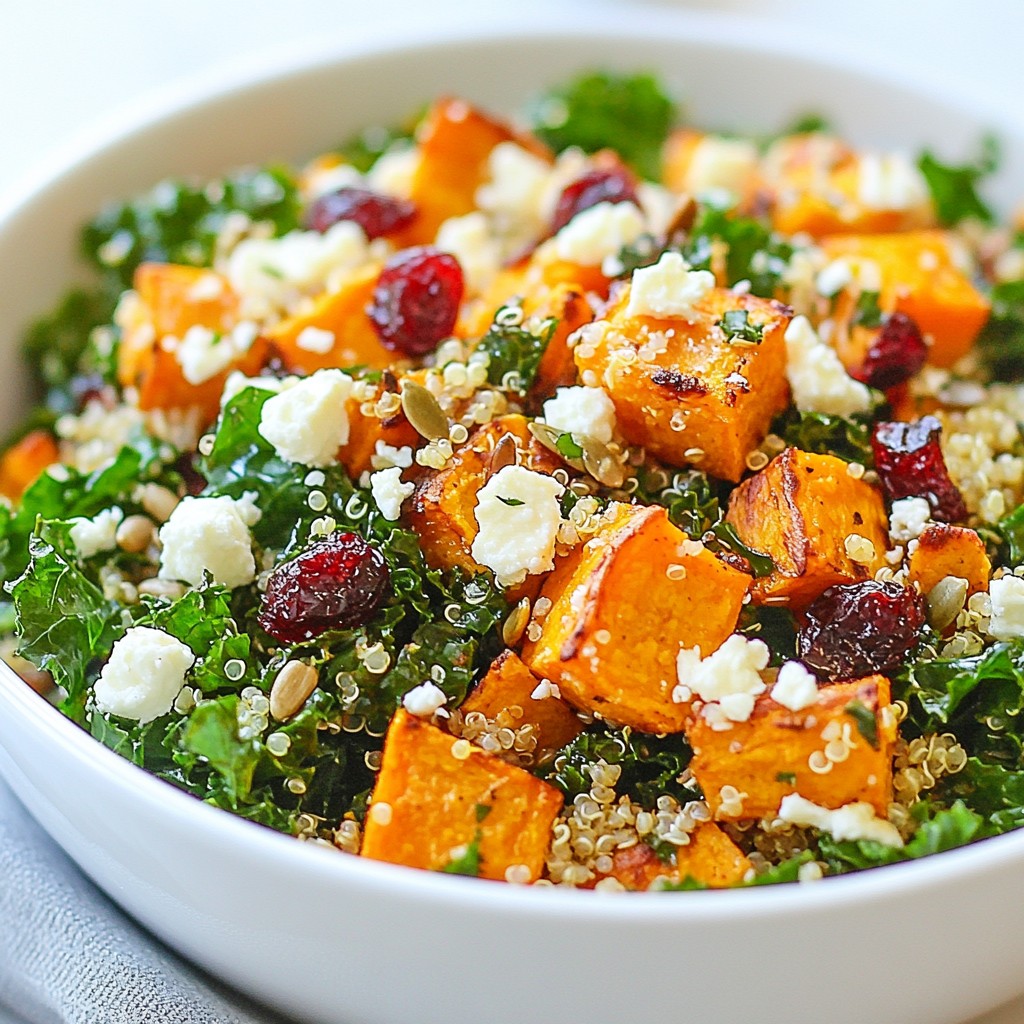
Creamy broccoli mac and cheese pairs well with a green salad. The freshness of the salad cuts through the rich cheese. Serve this dish warm for the best flavor and texture. The warmth keeps the cheese melty and inviting.
Making Ahead
You can prepare components in advance for convenience. Cook the pasta and broccoli, then store them separately. You can also make the cheese sauce ahead of time. For reheating, do it slowly on low heat. This helps maintain the creamy texture.
Pro Tips
- Use Fresh Broccoli: Fresh broccoli florets add a vibrant color and crisp texture to your mac and cheese. They also retain more nutrients compared to frozen ones.
- Cheese Varieties: Experiment with different types of cheese! Mixing in Gruyère or mozzarella can enhance the creaminess and flavor profile of your dish.
- Make it Ahead: This dish can be prepared ahead of time. Assemble everything, cover, and refrigerate. When ready, just pop it in the oven to heat through.
- Crispy Topping: For an extra crunchy topping, mix breadcrumbs with a little melted butter and sprinkle them on before broiling. This adds a delightful texture contrast.
Variations
Protein Additions
You can easily add protein to your creamy broccoli mac and cheese. Cooked chicken or bacon enhances flavor. Both options add a wonderful savory touch. For a vegetarian choice, use tofu. Tofu soaks up flavors well and adds texture. You can mix it in with the cheese sauce for a tasty, filling meal.
Cheese Alternatives
Cheese is the heart of this dish, and you can be creative. Try using gouda or mozzarella for a different taste. These cheeses melt beautifully and give a creamy texture. You can also mix in more varieties, like pepper jack for a spicy kick. Experimenting with cheese types can deepen the flavor and make it even more delicious.
Vegetable Variations
Feel free to swap in other veggies for a fun twist. Spinach and peas work well, adding color and nutrients. You can also roast vegetables like bell peppers or zucchini for added flavor. Roasting brings out their sweetness, making your dish even more enjoyable. Mix and match to find your favorite veggie combos!
Storage Info
Storing Leftovers
To keep your creamy broccoli mac and cheese fresh, store it properly. First, let it cool to room temperature. Then, place it in airtight containers. This will help keep moisture in and prevent it from drying out. Refrigerate the containers right away. Make sure to enjoy your leftovers within three to four days for the best taste.
Freezing Guidelines
If you want to save some for later, freezing is a great option. Start by letting the mac and cheese cool completely. Then, scoop it into freezer-safe containers. Leave some space at the top for expansion. Seal the containers tightly and label them with the date. When you're ready to eat, thaw it in the fridge overnight. Reheat in a pot on low heat, stirring often. You may need to add a splash of milk to bring back the creamy texture.
Shelf Life
In the fridge, creamy broccoli mac and cheese lasts about three to four days. Always check for any off smells or changes in texture before eating. To enjoy leftovers safely, reheat until it's steaming hot throughout. If you follow these tips, you can savor every cheesy bite!
FAQs
How to make creamy mac and cheese from scratch?
To make creamy mac and cheese, follow these key steps:
- Cook the pasta: Boil salted water and cook elbow macaroni until al dente. Add broccoli in the last two minutes.
- Make the roux: Melt butter in a pot, add flour, and whisk until golden.
- Add the milk: Gradually pour milk, whisking to avoid lumps. Cook until thickened.
- Incorporate cheeses: Remove from heat and stir in cheddar and Parmesan until smooth.
- Combine everything: Fold in the pasta and broccoli, coating well.
This method ensures a rich and creamy texture.
Can I use gluten-free pasta?
Yes, you can use gluten-free pasta. Here are some great options:
- Brown rice pasta: It has a good texture and flavor.
- Quinoa pasta: This adds a nice nutty taste.
- Chickpea pasta: High in protein and very filling.
Always check the cooking time on the package, as it may vary.
Is it possible to make this recipe ahead of time?
Yes, you can prepare this recipe ahead of time. Follow these steps:
- Cook the pasta and broccoli: Do this as usual, then cool it.
- Make the cheese sauce: Store it separately in the fridge.
- Combine later: Mix the pasta, broccoli, and sauce just before baking.
This way, your meal stays fresh and tasty.
What can I use instead of heavy cream?
If you want to avoid heavy cream, try these alternatives:
- Half-and-half: This adds creaminess without being too rich.
- Greek yogurt: It gives a creamy texture and adds protein.
- Coconut milk: This is a great dairy-free option with a subtle flavor.
These options keep your dish rich and delicious.
What's the best way to reheat mac and cheese?
To reheat mac and cheese without losing creaminess, follow these tips:
- Use low heat: Heat it gently on the stove with a splash of milk.
- Stir well: Mix often to ensure even heating and prevent sticking.
- Microwave: If using a microwave, heat in short bursts, stirring in between.
This helps maintain that rich, creamy texture.
This recipe shows how to make a tasty mac and cheese. We covered all the main ingredients, cooking steps, and tips for the best results. You can also explore fun variations, from adding protein to changing cheeses. Plus, I shared how to store leftovers safely.
Enjoy experimenting with flavors. You’ll find this dish is quick and easy. You'll impress friends and family with your skills. Happy cooking!