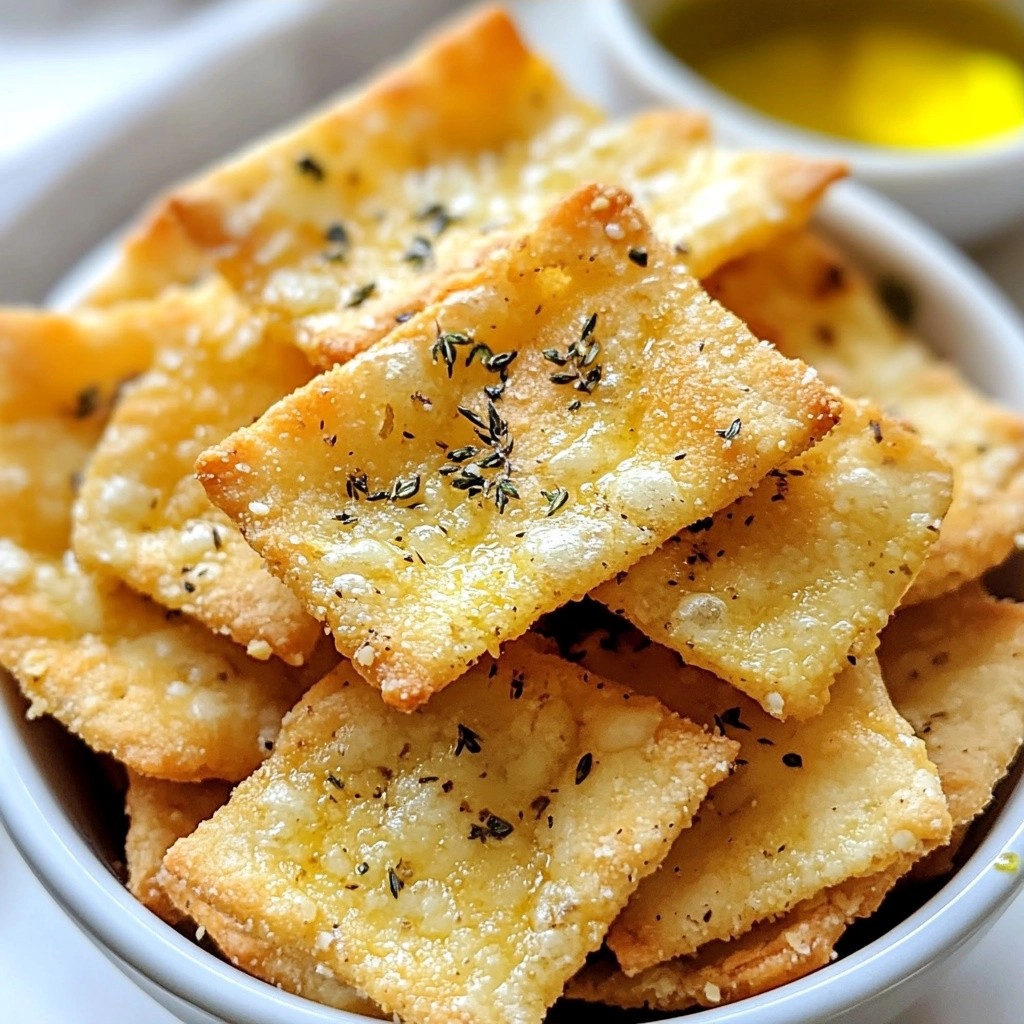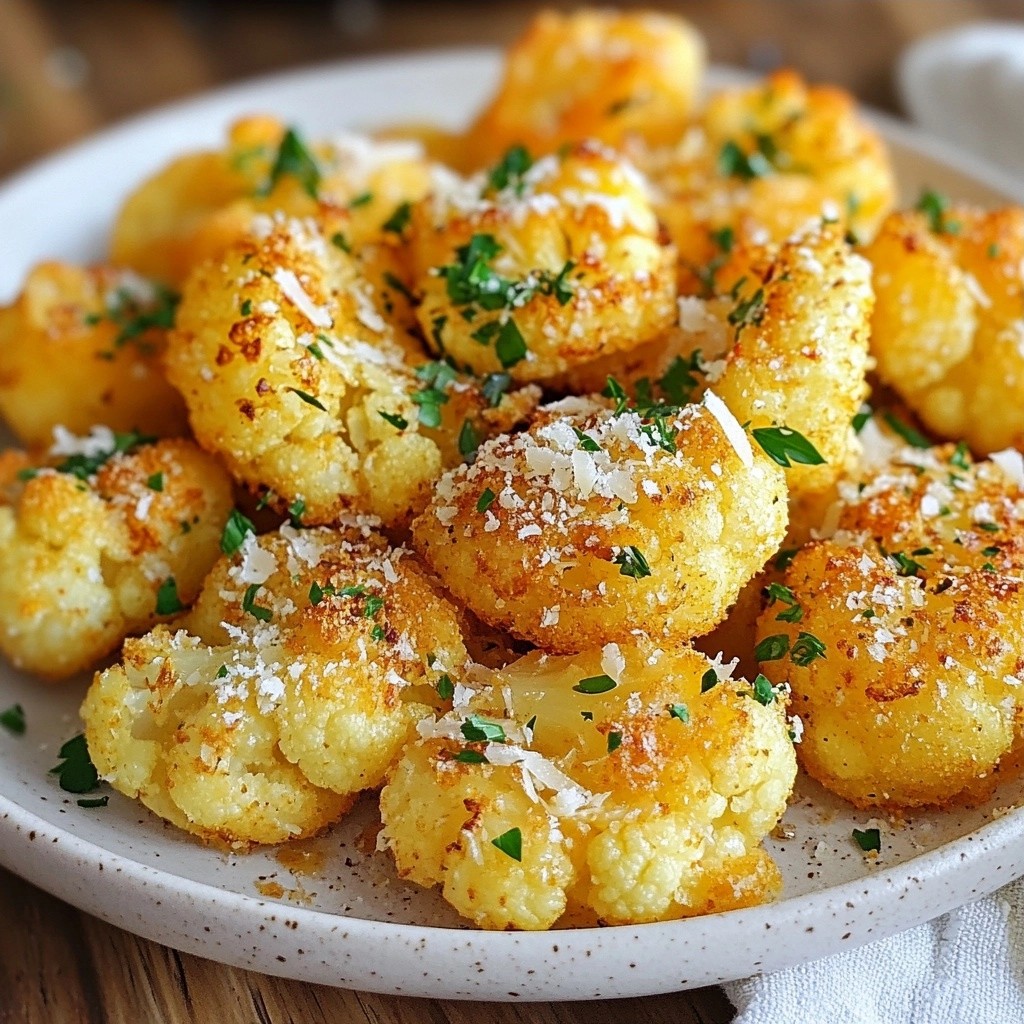

Craving a snack that fits your keto lifestyle? Look no further! I’ve got you covered with my Crispy Keto Herb Cheese Balls, a simple and delicious treat. Made with shredded mozzarella and cream cheese, they’re packed with flavor and super easy to whip up. Grab your ingredients and join me in creating this crunchy snack that’s not only satisfying but also perfect for those on a low-carb diet. Let's dive in!
Why I Love This Recipe
- Delicious Flavor Combination: The mix of mozzarella and cream cheese creates a rich, gooey center, while the Parmesan and herbs add depth to each bite.
- Keto-Friendly: These cheese balls are low in carbs, making them a perfect snack or appetizer for anyone following a ketogenic diet.
- Easy to Make: With only a few ingredients and simple steps, these cheese balls can be whipped up in no time, great for unexpected guests!
- Versatile Serving Options: They can be served alone or paired with a sugar-free marinara sauce, making them a delightful addition to any gathering.
Ingredients
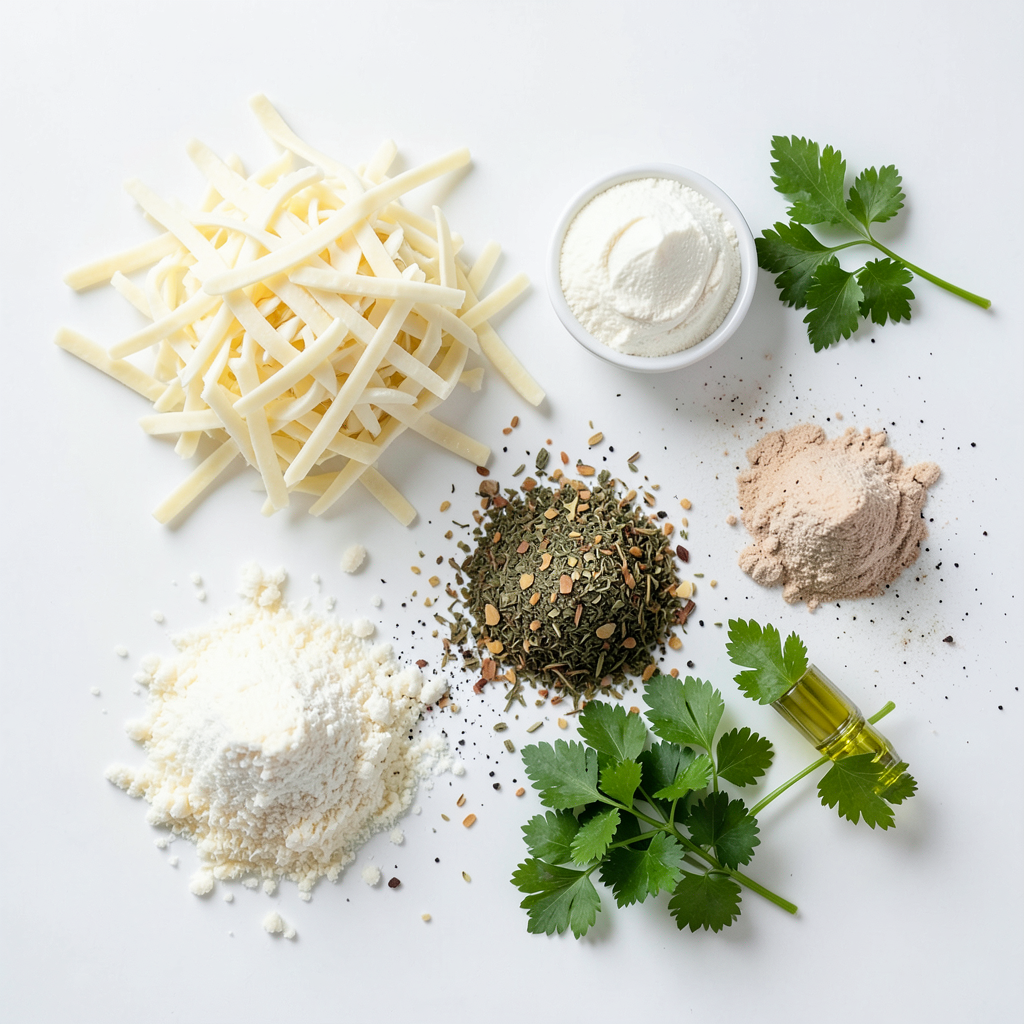
To make crispy keto herb cheese balls, you will need the following ingredients:
- 2 cups shredded mozzarella cheese
- 1 cup cream cheese, softened at room temperature
- 1/2 cup almond flour
- 1/4 cup freshly grated Parmesan cheese
- 1 tablespoon dried Italian herbs
- 1 teaspoon garlic powder
- 1/2 teaspoon onion powder
- Salt and pepper to taste
- 1/4 cup fresh parsley, finely chopped (for garnish)
- Olive oil spray (for frying)
These ingredients blend perfectly to create a tasty snack. The mozzarella and cream cheese give a creamy base. The almond flour adds crunch, while Parmesan gives a rich flavor. Dried Italian herbs bring a wonderful aroma. Garlic and onion powder enhance the taste.
Using fresh parsley as a garnish not only looks pretty but also adds freshness. Olive oil spray helps achieve that crispy outer layer.
If you want to customize, you can swap herbs or add spices. The right mix of these ingredients makes a delightful snack. Enjoy the process of making these cheese balls!
Step-by-Step Instructions
Preparation Steps
- Preheat your oven to 400°F (200°C).
- Line a baking sheet with parchment paper for easy cleanup.
- In a microwave-safe bowl, combine 2 cups of shredded mozzarella and 1 cup of cream cheese. Heat for 30 seconds, then stir. Continue heating for 15 seconds until melted.
Combining Mixtures
- In a separate bowl, mix 1/2 cup of almond flour, 1/4 cup of Parmesan cheese, 1 tablespoon of dried Italian herbs, 1 teaspoon of garlic powder, and 1/2 teaspoon of onion powder. Add salt and pepper to taste.
- Pour the melted cheese into the dry mixture. Use a spatula or your hands to blend until well combined. The mixture will be sticky, but that's okay.
- Let the mixture cool for a few minutes. This makes it easier to handle.
Forming and Baking Cheese Balls
- Take small portions of the mixture, about 1 inch in size, and roll them into balls. Place these on the prepared baking sheet.
- Lightly spray the cheese balls with olive oil. This helps them crisp up nicely.
- Bake for 12-15 minutes or until golden brown. Keep an eye on them to avoid over-browning.
- After baking, let the cheese balls cool on the sheet for a couple of minutes. Garnish with finely chopped fresh parsley for a pop of color.
Tips & Tricks
Achieving the Perfect Texture
To get crispy cheese balls, you may need to adjust the baking time. Check them at 12 minutes. If they aren't golden yet, give them a few more minutes. Keep an eye on them to avoid burning. The right baking time helps you achieve that delicious crunch you want.
The temperatures of your ingredients also matter. Use room temperature cream cheese and melted mozzarella. This helps them mix well. A smooth mix leads to better texture in each bite.
Serving Suggestions
When serving, presentation is key. Arrange the crispy cheese balls on a nice platter. Add a small bowl of sugar-free marinara sauce next to them. This not only looks great but also adds flavor. You can use other dips too, like ranch or sour cream. Consider garnishing with extra parsley for a pop of color.
Troubleshooting Common Issues
If your mixture is sticky, try wetting your hands slightly before rolling. This makes it easier to form the balls without the mix sticking to your hands. You can also chill the mixture for a bit. This helps it firm up and makes rolling simpler.
To avoid over-baking, set a timer. Check the cheese balls a few minutes before the time is up. If they look brown and crisp, take them out. Enjoying perfectly baked cheese balls is all about timing!
Pro Tips
- Perfect Cheese Melting: Make sure to heat the mozzarella and cream cheese in short intervals to prevent overheating, which can make the mixture too oily.
- Adjusting Texture: If the mixture is too sticky to handle, you can chill it in the refrigerator for a few minutes to make rolling easier.
- Herb Variations: Feel free to experiment with different herbs such as rosemary or dill to customize the flavor of your cheese balls.
- Storage Tips: Store any leftovers in an airtight container in the fridge for up to 3 days. Reheat in the oven for best results to regain crispiness.
Variations
Flavor Enhancements
You can make these cheese balls even better by adding different herbs and spices. Try adding smoked paprika for a smoky taste or some chili flakes for a little heat. You can also swap in fresh herbs like basil or dill for a bright flavor.
Incorporating other types of cheese can change the taste too. Creamy goat cheese adds a tangy twist, while cheddar gives a sharp bite. Mix and match to find your favorite combo.
Dietary Considerations
If you want to make these cheese balls vegan or dairy-free, use cashew cream or vegan cream cheese. Nutritional yeast can replace Parmesan for a cheesy flavor without dairy.
For gluten-free options, almond flour works great. If you need a nut-free choice, try sunflower seed flour or coconut flour. Both give a nice texture.
Creative Serving Options
For a fun twist, turn your cheese balls into skewers. Just thread them onto wooden sticks with cherry tomatoes or cucumber slices. This makes them easy to grab and adds color.
You can also serve these cheese balls with low-carb vegetables. Think bell pepper strips, cucumber slices, or celery sticks. These pair well and keep your snack healthy and crunchy.
Storage Info
How to Store Leftovers
Store your crispy keto herb cheese balls in the fridge. Use a tight container to keep them fresh. If you leave them out at room temperature, they may spoil quickly. A glass or plastic container works best. Layer parchment paper between cheese balls to avoid sticking.
Reheating Instructions
To reheat, use an oven or air fryer. Set your oven to 350°F (175°C) and bake for 5-7 minutes. This keeps them crispy. You can also use an air fryer set to 300°F (150°C) for 3-5 minutes. If you want to freeze them, place them in a single layer on a baking sheet first. Once frozen, transfer to a freezer bag. This helps keep their shape.
Shelf Life
These cheese balls last about 3-5 days in the fridge. Check for signs of spoilage such as a sour smell or mold. If they look or smell off, it's best to toss them. Enjoy your snack while they're still fresh!
FAQs
Common Questions About the Recipe
Can I use different cheeses in this recipe? Yes, you can mix and match cheeses. Cheddar and gouda work well. Each cheese adds its own flavor. Experiment to find your favorite blend.
Is there a nut-free option for almond flour? You can use coconut flour instead of almond flour. However, use less. Coconut flour absorbs more moisture. Start with 1/4 cup and adjust as needed.
Can these cheese balls be made ahead of time? Absolutely! You can prepare the cheese balls and refrigerate them. Just bake them when you’re ready to serve. They stay fresh and tasty.
Keto-Friendly Concerns
Are these cheese balls truly keto-compliant? Yes, these cheese balls fit a keto diet well. They are low in carbs and high in fats. This makes them a great snack choice for keto lovers.
How many carbs are in a serving of cheese balls? Each cheese ball has about 1 gram of carbs. This is great for anyone tracking their carb intake. Enjoy them without worry!
Cooking Techniques
Can I fry these cheese balls instead of baking? Yes, frying is an option! Use olive oil spray and fry until golden. This gives a nice crisp texture. Watch them closely to avoid burning.
What if I don’t have a microwave? How else can I melt the cheese? If you lack a microwave, use a double boiler. Heat water in a pot and place a heat-safe bowl on top. Stir the cheese until it melts smoothly.
This blog post covers everything you need to know about making delicious cheese balls. You learned about the key ingredients, step-by-step instructions, and helpful tips. We explored serving ideas and variations, so you can customize your cheese balls to your taste.
Remember to store any leftovers properly to enjoy them later. Whether you're serving them at a party or for a snack, these cheese balls will impress everyone. Get creative and enjoy the process. Happy cooking!