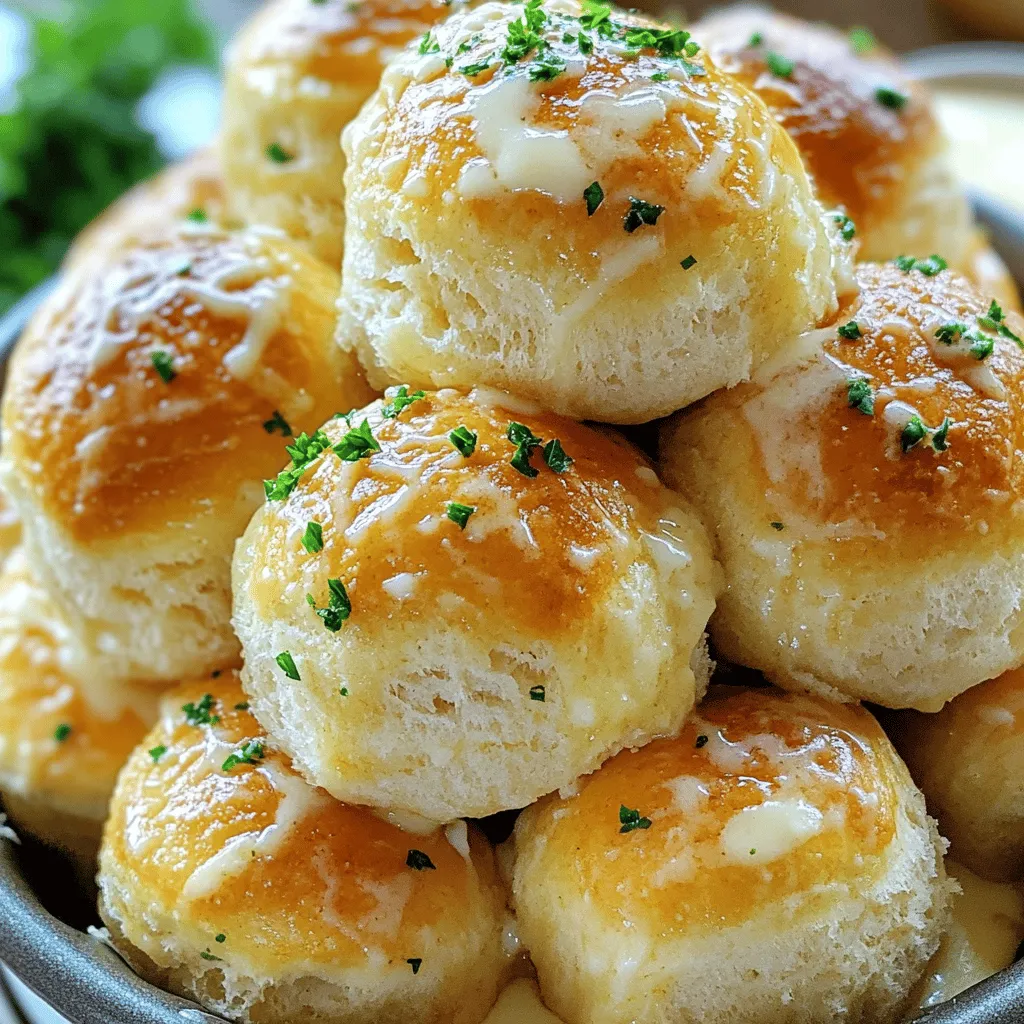
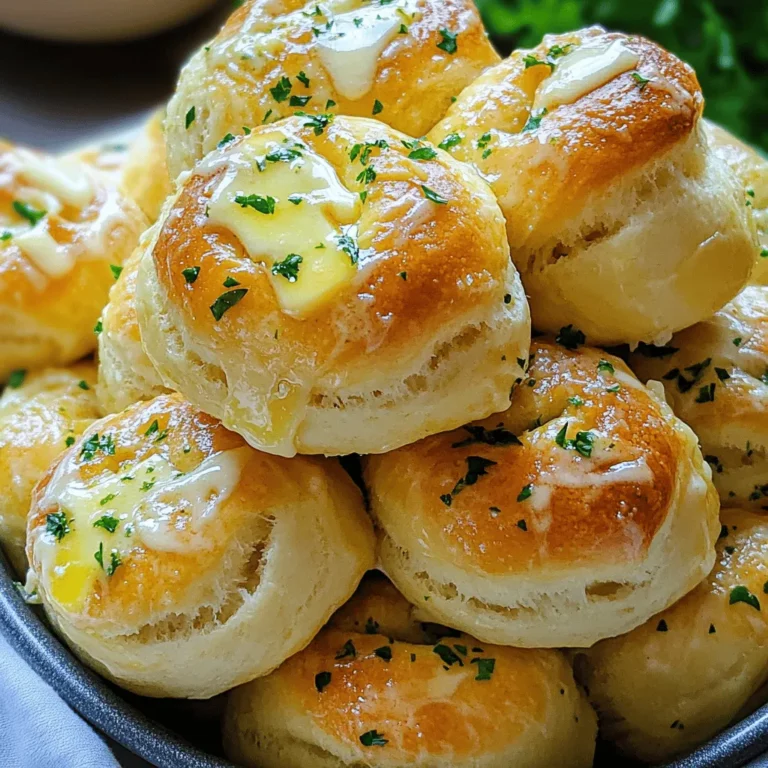
Garlic Parmesan Pull Apart Rolls are a really tasty treat! If you crave golden, fluffy bites full of savory garlic and cheesy goodness, this recipe is for you. You will learn how to mix simple ingredients into a delightful roll everyone will love. Plus, I’ll share tips for adding extra flavor and fun variations. Get ready to impress your friends and family with this tasty dish that’s easy to make!
Ingredients
Creating Garlic Parmesan Pull Apart Rolls requires simple ingredients that blend into magic. Here’s what you need:
– 3 cups all-purpose flour
– 1 packet (2 1/4 tsp) instant yeast
– 1 tablespoon sugar
– 1 teaspoon salt
– 1 cup warm milk (approximately 110°F)
– 4 tablespoons unsalted butter, melted
– 3 cloves garlic, minced
– 1/2 cup grated Parmesan cheese
– 1/4 cup fresh parsley, finely chopped
– 1 teaspoon Italian seasoning
– Extra melted butter for brushing
These ingredients work together to give you soft, flavorful rolls. The flour forms the base, while the yeast makes them rise. Sugar feeds the yeast, helping it grow. Salt keeps the flavor balanced, and warm milk activates the yeast. The butter adds richness and moisture, while garlic, cheese, and parsley provide that irresistible flavor. Italian seasoning ties everything together, making each bite a delight.Enjoy your baking adventure!
Step-by-Step Instructions
Preparation of Yeast Mixture
Start by combining warm milk, sugar, and yeast in a mixing bowl. Stir gently and let it sit for about 5 minutes. You want to see it froth. This shows the yeast is active and ready to work.
Making the Dough
Once the mixture is frothy, add melted butter and salt. Mix these in well. Gradually add 2 cups of flour using a spatula. Keep stirring until no dry flour is left. Then, add the remaining flour, 1/4 cup at a time. You want to form a soft ball of dough.
Kneading and Rising
Lightly flour a clean surface. Knead the dough for about 5 to 7 minutes. It should feel smooth and elastic. When you press it, it should spring back. Next, place the dough in a greased bowl. Cover it with a towel and let it rise in a warm spot for about 1 hour. It should double in size.
Forming and Second Rise
After the dough has risen, gently punch it down. This releases the air. Divide the dough into 15 equal pieces, shaping each piece into a ball. In a small bowl, mix minced garlic, grated Parmesan cheese, chopped parsley, and Italian seasoning. Dip each ball into melted butter. Then roll it in the garlic-Parmesan mix. Stack the coated balls in a greased bundt pan for that pull-apart effect.
Baking the Rolls
While the rolls are rising, preheat your oven to 375°F (190°C). Let the rolls rise for another 20-30 minutes. This helps them puff up. Bake the rolls for 25-30 minutes. They are done when they turn golden brown and smell amazing.Enjoy these warm, cheesy rolls with butter!
Tips & Tricks
Achieving the Perfect Dough Texture
To get the right dough texture, adjust your flour based on humidity. If the air feels damp, you might need a bit more flour to keep the dough from being too sticky. On dry days, use less to avoid a tough roll.
A well-kneaded dough should feel smooth and elastic. When you press it gently, it should spring back quickly. This means the gluten has developed properly, which is key for fluffy rolls.
Flavor Enhancements
You can boost the flavor of your rolls by adding herbs or spices. Try mixing in dried oregano, thyme, or even red pepper flakes. These will give your rolls an extra kick.
For cheese, Parmesan works great, but you can mix it up. Consider using mozzarella for a gooey texture or cheddar for a sharper taste. Combining different cheeses can create a rich flavor profile that will wow your guests.
Serving Suggestions
These rolls pair well with many sauces or dips. Serve them warm with marinara sauce for dipping or a garlic butter spread. You can also try a creamy ranch dip for a fun twist.
When serving, present the rolls in a nice dish. Arrange them in a circle and garnish with fresh parsley. This adds a pop of color and makes your dish look even more inviting. Enjoy the warm aroma as you share these delightful treats!

Variations
Herb-Infused Variants
You can boost flavor by using garlic and herb blends. I love mixing garlic with basil, thyme, or rosemary. These herbs add a nice touch to the rolls. You can also play with fresh herbs like chives or dill. Each herb brings its own taste. Experiment to find your favorite mix.
Cheese Variations
While Parmesan is great, you can try other cheese types too. Mozzarella melts well and adds creaminess. Cheddar gives a sharp flavor that many enjoy. You can also blend cheeses for a richer flavor. For example, mix Parmesan with mozzarella for a delightful twist. This combo adds depth to each bite.
Sweet Versions
Why not turn these rolls into a dessert? You can add sweet ingredients like cinnamon, sugar, or chocolate. Try rolling the dough in cinnamon sugar before baking. You can also fill the rolls with chocolate chips. This gives a sweet surprise in every pull. These sweet versions can be a fun treat for any occasion.
Storage Info
Storing Leftover Rolls
To keep your Garlic Parmesan Pull Apart Rolls fresh, follow these tips:
– Refrigerator Storage: Place the rolls in an airtight container. This prevents them from drying out. They can last about 3 days in the fridge.
– Freezing Tips: If you want to store them longer, freeze the rolls. Wrap them tightly in plastic wrap, then place them in a freezer bag. They can stay fresh for up to 3 months.
When you’re ready to eat the frozen rolls, let them thaw in the fridge overnight. Then, reheat them in the oven at 350°F for 10-15 minutes.
Duration for Freshness
When stored well, these rolls can last for:
– In the Fridge: Up to 3 days.
– In the Freezer: Up to 3 months.
Check for freshness by looking for signs:
– Texture Change: If the rolls feel hard or dry, they may not be good.
– Smell: If they smell off or sour, it’s best to toss them.
Always trust your senses when deciding whether to eat leftover food. Enjoy these rolls while they’re fresh!
FAQs
Can I use active dry yeast instead of instant yeast?
Yes, you can use active dry yeast. Just remember to activate it first. Mix it with warm milk and sugar. Let it sit for about 5 to 10 minutes until it bubbles. This shows the yeast is alive. Then, mix it into your dough. Instant yeast works faster, so adjust your time if you use active dry yeast.
How do I know when the rolls are fully baked?
To check if the rolls are done, look for a golden-brown color. Tap the top gently; it should sound hollow. You can also use a toothpick. Insert it into the center. If it comes out clean, the rolls are ready. This is a simple way to ensure you don’t underbake them.
Can I make the dough ahead of time?
You can make the dough ahead. After kneading, place it in a greased bowl and cover it. Refrigerate it for up to 24 hours. When ready, let it rise at room temperature. If you want to freeze it, shape the dough into balls before freezing. Just make sure to thaw it in the fridge overnight before baking.
What can I serve with Garlic Parmesan Pull Apart Rolls?
These rolls pair well with many dishes. Serve them with soups or salads for a complete meal. They also go great with pasta. You can offer a warm dip, like marinara sauce, too. They make a great side for any Italian feast or family dinner.
How do I ensure my rolls are fluffy?
To keep your rolls fluffy, make sure your yeast is fresh. The water should be warm, about 110°F. Knead the dough well until it feels smooth and elastic. Let it rise in a warm spot. Cover it with a towel to keep it warm. If you follow these steps, your rolls will be light and airy.
In this blog post, we explored a delightful recipe for Garlic Parmesan Pull Apart Rolls. You learned about the key ingredients and followed step-by-step instructions to create these delicious treats. We discussed tips for perfecting the dough and adding unique flavor twists. You can even try different variations, like sweet rolls or various cheese options. Finally, we shared storage tips to keep your rolls fresh. With this knowledge, you can now bake and enjoy warm, flavorful rolls anytime. Happy baking!


