Are you ready to make delicious hard candy without corn syrup? You’re in the right place! In this article, I’ll share simple recipes and tips for crafting sweet treats at home. You’ll learn how to mix basic ingredients like sugar and flavored extracts. Plus, I’ll help you avoid common mistakes and explore fun variations. Let’s dive into making enjoyable candy that everyone will love!
Ingredients
List of Ingredients
– Granulated Sugar
– Water
– Cream of Tartar
– Flavored Extract Options
– Food Coloring (Optional)
– Powdered Sugar
To make hard candy without corn syrup, you need a few simple items. Let’s break it down:
– Granulated Sugar: This is the main ingredient. It gives candy its sweetness. You will need 2 cups.
– Water: You will need 1/2 cup. It helps dissolve the sugar.
– Cream of Tartar: Just 1/4 teaspoon is needed. This prevents sugar from crystallizing.
– Flavored Extract Options: Choose your favorite! You can use peppermint, lemon, or raspberry. One teaspoon will add great taste.
– Food Coloring (Optional): Use this for fun colors. Just a few drops can make your candy pop.
– Powdered Sugar: Dust this on the finished candy to stop it from sticking.
These ingredients make a tasty and colorful treat. You can enjoy making it at home.
Step-by-Step Instructions
Preparing the Sugar Mixture
To start, combine the sugar, water, and cream of tartar in a medium saucepan. Use a spatula to stir gently. You want to dissolve all the sugar fully. This step is key. The cream of tartar helps prevent sugar crystals from forming later.
Boiling Process
Next, place the saucepan on medium heat. Allow the mixture to boil without stirring. Watch closely as it heats. You need to reach the hard crack stage, which is 300°F (149°C). This stage makes the candy hard and crunchy. A candy thermometer is a must. It ensures you reach the right temperature for perfect hard candy.
Adding Flavors and Colors
Once your mixture hits 300°F, take it off the heat. Let it cool slightly before adding your flavors. Choose a flavored extract that you love. Common options are peppermint, lemon, or raspberry. If you want, add a few drops of food coloring for fun. Stir quickly to mix it well.
Pouring and Cooling
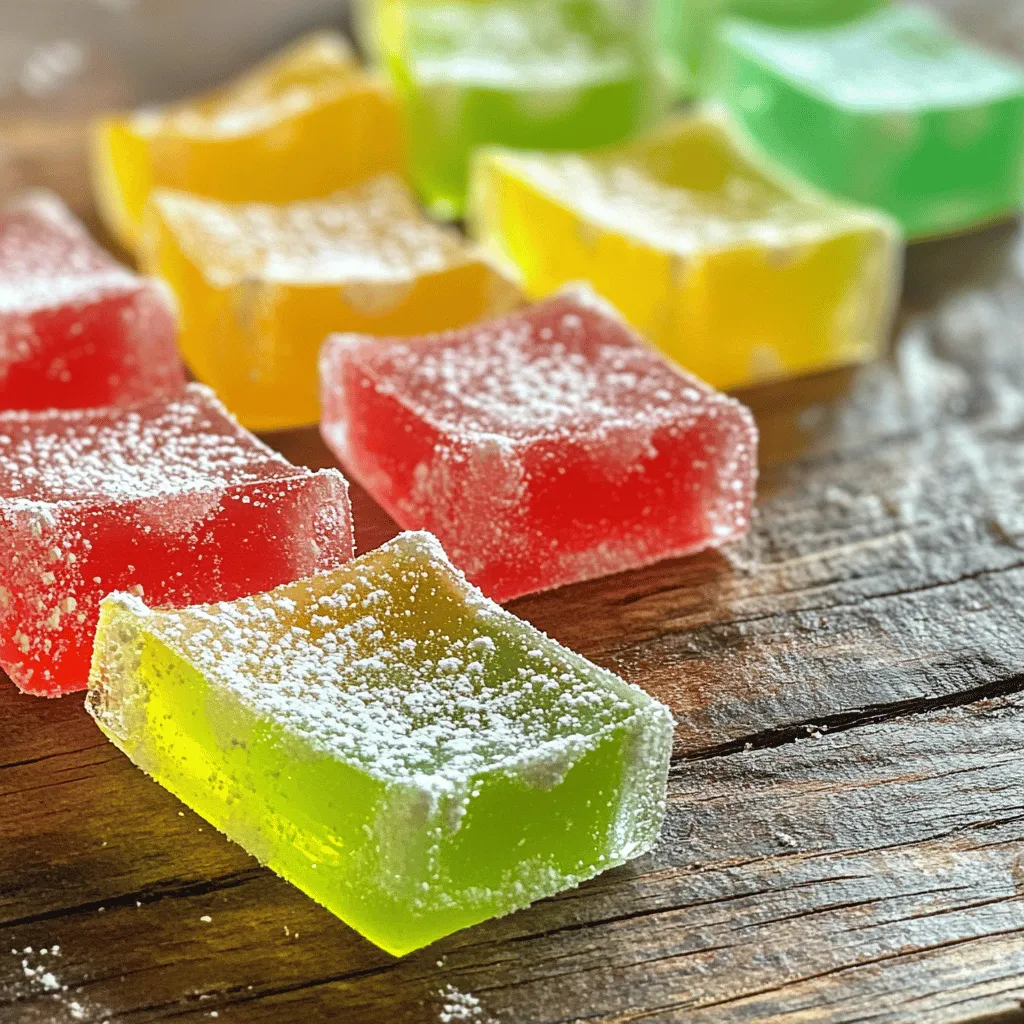
Carefully pour the hot candy onto a silicone mat or greased baking sheet. Use your spatula to spread it out evenly. This step will shape your candy. Let it cool at room temperature for about 20 to 30 minutes. Once it hardens, break it into pieces or cut it into shapes with a knife. Dust the pieces with powdered sugar so they don’t stick.Enjoy making your hard candy!
Tips & Tricks
Perfecting Your Hard Candy
To make the best hard candy without corn syrup, focus on a few key points. First, achieving the right consistency is vital. Use a candy thermometer to check the temperature. Aim for 300°F (149°C). This is the hard crack stage. If you don’t have a thermometer, drop a little candy into cold water. It should crack hard, not form a soft ball.
Next, avoid common mistakes. One big mistake is stirring the mixture after it starts to boil. This can cause sugar crystals to form, leading to grainy candy. Also, make sure your pan is clean and dry before starting. Any leftover moisture can ruin the batch.
Presentation Tips
When it comes to serving, presentation matters. Arrange your colorful hard candy in a decorative jar. This makes a great centerpiece for parties. You can also wrap pieces in clear bags tied with ribbons. It makes a lovely gift for friends or family.
For an added touch, consider creating themed packaging. Use festive colors for holidays or special events. This not only looks great but also shows you put thought into your gift. Your homemade hard candy will surely impress anyone who receives it!

Variations
Flavor Variations
You can get really creative with flavors in your hard candy. A few popular flavored extract options include:
– Peppermint
– Lemon
– Raspberry
– Vanilla
– Almond
Mixing flavors can lead to fun combinations. Try pairing lemon and raspberry for a bright taste. Or blend peppermint with vanilla for a cool twist. The key is to experiment until you find the mix you love.
Color Variations
Adding color to your hard candy makes it more fun. You can use different food coloring techniques to achieve vibrant results. Here are two ideas:
– Single Color: Just add a few drops of food coloring when mixing in flavors. Stir until it blends well.
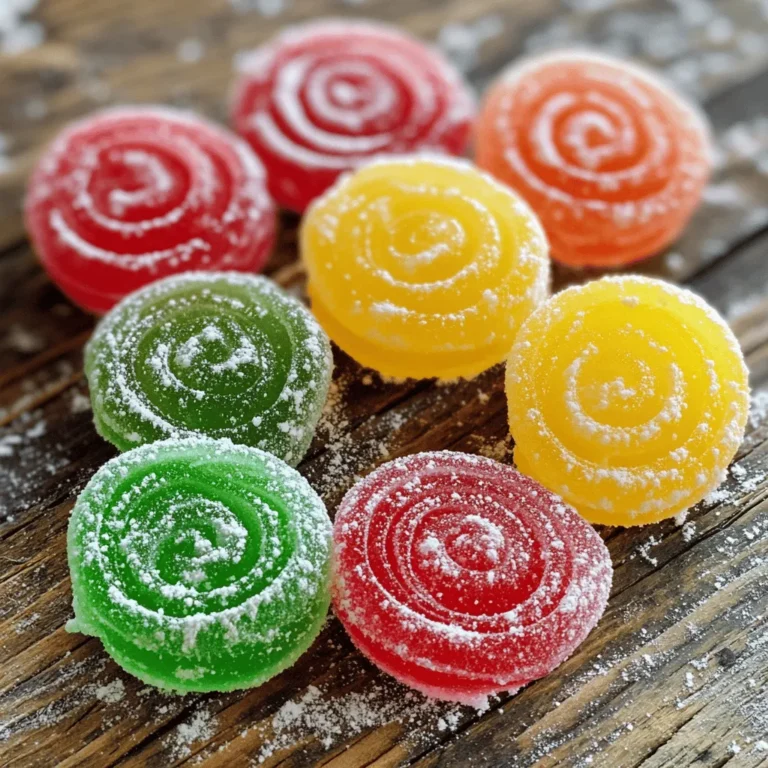
– Marbled Effects: To create a marbled look, add different colors at different times. Pour a layer of one color, then drizzle another on top before swirling gently.
Seasonal Variations
Holiday-themed candies can brighten up any occasion. Think about these festive ideas:
– Holiday Flavors: For Christmas, try gingerbread or cinnamon flavors. For Halloween, use pumpkin spice or apple.
– Festive Presentation: Use cookie tins or colorful bags to pack candies. Tie with ribbons that match the season to make them extra special.
With these variations, you can make hard candy that fits any mood or celebration.Enjoy making your sweet treats!
Storage Info
Best Storage Practices
To keep your hard candy fresh, store it in an airtight container. Glass jars or plastic containers work well. Avoid using cardboard, as it can absorb moisture.
Temperature matters, too. Store your candy in a cool, dry place. A kitchen cupboard away from heat sources is best. High humidity can make your candy sticky, so avoid damp spots.
Shelf Life of Homemade Hard Candy
How long do they last? Homemade hard candy can last up to three months when stored properly. Make sure the container is sealed tight to keep out air and moisture.
What are the signs of spoilage? If the candy becomes sticky or loses its shine, it may be time to toss it. Mold is a clear sign to discard it. Always check your candy before enjoying.
FAQs
Can I use substitutes for granulated sugar?
Yes, you can use some substitutes for granulated sugar when making hard candy. Here are a few options:
– Coconut sugar: It has a caramel flavor and works well in sweets.
– Stevia: This natural sweetener is much sweeter than sugar, so use less.
– Agave syrup: This syrup can also be a good option, but it may change the texture.
– Honey: This adds flavor but may alter the candy’s hardness.
Keep in mind that some substitutes may require adjustments in your recipe. It’s good to test small batches first.
What is the best way to prevent hard candy from sticking?
To keep your hard candy from sticking, use these techniques:
– Powdered sugar: Dust your candy pieces with powdered sugar. This prevents them from sticking together.
– Cornstarch: Mix it with powdered sugar for extra non-stick power.
– Silicone mats: Use silicone baking mats when pouring your candy. They help with easy release.
– Greased surfaces: Lightly grease your baking sheet or pan before adding the hot candy.
These tips will help you enjoy your candy without the mess.
Is homemade hard candy healthier than store-bought?
Homemade hard candy can be healthier than store-bought options. Here are some reasons why:
– Control over ingredients: You choose every ingredient. This means no unwanted additives or preservatives.
– Less sugar: You can adjust the amount of sugar to fit your needs.
– Natural flavors: Using real fruit extracts or natural flavors adds more nutrition than artificial ones.
Overall, making hard candy at home allows for better choices and a more personal touch.
You learned how to make delicious homemade hard candy. We covered key ingredients, step-by-step instructions, and tips for success. Remember to monitor temperatures and try different flavors and colors. Storage matters too; proper containers help candy last longer. Enjoy creating unique treats for you and your friends, or give them as gifts. Experiment with your own flavor and color ideas. Making hard candy can be fun and rewarding. Dive into this sweet hobby and enjoy every piece you make!


