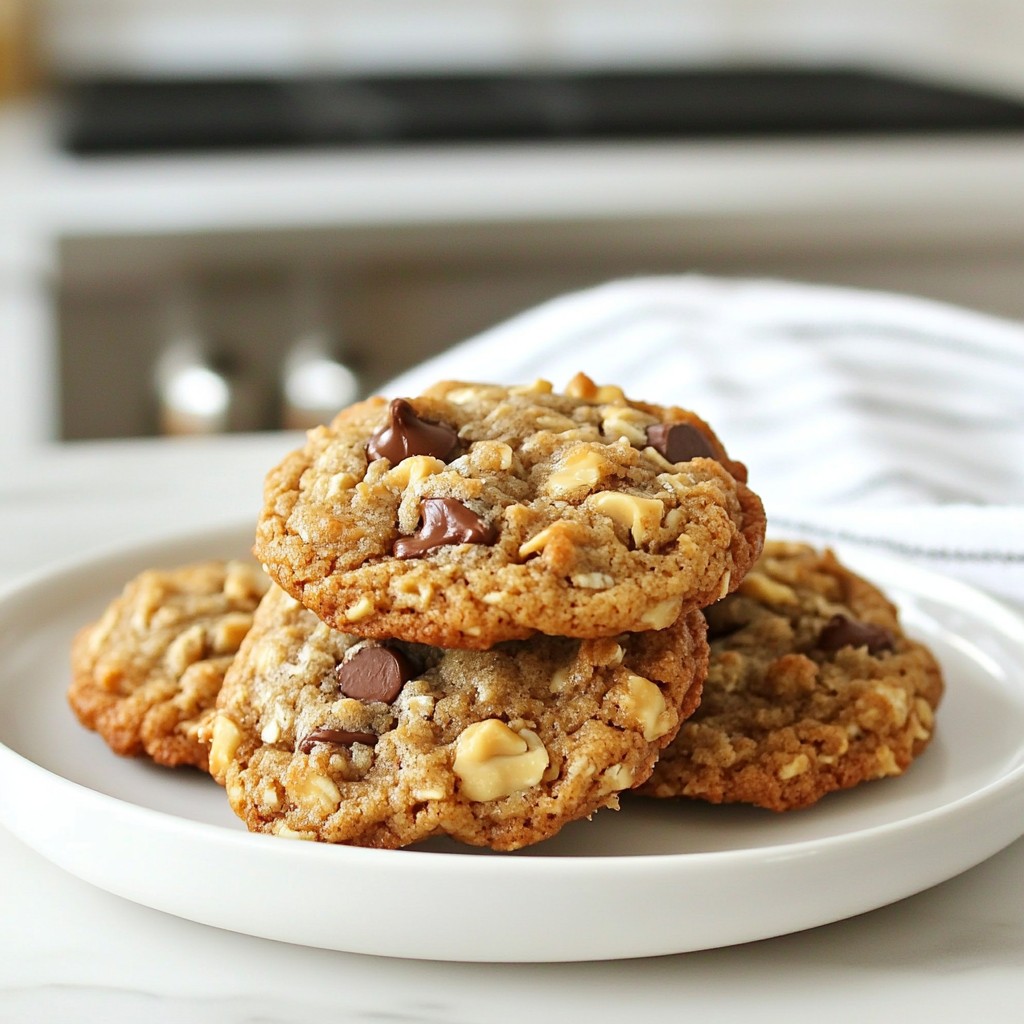
Ready to satisfy your sweet tooth? This Irresistible Chocolate Chip Oatmeal Cookies Recipe combines chewy oats and rich chocolate for a treat you can't resist. I’ll guide you through each step, from gathering the ingredients to the final bake. Whether you're a baking novice or a pro, you'll find tips and tricks to make these cookies perfect. Let’s dive in and create a delicious batch that everyone will love!
Why I Love This Recipe
- Delicious Flavor Combination: The blend of oats and chocolate creates a delightful contrast, making each bite a heavenly experience.
- Chewy Texture: The oats provide a wonderfully chewy consistency that pairs perfectly with the rich chocolate chips.
- Customizable Add-ins: Feel free to add your favorite nuts or spices, allowing you to make these cookies uniquely yours!
- Quick and Easy: This recipe comes together in just 30 minutes, making it perfect for a quick treat or unexpected guests.
Ingredients
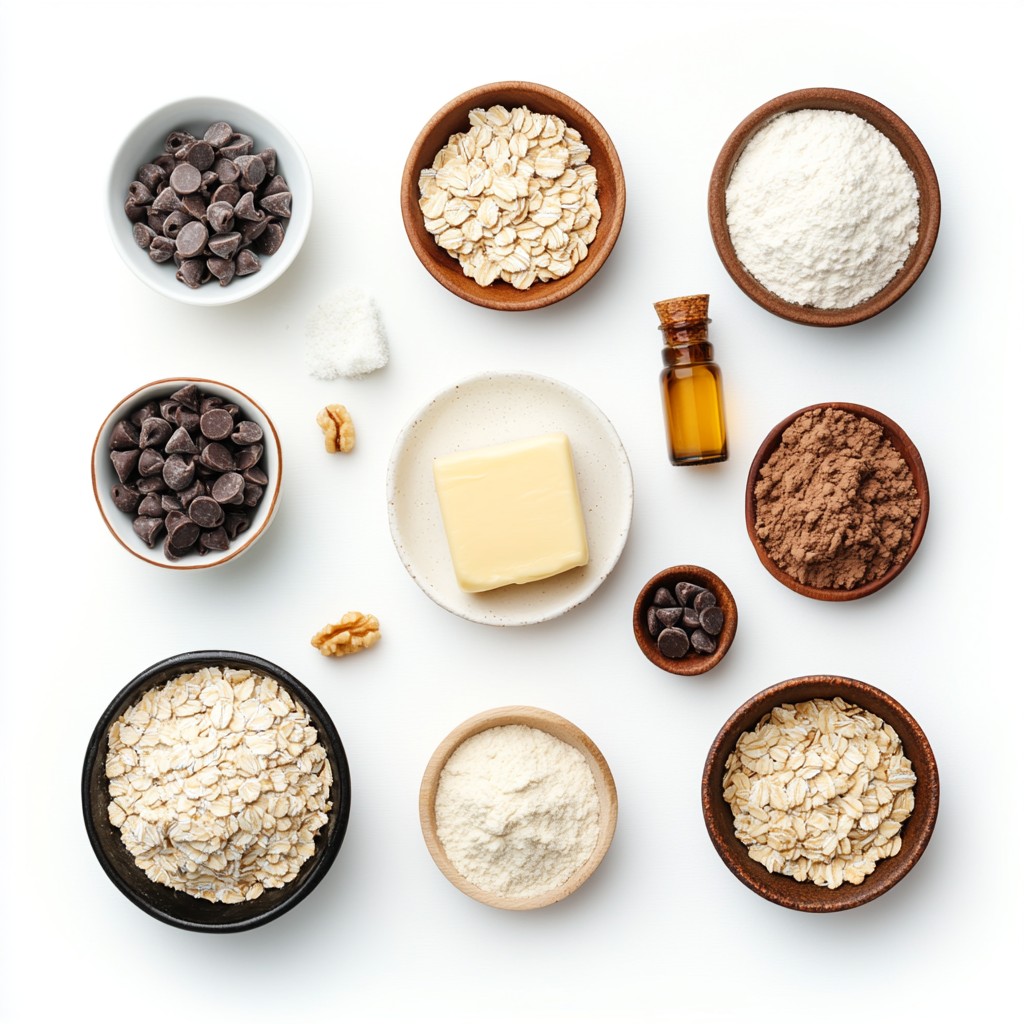
Essential Ingredients for Chocolate Chip Oatmeal Cookies
- 1 cup rolled oats
- 1 cup all-purpose flour
- 1/2 teaspoon baking soda
- 1/2 teaspoon baking powder
- 1/4 teaspoon salt
- 1/2 cup unsalted butter, softened
- 1/2 cup brown sugar, packed
- 1/2 cup granulated sugar
- 1 large egg
- 1 teaspoon pure vanilla extract
- 1 cup semi-sweet chocolate chips
These ingredients form the heart of my chocolate chip oatmeal cookies. The rolled oats give a chewy texture. The all-purpose flour binds everything together. Baking soda and powder help the cookies rise. The two types of sugar create a sweet balance. Butter adds richness, while the egg provides moisture. Vanilla boosts flavor, and chocolate chips bring joy.
Optional Ingredients for Customization
- 1/2 cup chopped nuts (walnuts or pecans)
- 1/2 teaspoon ground cinnamon
Adding nuts gives a nice crunch. Walnuts or pecans work well. Ground cinnamon adds warmth and depth. Feel free to mix and match these options based on your taste.
Ingredient Substitutions
- Gluten-free flour alternatives
- Vegan butter options
If you need gluten-free cookies, use a gluten-free flour blend. Many brands offer good options. For a vegan version, swap the butter for vegan butter or coconut oil. These changes keep the cookies tasty while meeting dietary needs.
Step-by-Step Instructions
Preparation and Preheating
- Preheat the oven to 350°F (175°C).
- Prepare baking sheets with parchment paper.
First, you need to preheat your oven. This step helps your cookies bake evenly. While the oven heats, line your baking sheets with parchment paper. This keeps the cookies from sticking, making cleanup easier.
Mixing Dry Ingredients
- Combine rolled oats, flour, baking soda, baking powder, salt, and cinnamon.
In a medium bowl, mix the dry ingredients. Start with rolled oats and all-purpose flour. Then, add baking soda, baking powder, and salt. If you like, include ground cinnamon for a warm flavor. Whisk these together until well blended. Set this mix aside for later.
Creaming the Mixture
- Cream butter and sugars until fluffy.
- Incorporate egg and vanilla extract.
In another large bowl, add softened butter, brown sugar, and granulated sugar. Use a hand mixer to cream these until fluffy. This takes about 2-3 minutes. Next, add the egg and vanilla extract. Mix until everything is smooth and well combined.
Combining Ingredients
- Mix dry and wet ingredients carefully.
- Fold in chocolate chips and optional nuts.
Now, slowly mix the dry ingredients into the wet mix. Do this gently to avoid overmixing. Once they are combined, fold in the chocolate chips. If you want extra crunch, add chopped nuts too. Make sure they are evenly spread throughout the dough.
Baking the Cookies
- Portion the dough on baking sheets.
- Baking time and visual cues for doneness.
Using a tablespoon or cookie scoop, place the dough on the prepared baking sheets. Leave about 2 inches of space between each scoop. This helps them spread while baking. Bake the cookies for 10-12 minutes. They should be lightly golden at the edges. The centers may look a bit soft, but they will firm up as they cool.
Cooling and Serving
- Cool on baking sheets before transferring to racks.
- Presentation tips for serving.
After baking, let the cookies rest on the sheets for 5 minutes. This helps them set. Then, transfer them to a wire rack to cool completely. For serving, you can place the cookies on a rustic wooden platter. A sprinkle of powdered sugar adds a nice touch. You can even serve them with a scoop of ice cream for a special treat!
Tips & Tricks
Achieving Perfect Cookie Texture
To make your cookies just right, avoid overmixing the dough. Overmixing makes cookies tough. Mix until the flour disappears, then stop. After baking, cooling time matters. Let cookies cool on the sheets for 5 minutes. This step helps them firm up and keeps them soft.
Baking Tips for Best Results
To stop cookies from spreading too much, chill the dough before baking. Chilled dough holds its shape better. Use parchment paper on your baking sheets, too. It helps cookies lift off easily. For fresh cookies, store them in an airtight container. This keeps them soft and tasty.
Enhancing Flavor
Want to boost flavor? Try adding spices! Ground cinnamon adds warmth. You can also add extracts like almond or coconut for a twist. If you add nuts, think about texture. Walnuts or pecans give a nice crunch. Mix and match to find your favorite combo!
Pro Tips
- Chill the Dough: For thicker cookies, consider chilling the dough for at least 30 minutes before baking. This helps prevent spreading and results in a chewier texture.
- Use Quality Chocolate: Opt for high-quality semi-sweet chocolate chips for a more intense chocolate flavor. You can even mix in dark chocolate for added richness.
- Experiment with Add-ins: Feel free to customize your cookies by adding ingredients like dried fruits, shredded coconut, or different types of nuts for varied flavors and textures.
- Storage Tips: Store cookies in an airtight container at room temperature for up to a week. For longer freshness, you can freeze the cookies and thaw them at room temperature before enjoying.
Variations
Healthier Twists on the Recipe
If you want to make your cookies a bit healthier, try these ideas:
- Incorporating whole wheat flour: Swap half of the all-purpose flour for whole wheat flour. This change boosts fiber and nutrients. Your cookies will still taste great.
- Substituting sugars for lower-calorie options: Use stevia or coconut sugar instead of brown and granulated sugar. This cut down on calories without losing sweetness.
Flavor Variations
You can also mix up the flavors in your cookies:
- Adding dried fruits or chocolate varieties: Toss in raisins, cranberries, or even white chocolate chips. Each option brings a unique taste and texture to your cookies.
- Experimenting with nut butter instead of butter: Try using almond butter or peanut butter instead of regular butter. This adds a fun twist and makes the cookies even richer.
Seasonal Additions
Make your cookies fit the season with these fun ideas:
- Incorporating pumpkin spice in fall: Add a teaspoon of pumpkin spice to the dough. This gives your cookies a warm, cozy flavor perfect for autumn.
- Chocolate peppermint for the holidays: During the holidays, mix in crushed peppermint candies or peppermint extract. This makes your cookies festive and refreshing.
Storage Info
Best Practices for Storing Cookies
To keep your cookies fresh, use an airtight container. Place the cookies in a single layer. If you make a big batch, separate layers with parchment paper. This prevents them from sticking together.
For freezing leftover cookies, first let them cool completely. Then, wrap each cookie in plastic wrap. Place the wrapped cookies in a freezer bag. This keeps them fresh for later enjoyment.
Shelf Life of Cookies
Cookies stay fresh at room temperature for about a week. Store them in a cool, dry place. Keep the lid tight on the container to avoid air exposure.
When you’re ready to eat frozen cookies, take them out and let them thaw on the counter. This usually takes about 30 minutes. You can also warm them in the oven for a few minutes to make them soft again.
Reviving Stale Cookies
If your cookies go stale, don’t worry! Place them in a bowl with a slice of bread. The bread adds moisture back into the cookies. Leave it for several hours or overnight. You can also warm stale cookies in the oven for a quick refresh. Just a few minutes at 300°F can help restore their softness.
FAQs
Common Questions About Chocolate Chip Oatmeal Cookies
Can I use quick oats instead of rolled oats? Yes, you can use quick oats. They will make the cookies softer and less chewy. Rolled oats give a heartier texture. If you like a chewy cookie, stick with rolled oats.
What is the best way to soften butter quickly? To soften butter fast, cut it into small cubes. Leave it on the counter for about 10 minutes. You can also microwave it for a few seconds, but be careful not to melt it.
Baking and Storage Questions
How can I prevent my cookies from burning? To stop cookies from burning, keep a close eye on them. Bake for the minimum time, about 10 minutes. If the edges are golden, take them out. They will keep cooking on the tray.
Can I double the recipe easily? Yes, you can double the recipe. Just double all the ingredients. Make sure your mixing bowl is big enough for the dough. Bake in batches if your oven is small.
Health and Dietary Inquiries
Are these cookies suitable for a gluten-free diet? No, these cookies are not gluten-free as they contain all-purpose flour. You can use gluten-free flour instead. Check that your oats are certified gluten-free, too.
How can I make these cookies vegan? To make these cookies vegan, use plant-based butter. Replace the egg with a flax egg. Mix 1 tablespoon of flaxseed meal with 3 tablespoons of water. Let it sit for a few minutes until it thickens.
You now have all the tools to make perfect chocolate chip oatmeal cookies. We covered essential and optional ingredients, as well as ingredient swaps. You learned steps from mixing to baking and cooling. Tips ensured your cookies have the right texture and flavor. Variations offer ways to tailor the recipe to your taste. Lastly, proper storage keeps cookies fresh longer. Enjoy baking and share your delicious results with friends!


