Are you ready to indulge in a treat that’s both delicious and easy to make? These chocolate coconut snowball truffles will satisfy your sweet tooth without the guilt. Packed with wholesome ingredients, they are perfect for sharing or enjoying all by yourself. In this guide, I'll walk you through every step to create these delightful bites. Let’s dive into making the most irresistible chocolate coconut snowball truffles!
Why I Love This Recipe
- Indulgent Flavor: The rich combination of chocolate and coconut creates a heavenly treat that satisfies any sweet tooth.
- Easy to Make: This recipe requires minimal ingredients and can be prepared in just 15 minutes, making it a quick and delightful option.
- Customizable: Feel free to add your favorite nuts or dried fruits for an extra twist that tailors to your taste.
- Perfect for Any Occasion: These truffles are not only great for parties but also make thoughtful gifts or a special treat for yourself.
Ingredients
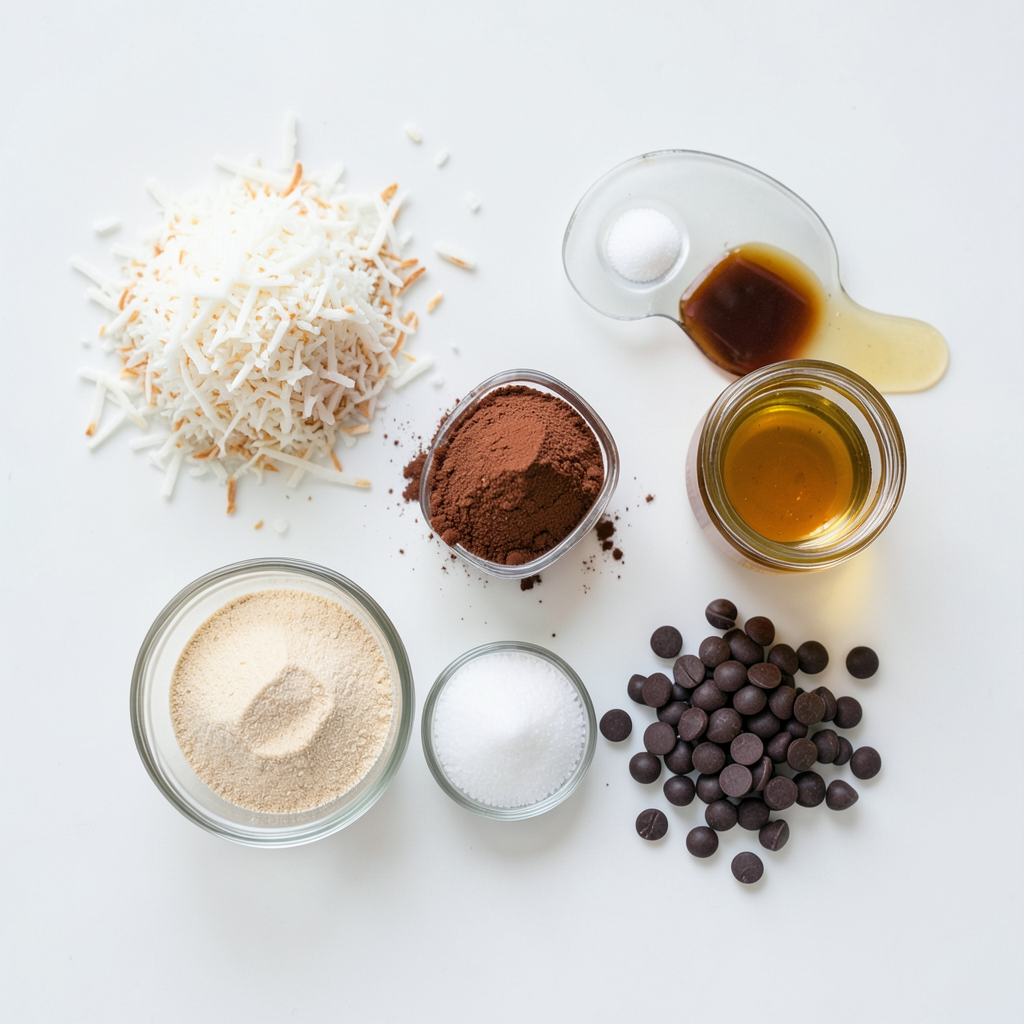
To make Chocolate Coconut Snowball Truffles, you will need a few simple ingredients. Here’s what you need:
- 1 cup unsweetened shredded coconut, plus extra for rolling
- 1 cup almond flour
- 1/2 cup pure maple syrup
- 1/2 cup unsweetened cocoa powder
- 1 teaspoon pure vanilla extract
- 1/4 teaspoon finely ground sea salt
- 2 tablespoons coconut oil, melted
- Optional: 1/4 cup dark chocolate chips for a drizzle
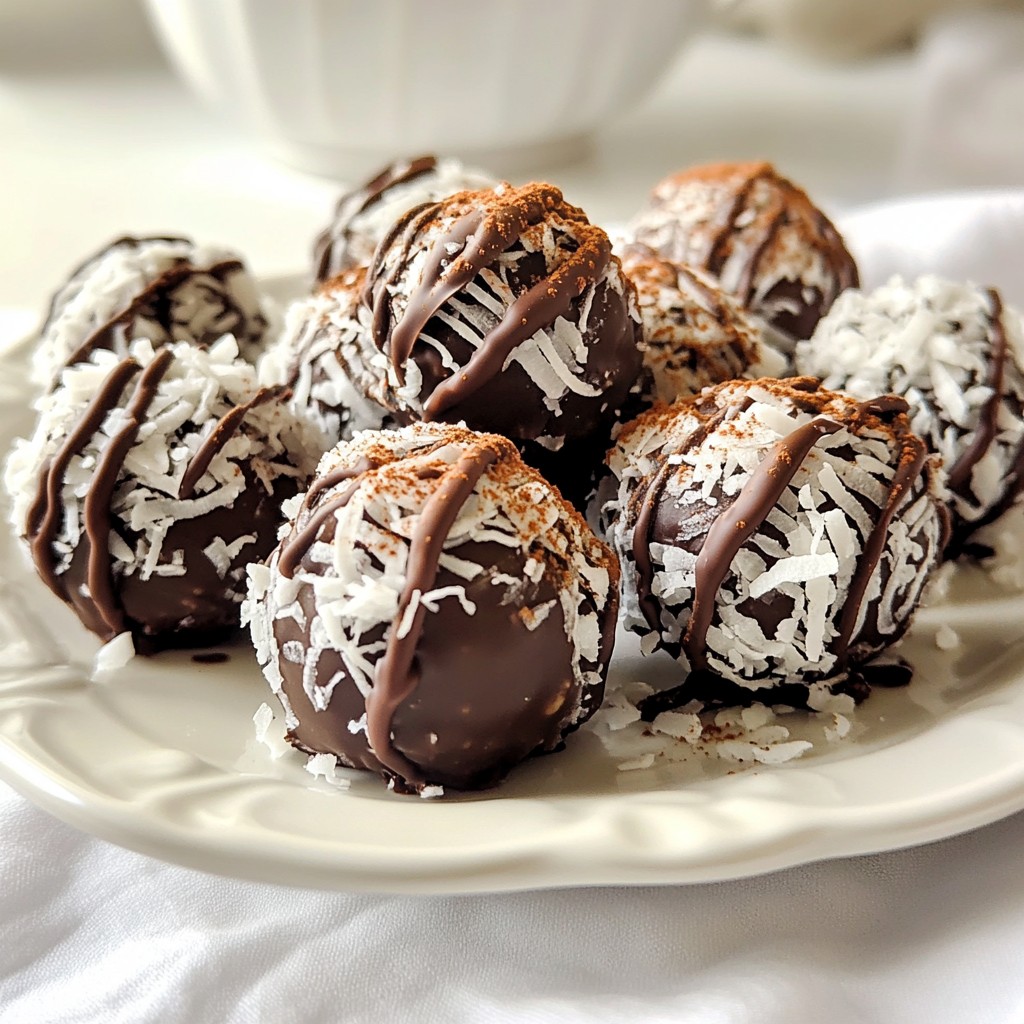
These ingredients blend together to create a rich, chocolatey treat. The almond flour gives the truffles a nice texture. The cocoa powder adds deep flavor, while the maple syrup sweetens them just right. You can also roll them in extra coconut to make them look pretty. If you want a special touch, drizzle melted dark chocolate on top. This adds a nice finish and extra sweetness. Each ingredient plays a role in making these truffles delightful.
Step-by-Step Instructions
Mixing Dry Ingredients
First, grab a big bowl. Add 1 cup almond flour, 1/2 cup cocoa powder, 1/4 teaspoon sea salt, and 1 cup shredded coconut. Use a whisk to mix these well. Make sure there are no lumps. This step is key to a smooth texture.
Preparing Wet Ingredients
Next, take another bowl. In it, whisk together 1/2 cup pure maple syrup, 2 tablespoons melted coconut oil, and 1 teaspoon vanilla extract. Mix until it’s smooth and combined. This mixture will add sweetness and flavor to the truffles.
Forming the Dough
Now, slowly pour your wet mix into the dry mix. Stir until a thick dough forms. If the dough feels dry, add a little maple syrup, one teaspoon at a time. It should hold together nicely. Then, scoop out about one tablespoon of dough. Roll it into a ball with your hands. Place each ball on a lined baking sheet. Space them out well. Finally, roll each ball in extra shredded coconut for a tasty outer layer. Enjoy making your truffles!
Tips & Tricks
Achieving the Perfect Texture
To get the right texture for your truffles, start with the dough. If it feels crumbly, add maple syrup. This sweetener helps bind the ingredients. Add one teaspoon at a time. Stir well after each addition. The dough should be thick but not sticky. It needs to hold shape when rolled into balls.
Rolling Techniques
When rolling the truffles, keep your hands clean. Wash them before starting and after each few truffles. This keeps the dough from sticking to your hands. Use a light dusting of almond flour on your hands and the rolling surface. This makes the process smoother. Roll the dough into small balls, about one tablespoon each. This size helps with even cooking and presentation.
Drizzling Chocolate
For the chocolate drizzle, use dark chocolate chips if you like. Melt them in a microwave-safe bowl. Heat in 30-second bursts, stirring often. This prevents burning. Once melted, use a spoon or fork to drizzle the chocolate over the truffles. The design can be as simple or as fancy as you want. Let the chocolate set before serving.
Pro Tips
- Use Fresh Coconut: For an enhanced flavor, consider using fresh coconut instead of store-bought shredded coconut.
- Chill Before Rolling: If the dough is too soft to handle, chill it in the refrigerator for 10 minutes before rolling into balls.
- Experiment with Flavors: Add a pinch of sea salt to the melted chocolate for a delightful salty-sweet contrast.
- Storage Tips: Store truffles in an airtight container in the refrigerator for up to a week to maintain freshness.
Variations
Flavor Additions
You can add spices or extracts to change the flavor. Try adding a pinch of cinnamon or nutmeg for warmth. You might also use orange or peppermint extract for a fresh twist. These small changes can make a big difference in taste and keep your truffles exciting.
Alternative Coatings
If you want to switch things up, try rolling your truffles in crushed nuts or cocoa powder. Crushed almonds, hazelnuts, or pistachios add a great crunch. Cocoa powder gives a rich, chocolatey finish. Both options make your truffles unique and appealing.
Dietary Modifications
You can easily customize this recipe for different diets. To make it vegan, use maple syrup and ensure your dark chocolate chips are dairy-free. For a gluten-free option, almond flour works perfectly. If you need nut-free truffles, substitute almond flour with sunflower seed flour. These swaps keep your truffles tasty and enjoyable for everyone.
Storage Info
Proper Storage Techniques
To keep your Chocolate Coconut Snowball Truffles fresh, store them in an airtight container. Place parchment paper between layers if stacking. This helps avoid sticking. Keep the container in the fridge. It’s cool and dark, perfect for keeping flavors intact.
Shelf Life
These truffles last about one week in the refrigerator. If you want them to stay fresh longer, check for any signs of spoilage, like off smells or changes in texture. Always trust your senses to ensure they are still good to eat.
Freezing Tips
For long-term storage, you can freeze your truffles. Place them on a baking sheet and freeze until solid. Then, transfer them to a freezer-safe bag. This method keeps them tasty for up to three months. When you’re ready to enjoy them, thaw them in the fridge overnight. They’ll taste just as good as fresh!
FAQs
Can I substitute almond flour with something else?
Yes, you can! If you want a nut-free option, try using oat flour. Oat flour is easy to make by blending rolled oats. For a gluten-free option, use coconut flour. Just remember, coconut flour absorbs moisture, so you may need to adjust the liquid in your recipe.
How long do the truffles take to set?
The truffles need about 30 minutes in the refrigerator to set. This time helps them firm up and allows the flavors to blend. If you like a firmer texture, you can leave them in longer. Just check on them!
Can I use sweeteners other than maple syrup?
Absolutely! You can use agave nectar or honey instead of maple syrup. Both options will add sweetness. If you want a lower-calorie choice, try stevia or monk fruit sweetener. Just be careful with the amount, as they are much sweeter than maple syrup.
These delicious truffles are simple to make and fun to enjoy. We covered the key ingredients, step-by-step instructions, and tips for great texture and flavor. You learned how to store the truffles and even explored variations for unique tastes. You can easily adapt this recipe to fit your needs. Don’t hesitate to try different flavors or coatings. Enjoy these treats as a reward for your hard work in the kitchen!


