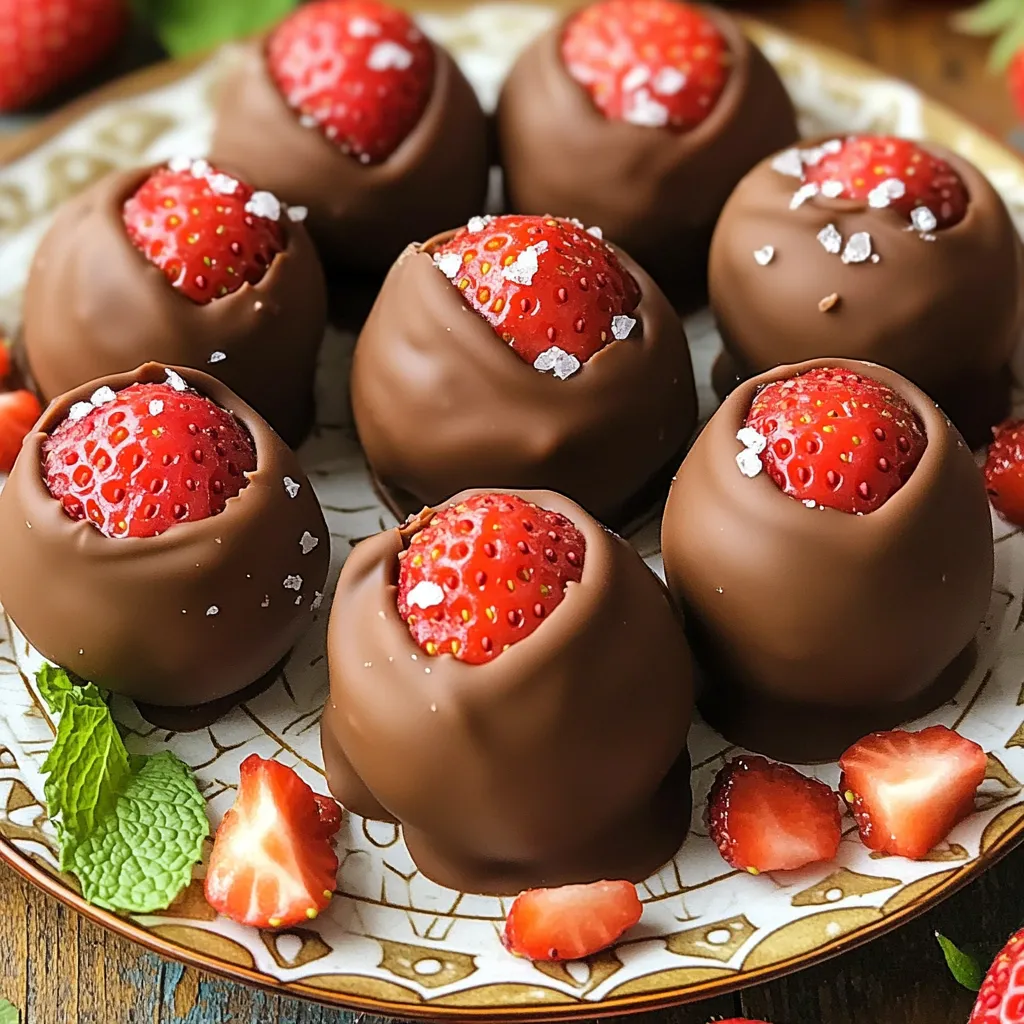
If you love the taste of chocolate and strawberries, you’ll adore these No-Bake Chocolate Covered Strawberry Truffles! They are quick to make and perfect for any occasion. You don’t need to be a pro in the kitchen to whip these up. I’ll guide you through every step, from choosing the best ingredients to storing your delicious truffles. Get ready to impress your friends and family with this simple yet delightful treat!
Ingredients
List of Ingredients
– 1 cup fresh strawberries, hulled and finely chopped
– 1 cup graham cracker crumbs
– 1 cup cream cheese, softened to room temperature
– 1 cup powdered sugar
– 1 teaspoon pure vanilla extract
– 1 cup semi-sweet chocolate chips
– 1 tablespoon coconut oil (optional, for a smoother chocolate coating)
– Flaky sea salt, for garnish
Ingredient Cooking Notes
Fresh strawberries are key here. They add a bright flavor and natural sweetness. Make sure to hull them well. This means removing the green tops. Finely chop the strawberries so they blend well with the other ingredients.
Graham cracker crumbs give a nice crunch. They also help bind the mixture. Use plain or cinnamon-flavored crumbs for a twist. Cream cheese softens the texture. It adds a rich and creamy feel. Always let it sit out for about 30 minutes to soften before mixing.
Powdered sugar sweetens the truffles. It also helps thicken the mixture. Use pure vanilla extract for the best taste. It enhances the sweet notes of the strawberries.
Semi-sweet chocolate chips are perfect for coating. They melt well and have a rich taste. If you want a smoother finish, add coconut oil when melting the chocolate. This helps the chocolate coat the truffles evenly. Flaky sea salt adds a touch of contrast. It makes the sweet truffles even better.
Substitutions and Alternatives
If you can’t find fresh strawberries, use frozen ones. Just make sure to thaw and drain them well. For a nutty flavor, substitute graham cracker crumbs with crushed nuts or cookie crumbs.
If you need a dairy-free option, try vegan cream cheese. It works well and keeps the texture. You can also use agave or maple syrup in place of powdered sugar. Adjust the amount to get the right sweetness.
For the chocolate coating, use dark chocolate or white chocolate if you prefer. Each option gives a different taste. You can also try flavored chocolate for something unique, like orange or mint.
Step-by-Step Instructions
Preparation of the Strawberry Mixture
To make the strawberry mixture, start with fresh strawberries. You need one cup, hulled and chopped finely. In a medium bowl, combine the strawberries with graham cracker crumbs, soft cream cheese, powdered sugar, and vanilla extract. Use a spatula or a hand mixer to blend them well. Aim for a thick dough that holds together nicely. If you like it smoother, a hand mixer really helps. This mixture forms the heart of your truffles.
Rolling the Truffles
Now it’s time to roll the truffles. With clean hands, scoop out small portions of the strawberry mixture, about one inch in diameter. Roll them gently into balls. Place each ball on a baking sheet lined with parchment paper. Make sure to leave space between each truffle. This way, they won’t stick together. Once all are rolled, put the sheet in the freezer for about 30 minutes. This helps the truffles firm up and makes coating them easier.
Chocolate Coating Process
While the truffles chill, prepare the chocolate coating. In a microwave-safe bowl, combine one cup of semi-sweet chocolate chips and one tablespoon of coconut oil if you want a smooth finish. Heat this mixture in the microwave. Do it in 30-second intervals, stirring well after each. Keep going until the chocolate is fully melted and smooth.
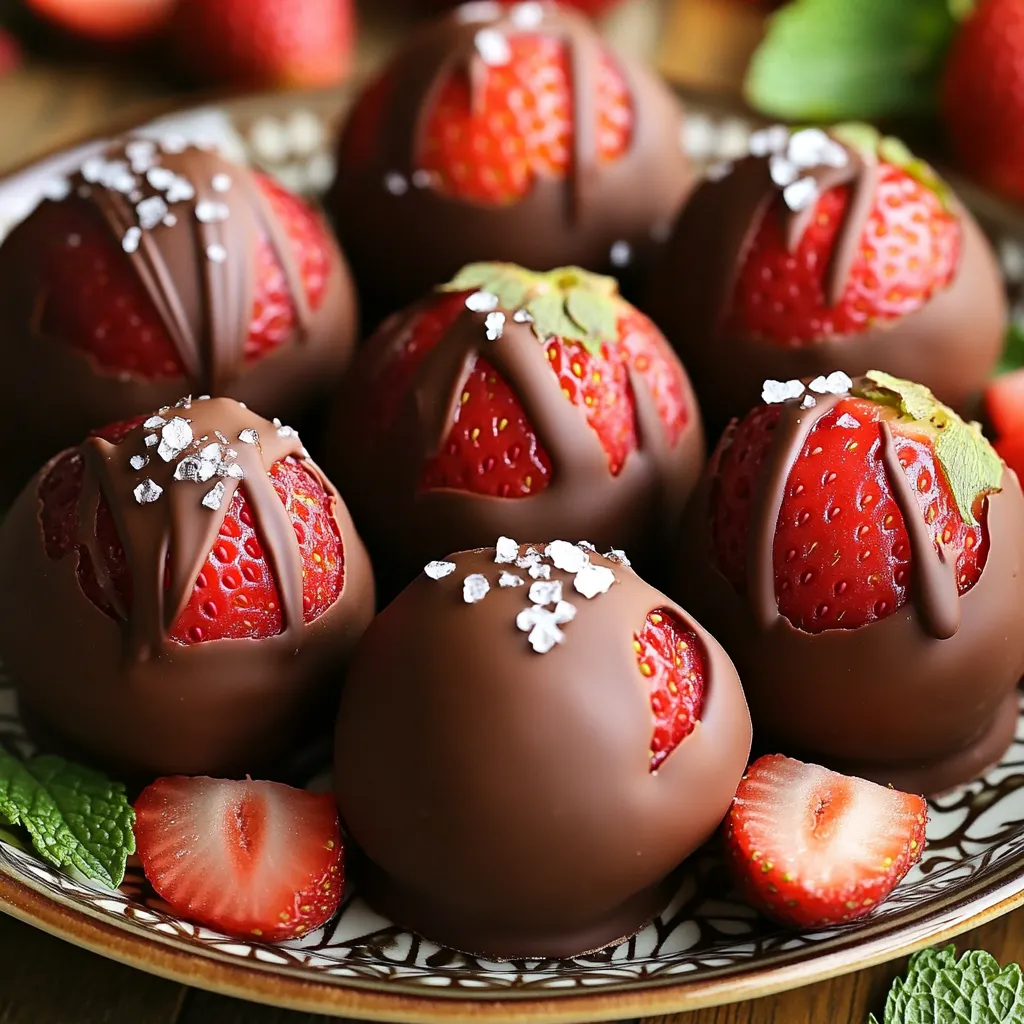
After the truffles are firm, take them out of the freezer. Dip each truffle into the melted chocolate, ensuring they are fully coated. Use a fork to lift them out. Tap the fork against the bowl’s edge to remove extra chocolate. Place them back on the parchment-lined baking sheet. While the chocolate is still wet, sprinkle a tiny pinch of flaky sea salt on top of each truffle. This adds a nice touch of flavor. Finally, put the baking sheet in the fridge. Let the truffles chill until the chocolate sets, which takes about 15 to 20 minutes. Enjoy your sweet creation!
Tips & Tricks
Perfecting the Truffle Texture
To get the right texture for your truffles, mix well. The cream cheese should blend with the strawberries and graham crackers. Aim for a thick dough that holds shape. If it seems too crumbly, add a bit more cream cheese. If it feels too wet, add extra graham cracker crumbs. This balance is key for a perfect bite.
Melting Chocolate Safely
When melting chocolate, use a microwave-safe bowl. Heat in short bursts. Start with 30 seconds, then stir. Repeat until melted. Stirring helps keep the chocolate smooth. If you choose to add coconut oil, it makes the chocolate coating silky. This step ensures your truffles have a nice, shiny finish.
Enhancing Flavor with Add-Ins
To make your truffles special, think about add-ins. A pinch of cinnamon or a dash of sea salt can boost the flavor. You can also mix in a few mini chocolate chips for texture. Consider adding a splash of almond extract for a unique twist. These little changes can take your truffles to the next level.
Variations
Different Flavor Combinations
You can mix up the flavors in your truffles. Try using raspberries or blueberries instead of strawberries. You can also add a splash of orange juice for a fruity twist. If you love nuts, consider adding finely chopped almonds or walnuts to the strawberry mixture. Coconut flakes can give a tropical taste too. Play around with spices like cinnamon or nutmeg for warmth. Each option adds a unique touch to your truffles.
Vegan or Dairy-Free Options
To make these truffles vegan or dairy-free, swap the cream cheese for a vegan cream cheese. You can also use coconut cream as a rich alternative. For the chocolate, choose dark chocolate that is dairy-free. Always check the labels to ensure no milk products are included. This way, you can enjoy these lovely treats while sticking to your dietary needs.
Using Different Chocolate Types
You can change the chocolate type for your coating. Milk chocolate offers a sweeter taste. Dark chocolate gives a rich and bold flavor. White chocolate provides a creamy contrast to the fruity filling. If you want a unique twist, try using flavored chocolates, like mint or orange. Just remember to melt the chocolate carefully to keep its smooth texture. Each chocolate type changes the overall flavor, making your truffles special.
Storage Info
Best Practices for Storage
To keep your no-bake chocolate covered strawberry truffles fresh, store them in an airtight container. This will prevent them from drying out or absorbing any unwanted smells. Line the bottom of the container with parchment paper to help with sticking. Keep the container in the fridge for the best taste.
Freezing Truffles for Later
You can freeze these truffles if you want to save some for later. Place the truffles on a baking sheet and freeze them for about an hour. Once they are firm, transfer them to a freezer-safe bag or container. Make sure to label the bag with the date. You can enjoy them later by letting them sit at room temperature for about 15 minutes before serving.
Shelf Life Recommendations
These truffles can last up to one week in the fridge. If you freeze them, they can last up to three months. After that, they may lose their flavor and texture. Always check for any signs of spoilage, like off smells or changes in texture, before enjoying your treats.
FAQs
Can I use frozen strawberries?
Yes, you can use frozen strawberries. Just remember to thaw them first. Drain any excess liquid before chopping. This keeps your truffles from getting too soggy. Fresh strawberries give better taste, but frozen works in a pinch.
How can I make truffles without cream cheese?
If you want to skip the cream cheese, use Greek yogurt instead. It adds the same creaminess. You can also try using nut butter for a unique taste. Both options will keep your truffles rich and smooth.
What is the best type of chocolate for coating?
I prefer semi-sweet chocolate for a balanced flavor. It pairs well with the sweetness of strawberries. Dark chocolate is great if you want a richer taste. Milk chocolate adds sweetness but may overwhelm the berry flavor. Choose what you love!
This blog post covered everything you need for perfect strawberry truffles. We discussed key ingredients, cooking notes, and tasty alternatives. I outlined step-by-step instructions to make your truffles easy to follow. You found tips for texture, chocolate melting, and flavor boosts. We explored fun variations, storage tips, and answered common questions.
Now you have the tools to create delightful strawberry truffles. Enjoy making them your way!