Get ready to satisfy your sweet tooth with my No-Bake Chocolate Peanut Butter Bars! These simple treats are quick to make and require no oven. You just mix, layer, and chill. Perfect for busy days, they are delicious and easy to customize. Let’s dive into the ingredients and steps so you can whip up a batch today! Trust me, these bars will be a hit!
Ingredients
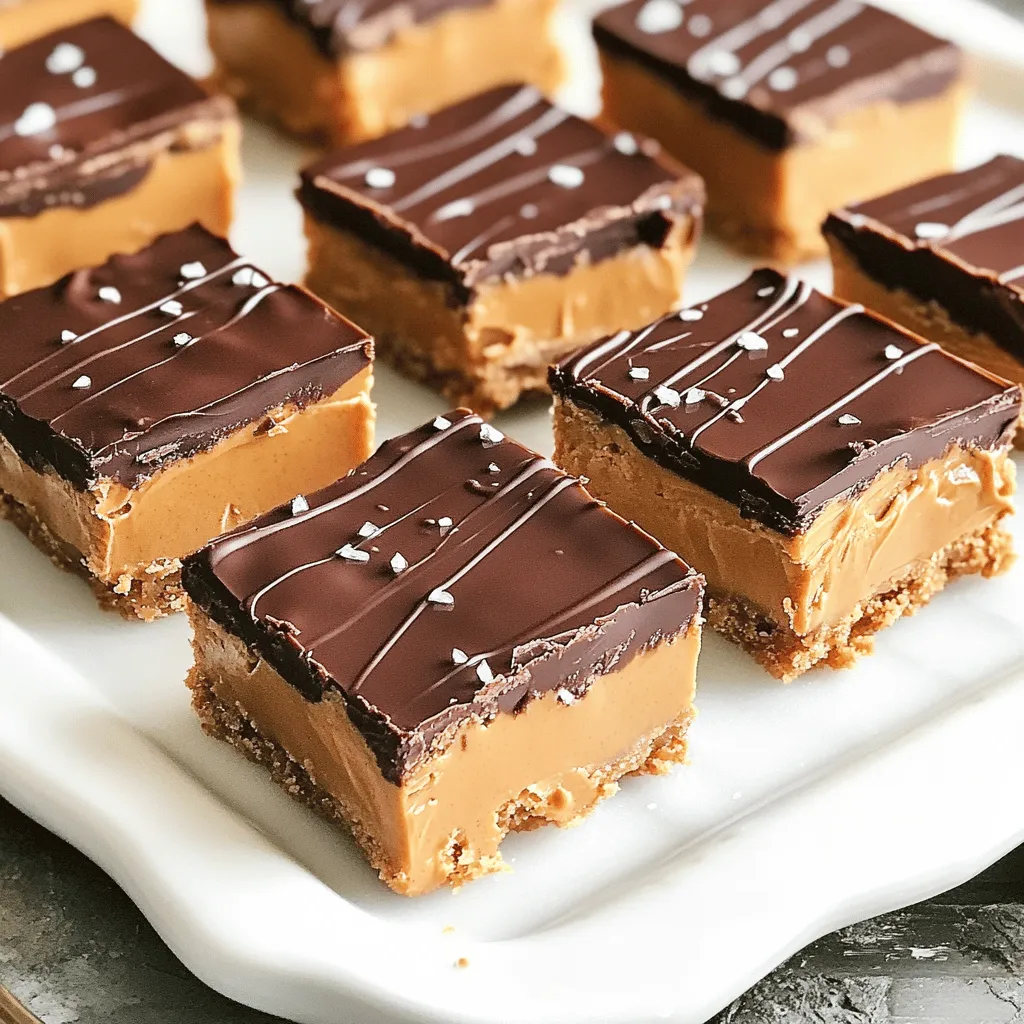
Complete list of ingredients for No-Bake Chocolate Peanut Butter Bars
To make these tasty bars, you need:
– 1 cup creamy peanut butter
– 1/2 cup pure maple syrup
– 2 cups rolled oats
– 1/2 cup unsweetened cocoa powder
– 1/2 teaspoon vanilla extract
– 1/4 teaspoon sea salt
– 1/2 cup dark chocolate chips (dairy-free if preferred)
– 2 tablespoons virgin coconut oil
Importance of ingredient quality
Using high-quality ingredients makes a big difference. Pure maple syrup adds a rich sweetness. It tastes much better than regular syrup. Creamy peanut butter should be natural and smooth. This gives the bars a nice texture. Dark chocolate chips should also be of good quality. They melt well and add a deep flavor. When you use great ingredients, your bars will taste amazing.
Substitutions for dietary preferences
You can easily adapt this recipe. For a dairy-free option, use dairy-free chocolate chips. If you need it gluten-free, make sure to choose certified gluten-free oats. You can also swap peanut butter for almond or sunflower butter. This keeps it nut-free. For a lower sugar option, try using honey instead of maple syrup. These changes help everyone enjoy this treat!
Step-by-Step Instructions
Detailed steps to prepare the peanut butter mix
Start with a large mixing bowl. Add 1 cup of creamy peanut butter and 1/2 cup of pure maple syrup. Mix these two with a spatula or whisk. You want a smooth mix with no lumps. Next, add in 2 cups of rolled oats, 1/2 cup of unsweetened cocoa powder, 1/2 teaspoon of vanilla extract, and 1/4 teaspoon of sea salt. Stir well until everything is combined. You should see a thick, sticky dough form. This dough is the base of your bars.
How to prepare the baking dish for easy removal
Grab an 8×8-inch square baking dish. You can grease it lightly with a bit of coconut oil. This helps the bars come out easily later. Alternatively, you can line the dish with parchment paper. This gives you an easy way to lift the bars out after they set. Just make sure to leave some paper hanging over the edges, so you can pull them out with ease.
Melting chocolate tips for a smooth topping
Use a small saucepan to melt the chocolate. Add 1/2 cup of dark chocolate chips and 2 tablespoons of virgin coconut oil. Keep the heat low and stir constantly. This keeps the chocolate from burning. You want it smooth and glossy. If you see any lumps, keep stirring until it’s all melted. Be patient; this step makes your topping perfect!
Once the chocolate is ready, you can pour it over the peanut butter layer in the dish. Spread it evenly with a spatula. This will give you a beautiful, shiny finish on top.
Tips & Tricks
Common mistakes to avoid while making the bars
One mistake I see often is not measuring ingredients carefully. Accurate measurements ensure the bars hold together. Another error is not mixing enough. You want a thick, sticky dough. If you see dry oats, mix longer. Lastly, don’t skip chilling. The bars need time in the fridge to set properly.
How to achieve the perfect texture
To get the best texture, use creamy peanut butter. It blends well and creates a smooth base. If your mixture seems dry, add a bit more maple syrup. You want a sticky dough that sticks together. Press it firmly in the dish. This helps it hold its shape when you cut it.
Presentation tips for serving and gifting
For a pretty presentation, use a white platter. The contrast makes the bars pop. Drizzle extra melted chocolate on top. A light sprinkle of sea salt adds flair. If you’re gifting them, place the bars in a nice box. Wrap it up with a ribbon for a special touch.

Variations
Different flavor options
You can change up your no-bake chocolate peanut butter bars easily. Adding nuts is a great way to add crunch and flavor. Chopped almonds or walnuts work well. You can also mix in dried fruits like raisins or cranberries for a sweet twist. These add a chewy texture and extra nutrients. Just be careful not to add too much, or the bars may fall apart.
Healthier alternatives
If you want a healthier treat, there are simple swaps you can make. Try using honey instead of maple syrup. Honey is sweet and sticky, making your bars hold together well. You can also reduce the sugar by using less cocoa powder. Consider using nut butter that has no added sugar. This way, you control the sweetness and keep it healthy.
Seasonal variations
Seasonal flavors can make your bars feel special. In fall, add pumpkin spice for a warm flavor. Just mix in a teaspoon or two during the mixing step. In winter, try adding a little peppermint extract for a festive touch. This gives your bars a fresh taste that brightens your holiday season. Enjoy the fun of changing flavors to match the season!
Storage Info
Best practices for storing No-Bake Chocolate Peanut Butter Bars
To keep your No-Bake Chocolate Peanut Butter Bars fresh, store them in an airtight container. This helps prevent them from drying out. Make sure to place a layer of parchment paper between layers if you stack them. This keeps the chocolate from sticking.
How long can the bars be stored?
You can store these bars in the fridge for up to one week. If they last that long, they will still taste great. Just remember, the fresher they are, the better they will be.
Freezing instructions for long-term storage
If you want to store them for longer, freezing works too! Wrap each bar in plastic wrap and place them in a freezer-safe bag. They can last up to three months in the freezer. When you want to enjoy one, let it thaw in the fridge for a few hours or at room temperature for about 30 minutes.
FAQs
Can I make No-Bake Chocolate Peanut Butter Bars vegan?
Yes, you can easily make these bars vegan. Use a plant-based peanut butter and swap the honey for pure maple syrup. For the chocolate, choose dairy-free dark chocolate chips. This will keep the bars tasty and plant-based.
How do I tell when the bars are set?
You can tell the bars are set when they are firm to the touch. After chilling for 2-3 hours, check the edges and center. They should not feel sticky. If they feel soft, give them more time in the fridge.
Can I substitute ingredients, and what are some good alternatives?
Absolutely! Here are some easy swaps:
– Use almond butter instead of peanut butter for a different flavor.
– Swap rolled oats for quick oats if you prefer a softer texture.
– Try agave syrup instead of maple syrup for sweetness.
– Use cocoa powder in place of carob powder for a unique twist.
Feel free to mix and match based on your taste or dietary needs!
These No-Bake Chocolate Peanut Butter Bars are easy to make and delicious. I covered the top ingredients, shared steps to prepare, and offered tips to avoid common mistakes. You can also make variations to suit your taste and store them easily. Remember, using quality ingredients makes a big difference. With these bars, you can enjoy a tasty treat that fits your dietary needs. Dive in and have fun experimenting in your kitchen!


