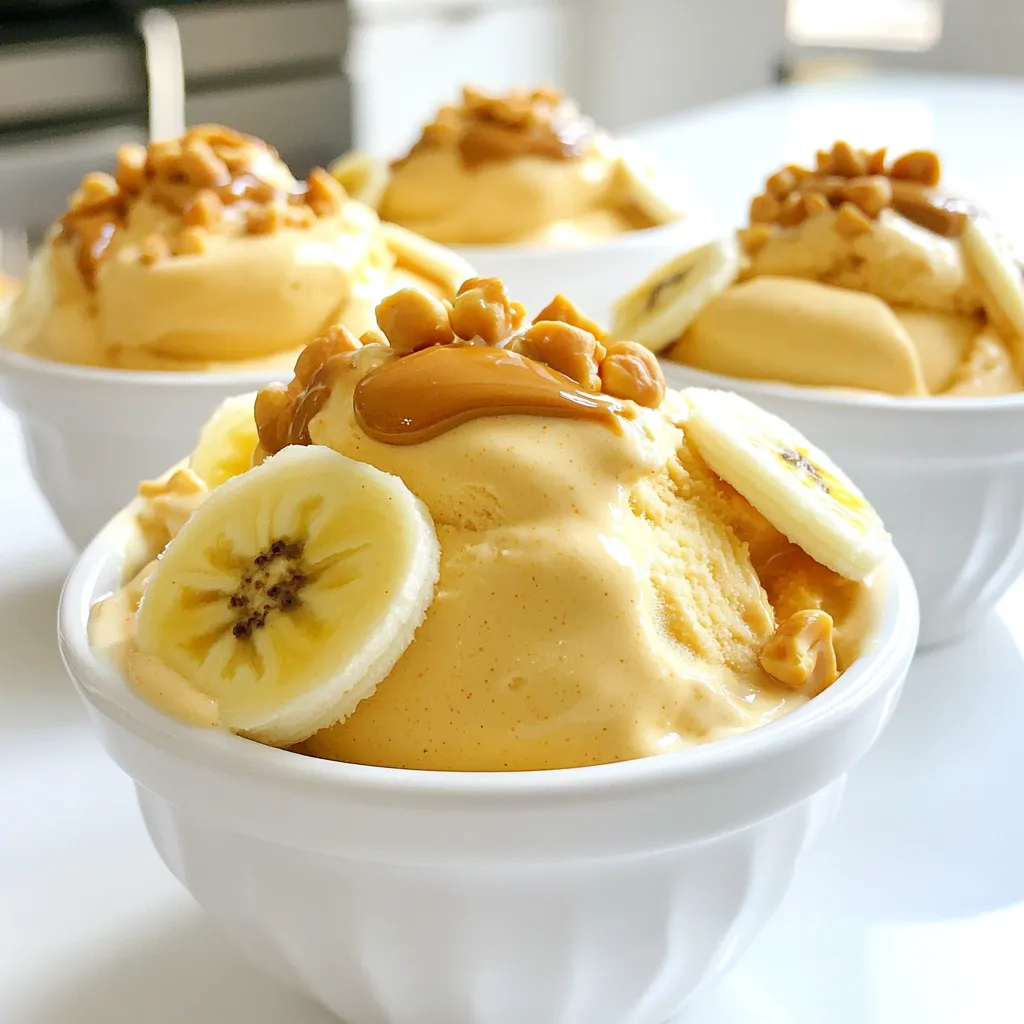
Looking for a sweet treat that’s both simple and healthy? Look no further! Peanut Butter Banana Nice Cream is creamy, flavorful, and easy to make. With just a few ingredients, you can whip up a delightful dessert that satisfies your cravings. In this post, I’ll guide you through the steps to create this frozen delight, plus tips to make it even better. Ready to dive into a guilt-free indulgence? Let’s get started!
Ingredients
List of main ingredients
To make Peanut Butter Banana Nice Cream, gather these simple ingredients:
– 3 ripe bananas, sliced and frozen
– 1/4 cup natural peanut butter
– 1 teaspoon vanilla extract
– A pinch of sea salt
These main ingredients create the smooth and creamy base for your nice cream. The ripe bananas add natural sweetness and texture. The peanut butter gives a rich, nutty flavor.
Optional sweeteners
If you want extra sweetness, consider adding some of these:
– 1 tablespoon honey
– 1 tablespoon maple syrup
These sweeteners are not required, but they can enhance the flavor. Adjust to your taste. If your bananas are very ripe, you might not need any sweetener at all.
Recommended toppings
Toppings can make your nice cream even more fun! Here are some great options:
– Chopped peanuts
– Granola
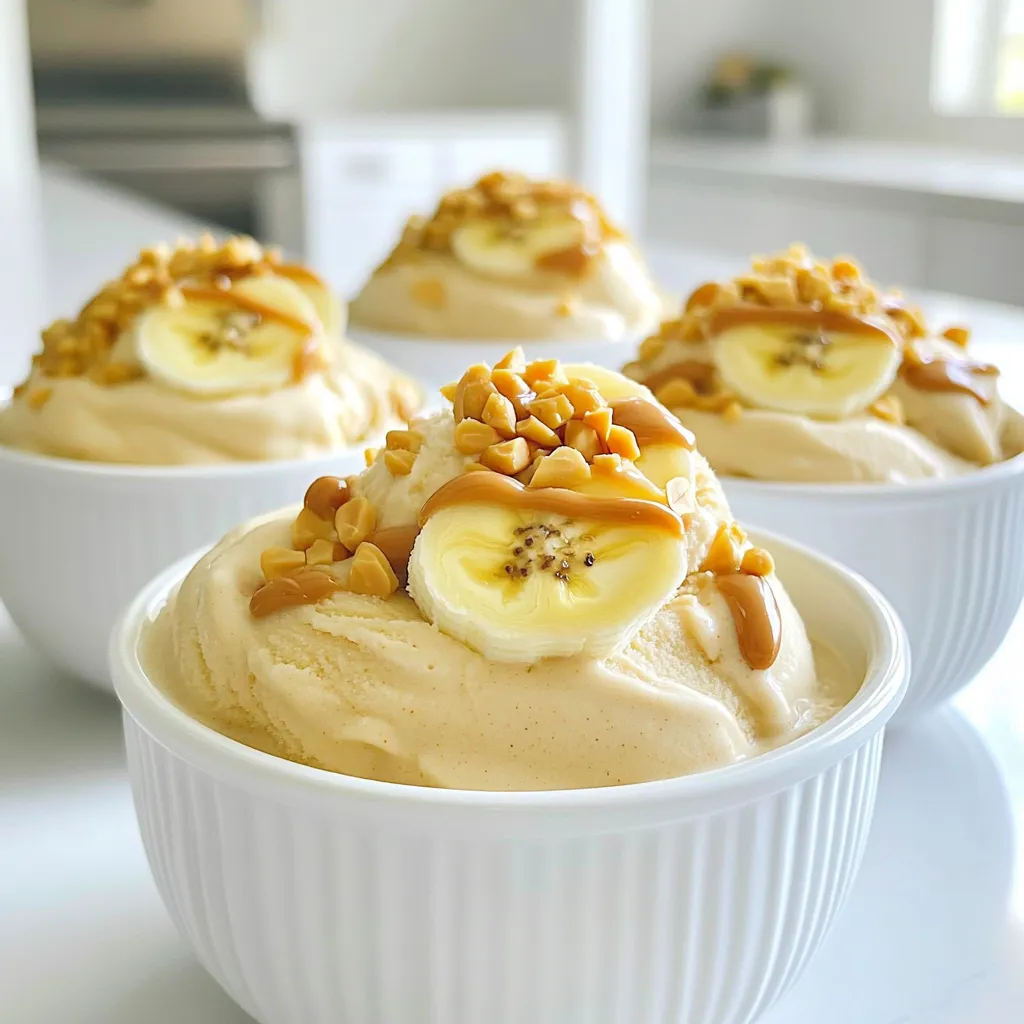
These toppings add crunch and texture. You can also sprinkle some extra banana slices for a fresh touch. Feel free to mix and match your favorite toppings!
Step-by-Step Instructions
Preparation of frozen bananas
Start by slicing three ripe bananas into thin coins. Lay the slices in a single layer in a freezer-safe container. This step helps them freeze evenly. Leave the bananas in the freezer for at least two hours. They need to be solid to create nice cream.
Blending the mixture
After the bananas are frozen, take them out of the freezer. Place the banana slices in a food processor. Add 1/4 cup of natural peanut butter. If you want, you can add 1 tablespoon of honey or maple syrup for sweetness. Also, include 1 teaspoon of vanilla extract and a pinch of sea salt. Blend this mixture on high speed until it looks smooth and creamy. You may need to scrape down the sides a few times. Be patient! This blending can take a couple of minutes.
Serving suggestions for immediate consumption vs. frozen
Once the mixture is creamy, taste it. If you want it sweeter, add more honey or syrup. Blend it again briefly to mix. You can serve the nice cream right away for a soft-serve texture. If you prefer it firmer, transfer it to a bowl and freeze for an extra 30 minutes. When ready to eat, scoop the nice cream into bowls. For a fun touch, top it with chopped peanuts or granola. Enjoy your delightful treat!
Tips & Tricks
Ideal banana ripeness for flavor
For the best taste, use ripe bananas. Look for bananas with brown spots. These spots mean the bananas are sweet and full of flavor. Overripe bananas work best in this recipe. They blend smoothly into the nice cream.
Achieving the perfect texture
Texture is key for nice cream. Make sure to freeze the banana slices for at least two hours. This helps them become solid and creamy. When blending, keep the food processor running until the mixture is smooth. Scrape the sides often to mix everything well.
Customizing sweetness levels
Sweetness is a personal choice. You can add honey or maple syrup for extra sweetness. Start with a little, then taste the mixture. If it’s not sweet enough, add more and blend again. This way, you can make it just right for your taste!
Variations
Add-ins for flavor enhancement
You can make your Peanut Butter Banana Nice Cream even better with fun add-ins. Try adding a tablespoon of cocoa powder for a chocolate twist. A couple of tablespoons of ground cinnamon can bring warmth and spice. You can also mix in a small handful of dark chocolate chips for a sweet crunch. Each add-in changes the taste and makes it more exciting.
Alternative nut butters
If you want to switch things up, use different nut butters. Almond butter gives a nutty flavor that pairs well with bananas. Cashew butter adds a creamy texture without being too strong. Sunflower seed butter is a great choice if you need to avoid nuts. Each option will change the taste but keep that creamy goodness.
Dairy-free options for creaminess
You can easily make this recipe dairy-free while keeping it rich. Use a splash of coconut milk or almond milk to enhance creaminess. If you want a thicker texture, add some soaked cashews. These options keep the nice cream smooth and delicious, perfect for those who need a dairy-free treat.
Storage Info
How to store leftover nice cream
Store any leftover nice cream in an airtight container. This keeps it fresh and tasty. If you have a lot, divide it into smaller containers. This makes it easy to grab a scoop later.
Best practices to maintain texture
To keep your nice cream creamy, let it sit at room temperature for a few minutes before scooping. This helps soften it a bit. If it gets too hard, you can blend it again quickly. This will restore its smooth texture.
Shelf life of ingredients used
The frozen bananas will last about 2 months in the freezer. Peanut butter can last up to a year if stored properly. Honey and vanilla extract have long shelf lives too. Just keep them in a cool, dry place. Make sure to check the dates on your ingredients for the best quality.
FAQs
Can I use other fruits in nice cream?
Yes, you can use other fruits in nice cream! Berries, mangoes, or peaches work well. Just freeze them first. Blend them as you do with bananas. Each fruit gives a different flavor. Try mixing fruits for fun combos!
Is this recipe suitable for kids?
Absolutely! This recipe is perfect for kids. It’s simple, tasty, and healthy. Kids love sweet treats, and nice cream fits the bill. Plus, they can help make it. They can slice bananas and add ingredients. It’s a great family activity!
How can I make it sugar-free?
To make this recipe sugar-free, skip the honey or maple syrup. The ripe bananas provide natural sweetness. You can also add a splash of vanilla extract for extra flavor. If you need more sweetness, consider using a sugar-free sweetener.
Nice cream combines simple ingredients and easy steps to make a delicious treat. Optional sweeteners and toppings can customize each serving. Remember to use ripe bananas for great taste and the right texture. You can add different flavors or nut butters for variety. Store leftovers properly to keep them fresh. This recipe is kid-friendly and can be sugar-free with the right choices. Enjoy making this guilt-free dessert!


