If you crave a dish that’s both tasty and simple, you’re in the right place! Roasted Honey Garlic Shrimp brings bold flavors to your table in no time. With just a few fresh ingredients and simple steps, you’ll impress your family and friends. Learn how to master the perfect marinade, avoid overcooking, and even discover fun variations. Let’s dive into this delicious recipe that’s sure to leave you craving more!
Ingredients
The key to making roasted honey garlic shrimp is to use fresh, quality ingredients. Here’s what you need for this dish:
– 1 lb large shrimp, peeled and deveined
– 1/4 cup honey
– 3 tablespoons soy sauce (or tamari for a gluten-free option)
– 4 cloves garlic, finely minced
– 1 tablespoon fresh ginger, finely grated
– 1 tablespoon sesame oil
– 1 teaspoon red pepper flakes (adjust according to your spice preference)
– 2 green onions, finely chopped (for garnish)
– Sesame seeds (for garnish)
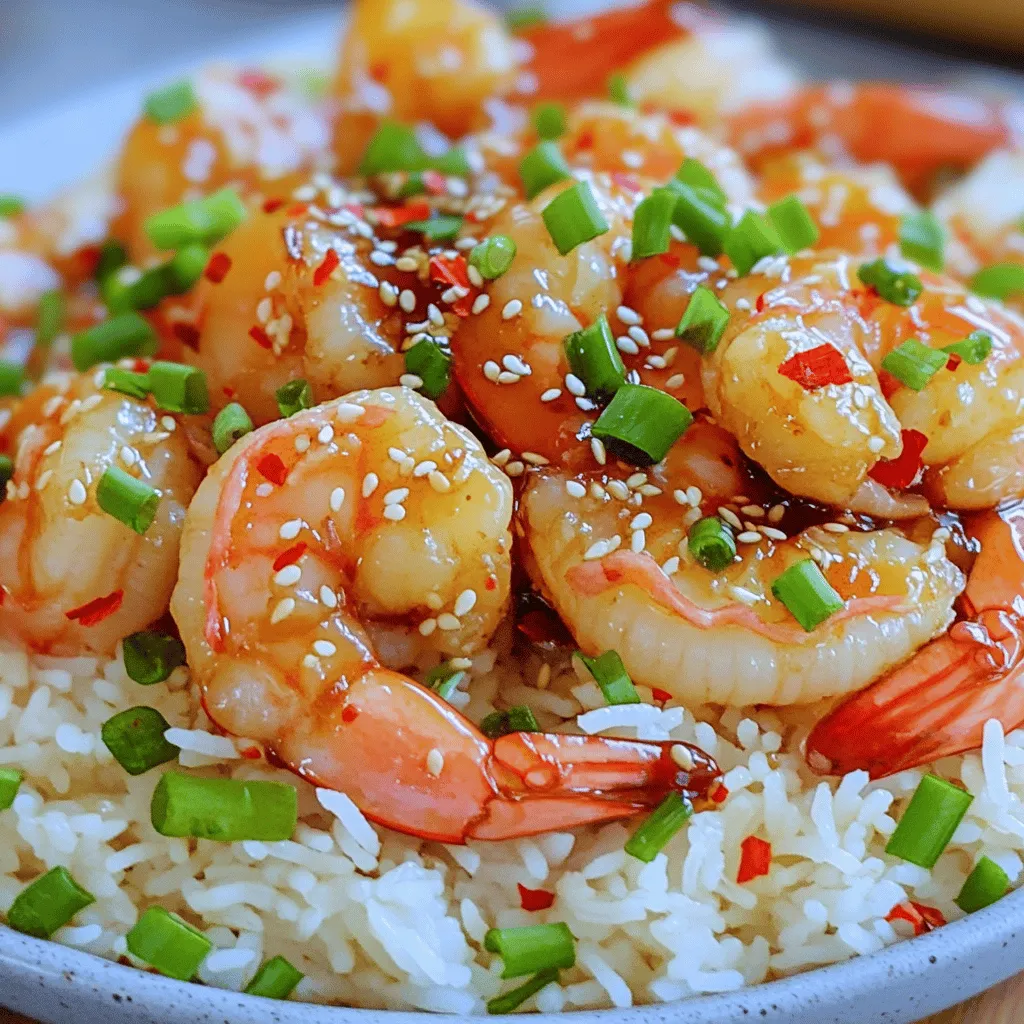
Using fresh shrimp makes a big difference. The sweetness of honey blends well with the saltiness of soy sauce. Garlic and ginger add a lovely aroma. You can adjust the red pepper flakes to suit your taste. Green onions and sesame seeds are great for garnish; they add flavor and color.Enjoy cooking this dish with these simple yet flavorful ingredients!
Step-by-Step Instructions
Prepping the Shrimp
– Preheat the oven to 400°F (200°C). This step is key for even cooking.
– In a medium bowl, mix 1/4 cup honey, 3 tablespoons soy sauce, 4 minced garlic cloves, 1 tablespoon grated ginger, 1 tablespoon sesame oil, and 1 teaspoon red pepper flakes. Whisk until smooth.
– Add 1 lb of peeled and deveined shrimp to the bowl. Mix well to coat. Let them marinate for 15-20 minutes. This allows the shrimp to soak up all those tasty flavors.
Baking the Shrimp
– Line a baking sheet with parchment paper or lightly oil it. This helps with easy cleanup.
– Spread the marinated shrimp in a single layer on the baking sheet. This ensures they cook evenly.
– Place the sheet in the oven and roast for 8-10 minutes. Watch closely; they turn pink when done. Overcooking makes shrimp tough.
– After roasting, take the baking sheet out. Drizzle any leftover sauce from the pan over the shrimp. This adds more flavor.
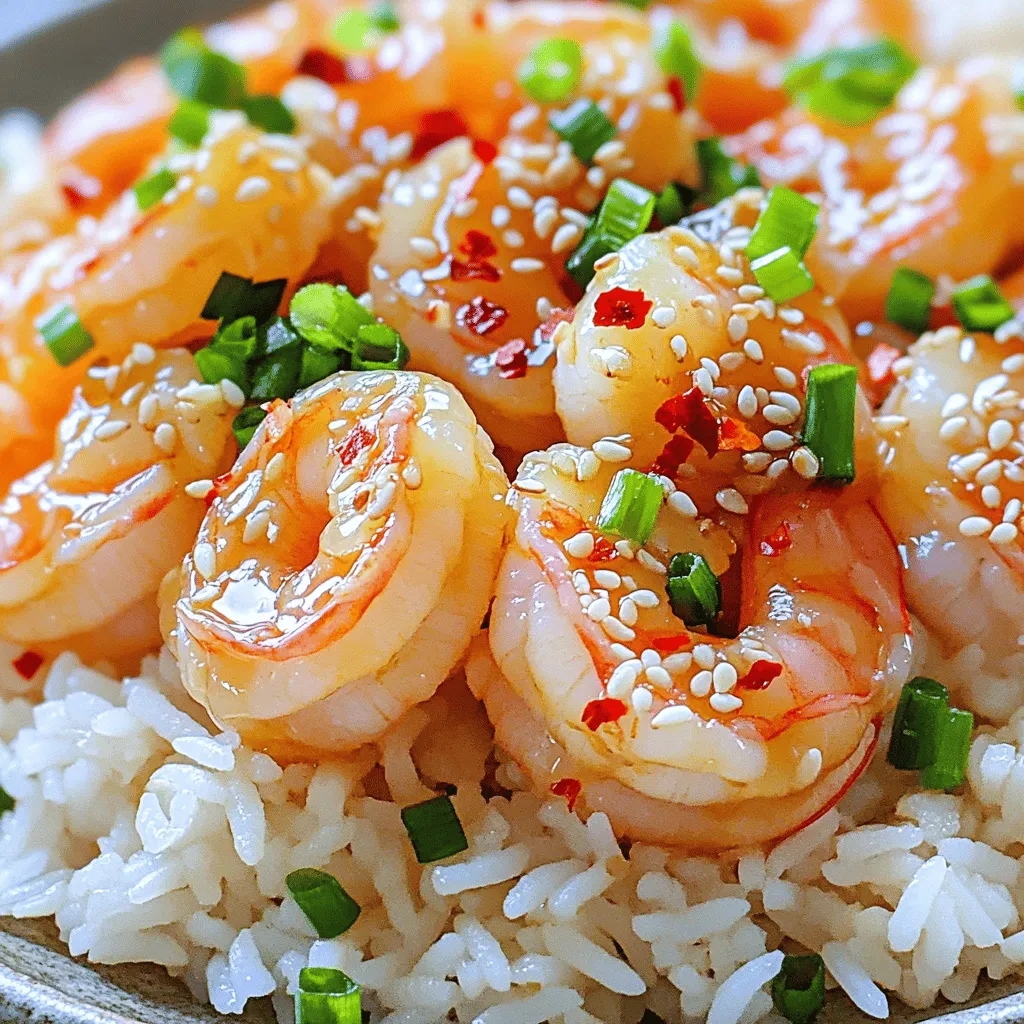
– Move the shrimp to a serving platter. Garnish with chopped green onions and sesame seeds. This adds color and crunch.
Tips & Tricks
Cooking Tips
To avoid overcooking shrimp, watch the time closely. Shrimp cooks fast. When they turn pink, they are done. I suggest roasting for just 8-10 minutes. If they cook too long, they become tough.
To ensure even cooking, lay the shrimp in a single layer. This helps hot air reach all sides. If the shrimp overlap, they may not cook evenly. Use parchment paper on your baking sheet for easy cleanup and to prevent sticking.
Flavor Enhancement
Adjusting spice levels is easy. If you want more heat, add more red pepper flakes. If you prefer milder flavors, use less spice. This recipe allows you to tailor the heat to your taste.
Adding extra ingredients can deepen the flavor. Consider mixing in fresh herbs like cilantro or basil after cooking. You can also sprinkle some lime juice for brightness. Adding a splash of sriracha can give your dish a nice kick. For a touch of sweetness, drizzle more honey before serving.
I always like to experiment with flavors. Feel free to try new combinations!
Variations
Alternative Protein Options
If you want to switch things up, try chicken or tofu. Both are great choices. For chicken, use boneless thighs or breasts. Cut them into bite-sized pieces for even cooking. Marinate them just like you would the shrimp for full flavor.
For tofu, use firm or extra-firm tofu. Press it first to remove excess water. Cut it into cubes and marinate. Cooking time will vary. Bake chicken for about 20 minutes and tofu for around 15 minutes at 400°F. Keep an eye on them to avoid overcooking.
Sauce Variations
You can explore many sauce variations to keep things exciting. Try adding lime juice or citrus zest for a fresh twist. You can also mix in some hoisin sauce for a sweet and savory note.
If you want to substitute soy sauce, use coconut aminos for a soy-free option. You can also use tamari, which is gluten-free. This way, you can cater to different diets while keeping the dish flavorful. Feel free to experiment and find your favorite flavor profile!
Storage Info
Refrigeration
Roasted honey garlic shrimp lasts up to three days in the fridge. To keep it fresh, store it in an airtight container. This helps avoid any weird odors and keeps the shrimp tasty. Always let the shrimp cool down before sealing it away. This step stops condensation, which can lead to sogginess.
Freezing
Yes, you can freeze roasted shrimp! They freeze well for up to three months. To freeze, place the shrimp in a single layer on a baking sheet. After they are frozen solid, transfer them to a freezer bag. This method keeps them from sticking together.
When you want to eat them, thaw the shrimp overnight in the fridge. Reheat gently in a pan over low heat. Avoid high heat, as it can toughen the shrimp. Enjoy your meal with flavors still intact.
FAQs
Common Questions
What to serve with roasted honey garlic shrimp?
You can serve roasted honey garlic shrimp with fluffy jasmine rice or quinoa. Both options soak up the sauce well. Adding steamed veggies, like broccoli or snap peas, makes the meal colorful and healthy.
Can I use frozen shrimp?
Yes, you can use frozen shrimp. Just make sure to thaw them first. Place them in a bowl of cold water for about 15 minutes. This helps them cook evenly.
How do I know when shrimp are done?
Shrimp are done when they turn pink and opaque. This usually takes 8-10 minutes in the oven. Keep an eye on them to avoid overcooking. Overcooked shrimp can become tough.
Is this recipe gluten-free?
Yes, this recipe can be gluten-free. Simply use tamari instead of soy sauce. Check labels on all ingredients to ensure they meet your dietary needs. Enjoy this tasty dish without worries.
This blog post walked you through making roasted honey garlic shrimp. We covered the right ingredients, step-by-step instructions, and useful tips. You learned how to store and freeze shrimp too.
Remember, cooking shouldn’t be hard. Enjoy experimenting with flavors! Try variations and make the dish your own. With practice, you’ll become a pro. Happy cooking!