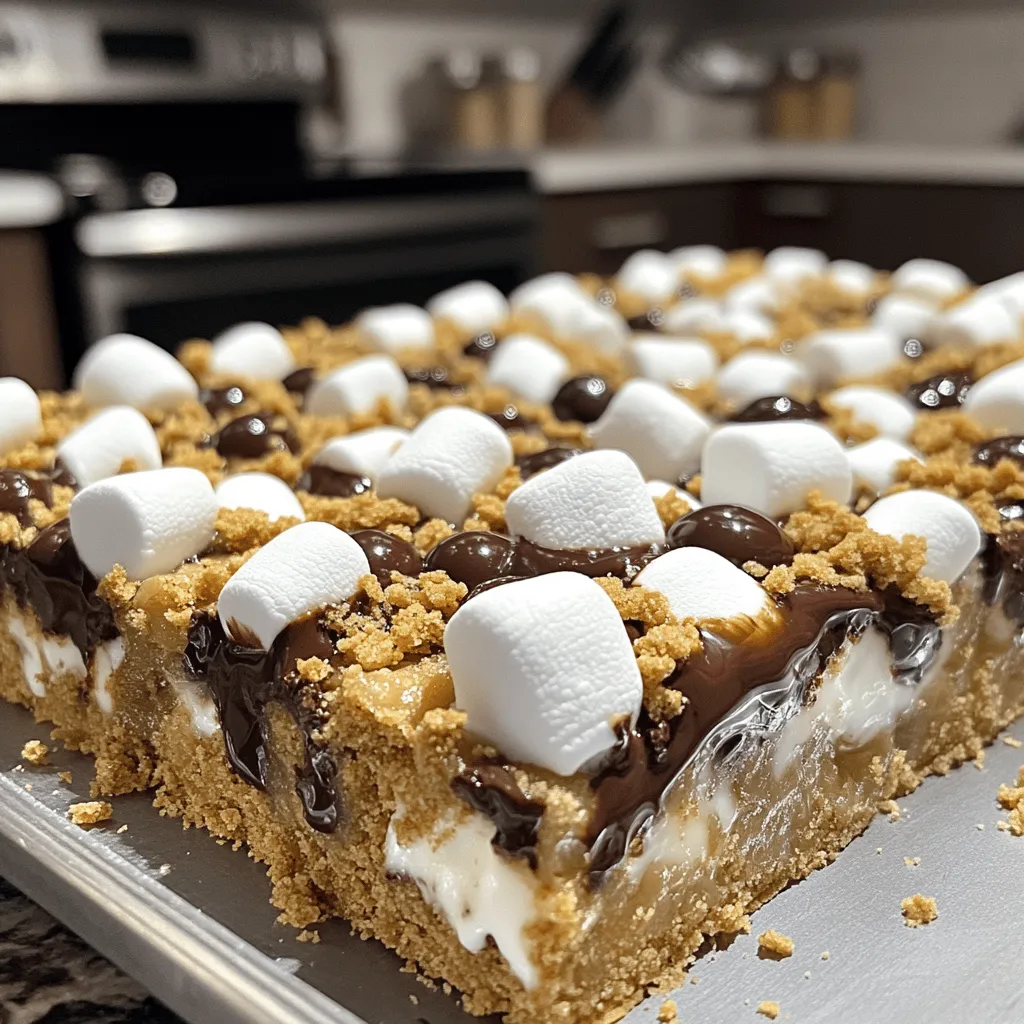
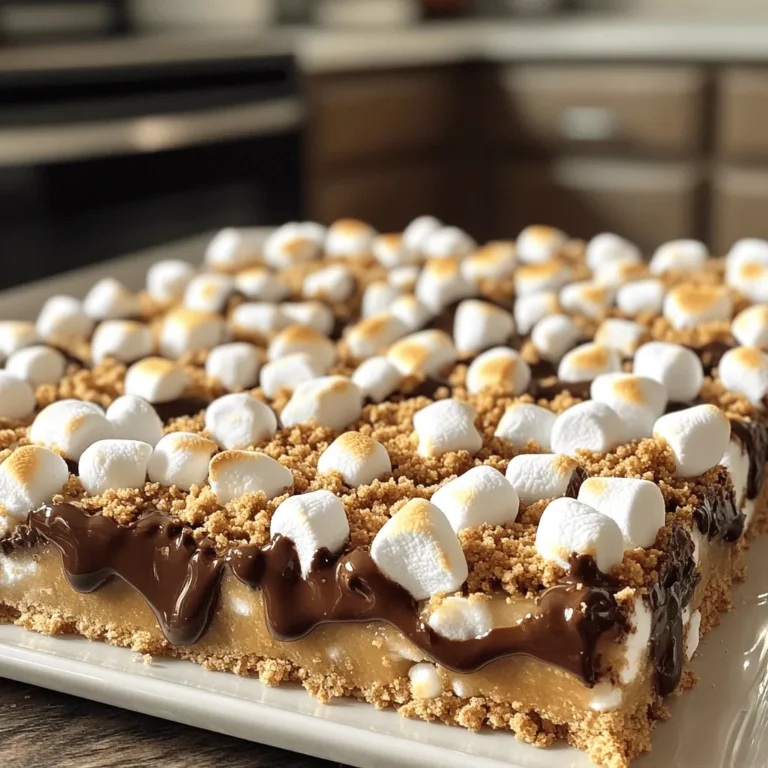
Craving a sweet treat that’s easy to make and oh-so-delicious? You’re in the right place! Oven-baked s’mores bars bring the classic campfire flavor right to your kitchen. With just a few simple ingredients, you can whip up a gooey, chocolatey delight. In this post, I’ll guide you through every step. Plus, I’ll share tips to make these bars even better! Let’s dive into the world of s’mores bars together.
Ingredients
List of Ingredients
– 1 ½ cups graham cracker crumbs
– ½ cup unsalted butter, melted
– ½ cup packed brown sugar
– 1 teaspoon pure vanilla extract
– 1 cup mini marshmallows
– 1 cup semisweet chocolate chips
– ½ cup chopped walnuts or pecans (optional)
You need a few simple items to make these oven-baked s’mores bars. First, gather graham cracker crumbs. This gives the bars a sweet and crunchy base. Next, use unsalted butter; it helps bind the crumbs. You will also need brown sugar for sweetness. Pure vanilla extract adds a warm flavor.
Mini marshmallows are a must for that gooey texture. You can’t forget semisweet chocolate chips—they give a rich taste. If you like a little crunch, add chopped walnuts or pecans. They are optional but add a nice touch.
Recommended Tools
– 8×8-inch baking dish
– Mixing bowls
– Measuring cups and spoons
– Rubber spatula
To prepare your s’mores bars, you will need some tools. An 8×8-inch baking dish is perfect for this recipe. Mixing bowls help you combine all the ingredients easily. Measuring cups and spoons ensure you get the right amounts. Lastly, a rubber spatula is great for mixing and spreading.
Now, you’re ready to dive into making these delicious treats.
Step-by-Step Instructions
Preheat and Prepare
– Preheat oven to 350°F (175°C).
– Grease the baking dish.
Start by warming your oven. This step is key for even baking. Greasing the dish helps prevent sticking. Use a bit of butter or cooking spray for this.
Mixing the Base
– Combine graham cracker crumbs, butter, brown sugar, and vanilla.
– Achieve wet sand consistency.
In a bowl, mix graham cracker crumbs, melted butter, brown sugar, and vanilla extract. Stir until it looks like wet sand. This texture helps form a strong base for your bars.
Layering for S’mores Bars
– Press half of the mixture into the baking dish.
– Add marshmallows and chocolate chips.
– Add remaining mixture as topping.
Take half of the crumb mixture and press it into the bottom of the dish. Make sure it’s packed tightly. Next, sprinkle mini marshmallows evenly on top. Add semisweet chocolate chips, too. If you want, toss in nuts for extra crunch. Finally, crumble the rest of the mixture over the top.
Baking Process
– Bake for 25-30 minutes.
– Check for golden brown and toasted marshmallows.
Place the dish in your preheated oven. Bake for 25 to 30 minutes. Look for a golden brown color and some toasted marshmallows on top. This means they are ready!
Cooling and Serving
– Allow to cool for at least 10 minutes before slicing.
– Tips for easy cutting.
After baking, let the bars cool for at least 10 minutes. This cooling time helps set the layers. For easier cutting, use a sharp knife and slice with a gentle sawing motion. Enjoy your warm, gooey s’mores bars!
Tips & Tricks
Achieving the Perfect Bake
To know when your s’mores bars are done, look for a golden top. The marshmallows should be lightly toasted. If the edges bubble slightly, that’s a good sign too. Cooling time is key. Let them sit for at least 10 minutes before cutting. This helps the layers set well and makes slicing easier.
Enhancing Flavor and Texture
You can make your s’mores bars even better by adding nuts. Chopped walnuts or pecans add a nice crunch. You can also toss in extra chocolate chips for a richer taste. If you want gooier bars, add more mini marshmallows. For firmer bars, use less marshmallow and bake them a bit longer.
Presentation Ideas
Serving your s’mores bars warm makes them extra special. Drizzle chocolate sauce on top for a sweet touch. You can sprinkle crushed graham crackers as a nice garnish. Pair these bars with a scoop of vanilla ice cream for a treat that feels fancy. The cold ice cream contrasts perfectly with the warm bars.

Variations
Different Flavor Profiles
You can change the classic s’mores bars to suit your taste. One fun option is peanut butter s’mores bars. Just mix in a half cup of creamy peanut butter into your melted butter. This adds a rich, nutty flavor that pairs well with chocolate and marshmallows.
Another tasty twist is mint chocolate variations. Use mint chocolate chips instead of regular ones. You can also add a few drops of mint extract to the mix. This gives your bars a cool and refreshing taste.
Gluten-Free Options
For gluten-free s’mores bars, start with gluten-free graham crackers. Many brands offer these, and they work just as well in the recipe. Simply crush them like regular graham crackers.
You might need to adjust your binding agents too. Instead of butter, you can use coconut oil or vegan margarine. This keeps your bars together without gluten.
Vegan Adaptations
If you want to make vegan s’mores bars, substitute butter and chocolate with plant-based options. Use coconut oil for the butter. For chocolate, choose dairy-free chocolate chips.
Make sure your marshmallows are plant-based as well. Some brands offer vegan marshmallows, which are perfect for this recipe. This way, everyone can enjoy these treats!
Storage Info
How to Store S’mores Bars
To keep your s’mores bars fresh, use an airtight container. This will prevent them from drying out. You can also wrap them tightly in plastic wrap. Store them at room temperature in a cool, dry place. Avoid areas with sunlight or heat.
Shelf Life
At room temperature, these bars last about three days. If you refrigerate them, they can last up to a week. When reheating leftovers, warm them in the microwave for about 10 seconds. This will make them gooey again without drying them out.
Freezing S’mores Bars
To freeze s’mores bars, wait until they are completely cool. Cut them into squares and wrap each piece in plastic wrap. Then, place them in a freezer-safe bag or container. For thawing, leave them in the fridge overnight. To reheat, use the microwave for a few seconds. This keeps them tasty and soft.
FAQs
Can I make S’mores Bars ahead of time?
Yes, you can make s’mores bars ahead of time. To prepare them in advance, bake the bars and let them cool completely. Wrap them tightly in plastic wrap or store them in an airtight container. Keep them in the fridge for up to a week. When ready to serve, you can warm them in the oven for a few minutes. This will restore that gooey texture we all love!
What substitutes can I use for graham crackers?
If you don’t have graham crackers, you can use other options. Some great substitutes include digestive biscuits or vanilla wafers. You can even crush shortbread cookies for a sweet twist. Each option brings a unique flavor to the bars. Just make sure to adjust the sugar level based on the sweetness of your substitute.
Can I bake these in a larger pan?
Yes, you can bake these s’mores bars in a larger pan. If you use a 9×13-inch pan, double the ingredients. This will ensure you have enough mixture to fill the pan. Keep an eye on your baking time; larger bars may take a bit longer to bake. Check for doneness by looking for a golden top and bubbly marshmallows.
How do I know when my s’mores bars are done?
To know when your s’mores bars are done, look for a golden brown top. The marshmallows should be slightly toasted and puffy. You can also check the edges; they should pull away from the sides of the pan. If in doubt, give them a few extra minutes in the oven. This ensures a perfect bake every time!
S’mores bars are a fun and easy treat to make. We combined simple ingredients like graham crackers, chocolate, and marshmallows. The steps, from mixing to baking, are clear and simple. With tips on flavor and storage, you can enjoy them longer. You can even try different flavors and dietary options.
Experiment and have fun with this recipe! Your friends and family will love these sweet treats.


