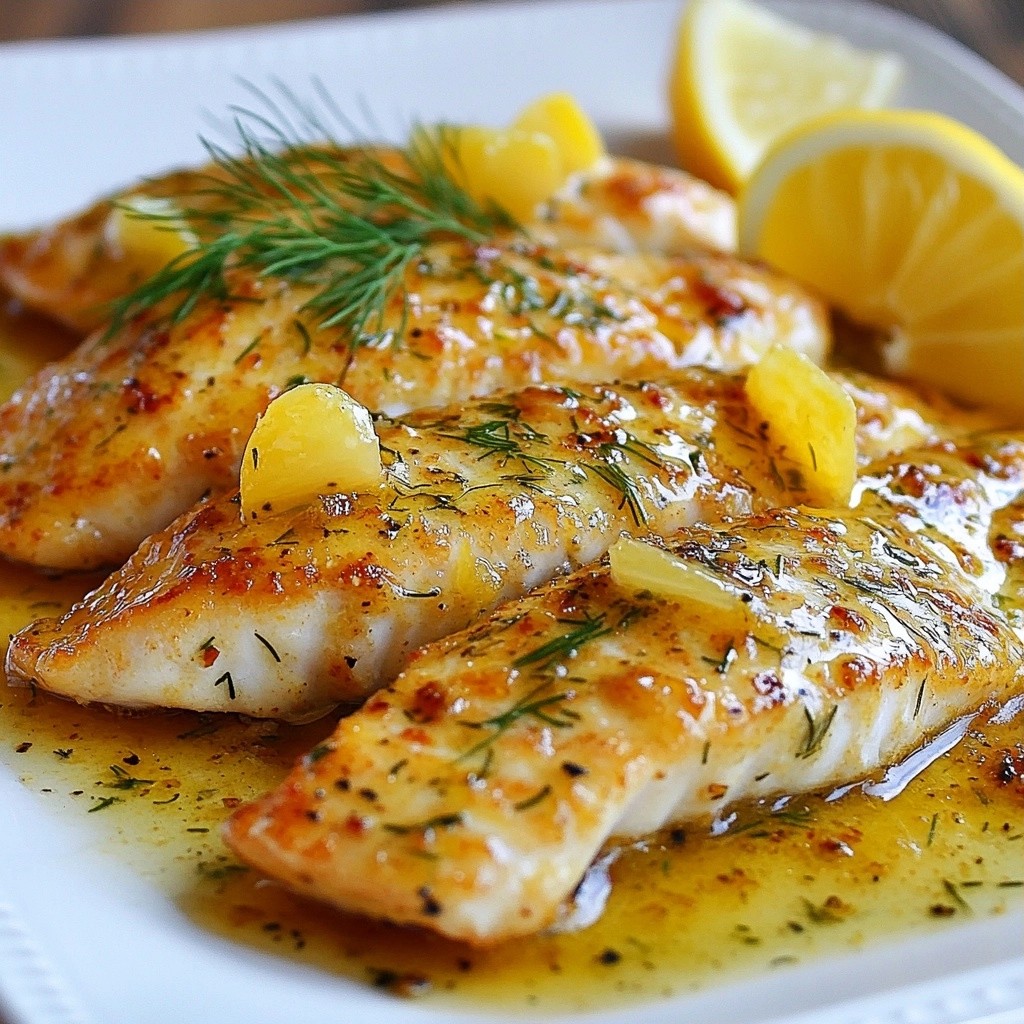
Looking for a tasty and easy keto meal? Let me introduce you to my Herb-Crusted Keto Lemon Chicken Thighs. This dish is not only packed with flavor but also simple to make. You’ll love the mix of fresh herbs and zesty lemon on juicy chicken thighs. Ready to impress your taste buds? Let's dive into the details and make this delicious meal together. You won't want to miss it!
Why I Love This Recipe
- Delicious Flavor Combination: The mix of herbs and lemon zest creates a vibrant and mouthwatering flavor that perfectly complements the juicy chicken thighs.
- Keto-Friendly: This recipe is low in carbs, making it a great option for those following a ketogenic diet without sacrificing taste.
- Easy Preparation: With minimal prep time and straightforward steps, this dish is perfect for busy weeknights or impressing guests.
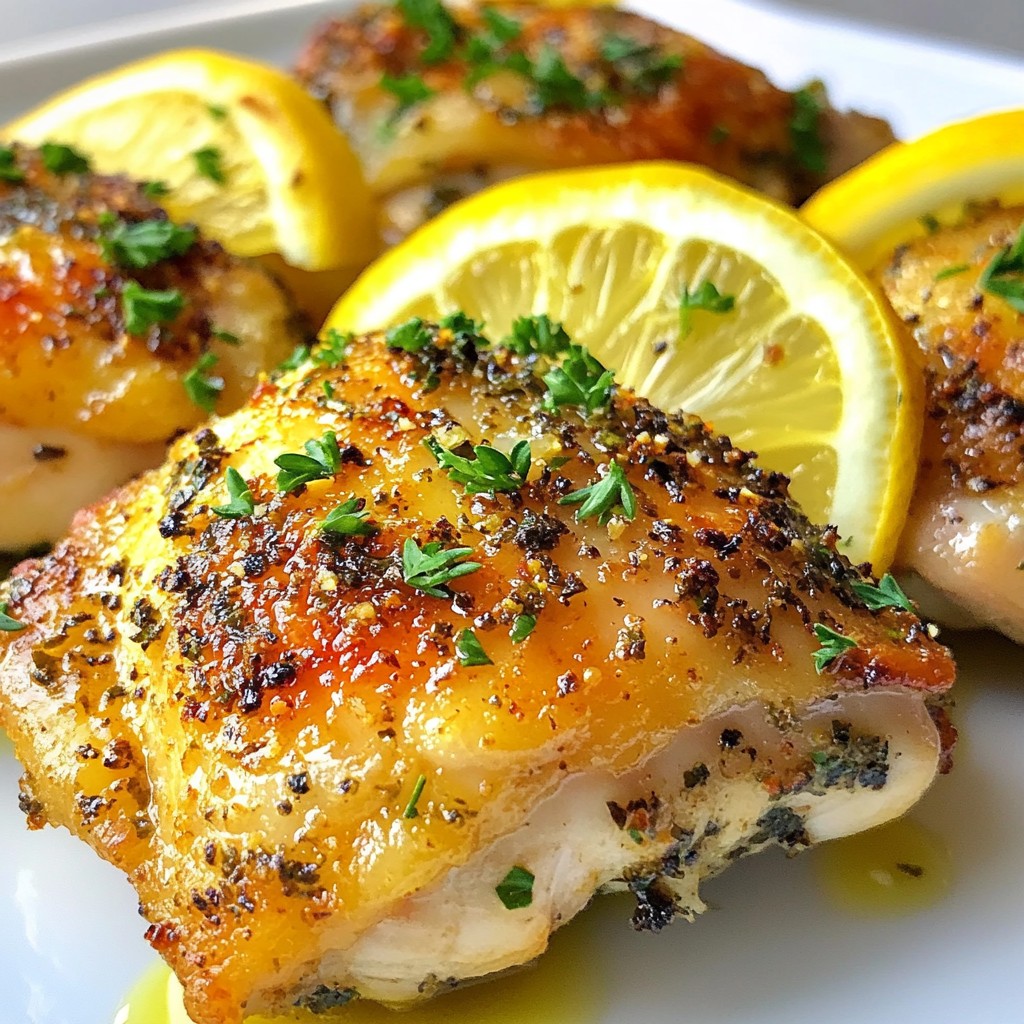
- Crispy Skin: The technique of drying the chicken and using high heat ensures a beautifully crispy skin that everyone loves.
Ingredients
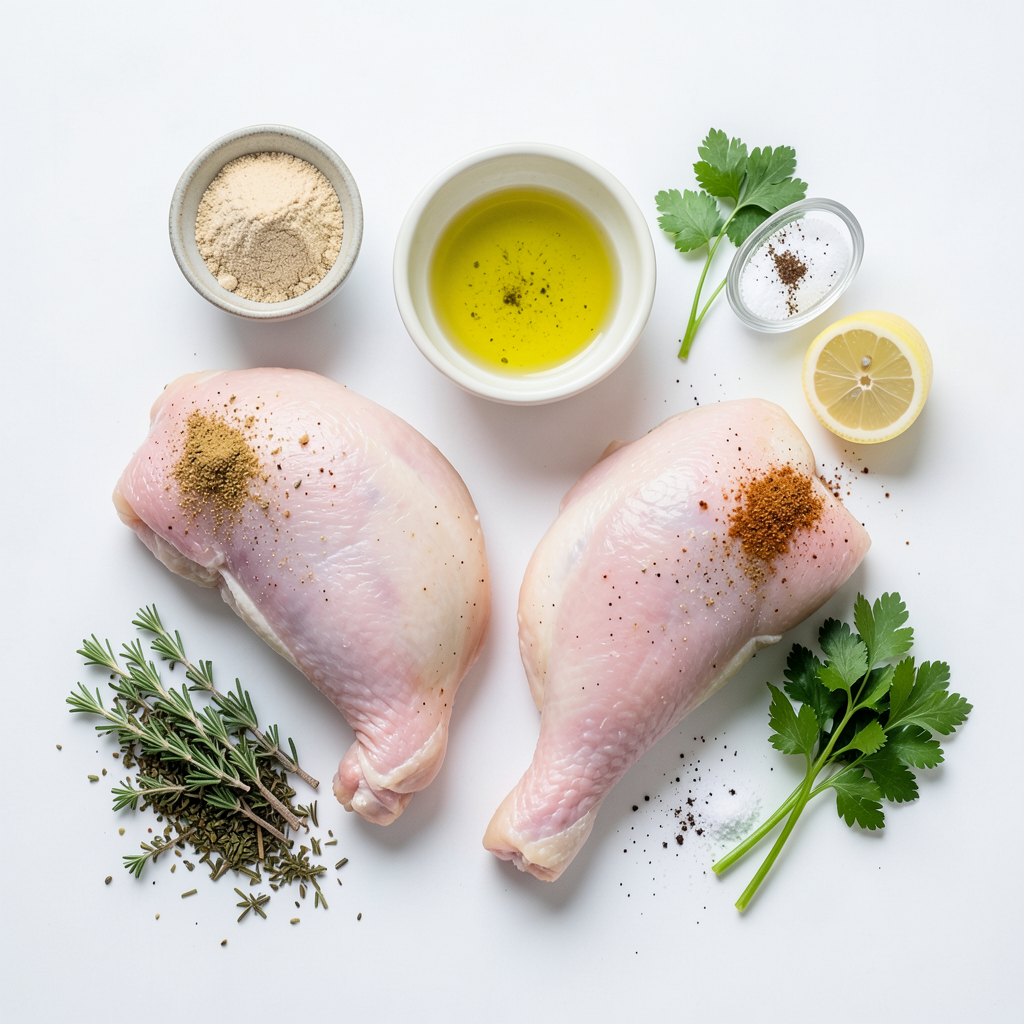
List of Ingredients
- 4 bone-in, skin-on chicken thighs
- 2 tablespoons extra virgin olive oil
- 1 teaspoon garlic powder
- 1 teaspoon onion powder
- 1 teaspoon dried oregano
- 1 teaspoon dried thyme
- 1 teaspoon smoked paprika
- Zest of 1 medium lemon
- Juice of 1 medium lemon
- Salt and freshly ground black pepper to taste
- Fresh parsley, roughly chopped, for garnish
- Optional: Lemon wedges for serving
I love using bone-in, skin-on chicken thighs for this recipe. They stay juicy and tender while baking. The skin crisps up nicely, giving you that perfect crunch.
Next, I use a mix of herbs and spices to give the chicken its tasty crust. Garlic powder adds depth, while onion powder gives a sweet touch. Oregano and thyme are classic herbs, bringing brightness and earthiness. Smoked paprika adds a nice, warm flavor with a hint of smokiness.
Don’t forget the zest and juice of a fresh lemon! The zest gives a strong lemony flavor, while the juice brightens the dish.
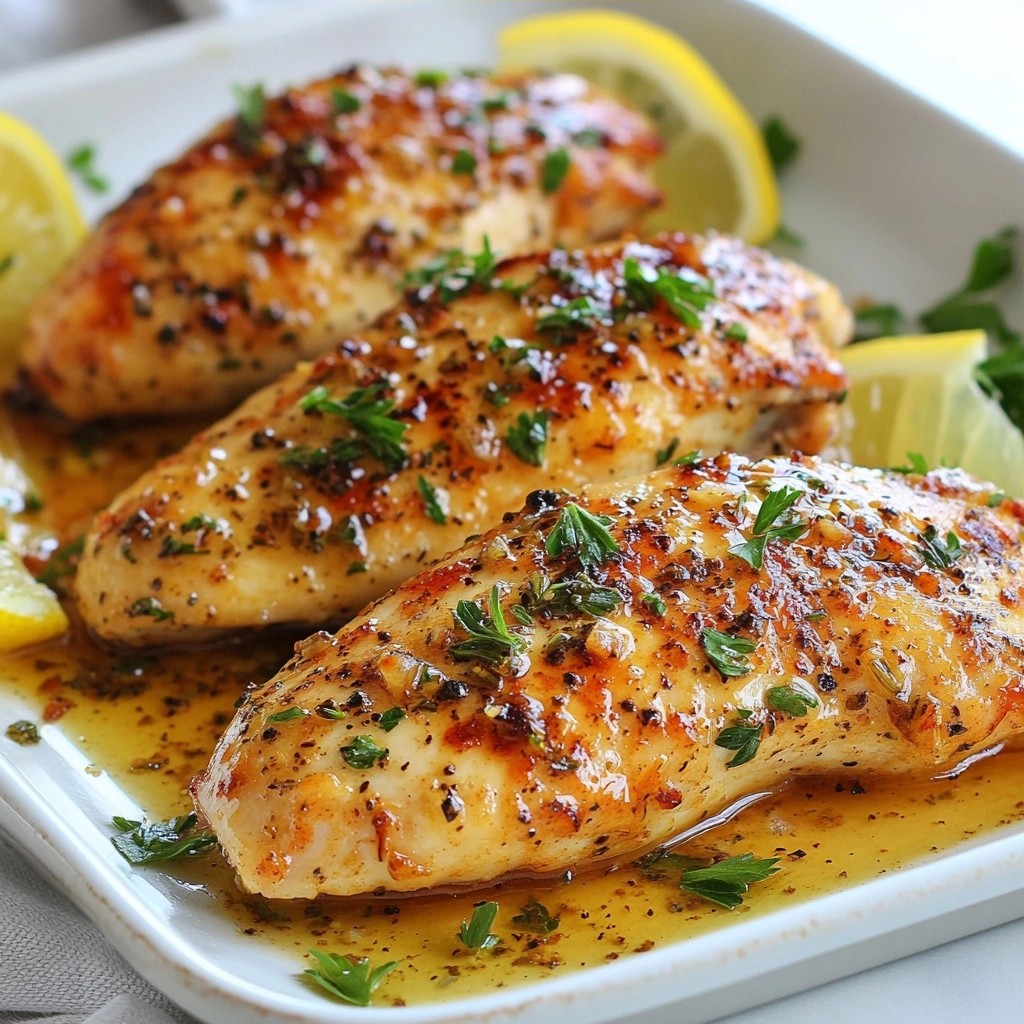
For a pretty finish, I sprinkle chopped parsley on top. It adds color and freshness. If you like a hint of extra zest, serve with lemon wedges on the side. They make a great addition to each bite!
Step-by-Step Instructions
Preparation Steps
1. Preheating the oven
Start by preheating your oven to 425°F (220°C). A hot oven helps the chicken skin become crispy.
2. Mixing the herb crust
In a small bowl, combine garlic powder, onion powder, oregano, thyme, smoked paprika, lemon zest, salt, and pepper. Mix well to create a fragrant herb crust.
3. Preparing the chicken
Pat the chicken thighs dry with paper towels. This helps the skin crisp up nicely while baking.
Cooking Steps
1. Applying olive oil and herb mixture
Rub extra virgin olive oil over each chicken thigh. Make sure to coat them well for great flavor. Then, sprinkle the herb mixture evenly over the thighs. Press it down lightly to stick.
2. Baking process and temperature monitoring
Squeeze fresh lemon juice over the seasoned chicken. Place the thighs skin-side up on a baking sheet lined with parchment paper. Bake for 35-40 minutes. Check that the internal temperature reaches 165°F (75°C).
3. Resting and garnishing before serving
Once cooked, take the chicken out and let it rest for about 5 minutes. This step locks in the juices. Before serving, sprinkle fresh parsley on top for extra color and flavor. You can also add lemon wedges for more zest.
Tips & Tricks
Achieving Crispy Skin
Drying the chicken thighs is key for a crispy skin. Use paper towels to pat them dry before seasoning. This step removes moisture that can make the skin soggy.
Set your oven to 425°F (220°C). This high temperature cooks the skin quickly and crisps it up perfectly. Place the chicken skin-side up on a baking sheet. A parchment paper lining makes cleanup easy and helps with even cooking.
Flavor Enhancement
To boost the flavor, think about adding more herbs or spices. Fresh rosemary or basil can give a nice twist. You can also try adding a pinch of red pepper flakes for heat.
Marinating the chicken can deepen the flavor. Mix olive oil, lemon juice, and herbs. Let the chicken sit in this mix for at least 30 minutes. This step adds flavor and makes the chicken extra moist.
Pro Tips
- Pat the Chicken Dry: This step is essential for achieving crispy skin. Moisture on the surface can prevent the skin from crisping up properly.
- Use Fresh Herbs: For a more vibrant flavor, consider using fresh herbs instead of dried. This will elevate the dish with a fresher taste.
- Let It Rest: Allowing the chicken to rest after baking helps the juices redistribute, making the meat more tender and flavorful.
- Experiment with Citrus: Feel free to mix in other citrus juices, like lime or orange, for a unique twist on the traditional lemon flavor.
Variations
Alternative Ingredients
You can change the herbs in this recipe to create new flavors. Try basil or rosemary for a fresh twist. If you want a spicier kick, add cayenne or chili powder. For those who prefer milder tastes, use parsley or dill instead.
You can also switch up the chicken parts. This recipe works well with chicken breasts or drumsticks. Breasts cook quickly, while drumsticks offer a juicier bite. Adjust the cooking time based on the chicken part you choose.
Serving Suggestions
When serving herb-crusted keto lemon chicken thighs, consider side dishes that fit the keto diet. Roasted broccoli or cauliflower rice complements the dish well. A fresh salad with leafy greens and a vinaigrette adds crunch and color.
Pair your chicken with keto-friendly sauces. A creamy garlic sauce or a zesty lemon aioli can enhance the meal. These sauces boost flavor and keep it all low-carb. Enjoy your meal with lemon wedges for an extra burst of citrus!
Storage Info
Proper Storage Techniques
To keep your herb-crusted keto lemon chicken thighs fresh, follow these steps:
- Storing leftovers in the refrigerator: Place the chicken in an airtight container. It stays good for about 3-4 days. Make sure to cool it down before sealing to avoid moisture build-up. This helps keep the skin crispy.
- Freezing guidelines for meal prep: For longer storage, freeze the chicken. Wrap each thigh in plastic wrap, then place them in a freezer bag. They can last up to 3 months. Thaw in the fridge overnight before reheating.
Reheating Instructions
To enjoy your chicken again, follow these tips:
- Best methods for keeping chicken crispy: The oven is your best friend here. Preheat it to 375°F (190°C). Place the chicken on a baking sheet and cover it loosely with foil. This prevents it from drying out while keeping the skin crispy.
- Timing and temperature for reheating: Heat the chicken for about 20-25 minutes. Use a meat thermometer to check that it reaches 165°F (75°C). This ensures it’s safe and hot. Enjoy your tasty leftovers!
FAQs
How do I know when chicken is fully cooked?
You can tell chicken is done when it reaches 165°F (75°C). Use a meat thermometer to check the thickest part of the thigh. The skin should be crispy and golden brown. If you don’t have a thermometer, cut into the thigh. The juices should run clear, not pink.
Can this recipe be made in an air fryer?
Yes, you can use an air fryer! Preheat your air fryer to 400°F (200°C). Place the seasoned chicken thighs in the basket. Cook for 25-30 minutes, flipping halfway through. Check for doneness with a meat thermometer. This method gives you a crispy skin and juicy meat.
What are some keto-friendly side dishes to serve with this?
Pair your Herb-Crusted Keto Lemon Chicken Thighs with keto-friendly sides. Here are some tasty options:
- Steamed broccoli with lemon butter
- Cauliflower rice with herbs
- Zucchini noodles tossed in olive oil
- A fresh garden salad with vinaigrette
These sides keep your meal low in carbs and full of flavor!
This blog post covered how to prepare delicious chicken thighs. You learned about the right ingredients, how to mix herbs, and the best cooking steps. Tips for crispy skin and flavor boosts were shared too. We explored variations, storage techniques, and common questions.
Try these steps, and enjoy tasty chicken that impresses! Your kitchen will smell amazing, and you’ll be proud to serve it. Cooking is fun, so keep experimenting with flavors and methods. Happy cooking!