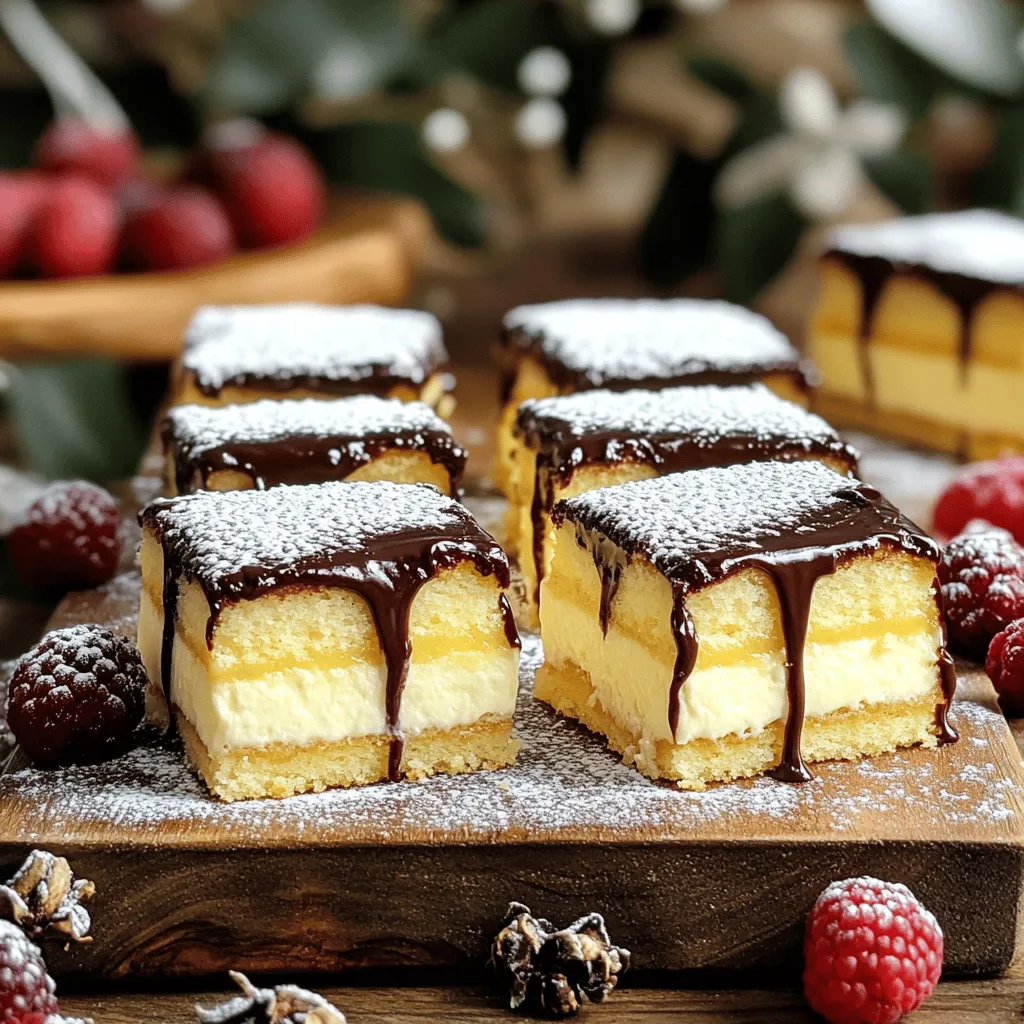
Do you crave a sweet treat but want to skip the oven? Boston Cream Bars are the perfect no-bake dessert for you! With rich vanilla custard, chocolate ganache, and a simple crust, these bars delight with every bite. In this recipe, I’ll guide you through each step. Get ready to enjoy a tasty dessert that’s easy to make and hard to resist!
Ingredients
To make your Boston Cream Bars, gather these simple ingredients:
– 1 cup all-purpose flour
– 1/2 cup granulated sugar
– 1/2 teaspoon baking powder
– 1/4 teaspoon baking soda
– 1/4 teaspoon salt
– 1/2 cup unsalted butter, softened
– 2 large eggs
– 1 teaspoon pure vanilla extract
– 1 cup vanilla custard
– 1/2 cup semi-sweet chocolate chips
– 1/4 cup heavy whipping cream
Each ingredient plays a key role in making this dessert a hit. The flour creates the base, while sugar adds sweetness. Baking powder and baking soda help the bars rise. Salt balances the flavors. Butter gives richness, and eggs add moisture. Vanilla extract infuses a lovely flavor. The custard layer brings creaminess, while chocolate chips and cream form a smooth ganache on top.
For the best results, use fresh ingredients. This ensures your flavors shine through. You can use store-bought custard or make your own. Either way, it will taste great in your bars.
Check your pantry before starting. Having everything on hand makes the process smooth.
Step-by-Step Instructions
Preparation Overview
First, preheat your oven to 350°F (175°C). While it heats up, grab a 9×9 inch baking dish. Grease it lightly with butter or cooking spray. This step helps the bars come out easily when baked. Next, in a large mixing bowl, use an electric mixer to cream the softened butter and granulated sugar together. Mix until the blend is light and fluffy, which usually takes 3 to 4 minutes.
Mixing Batter
Now, it’s time to add the eggs. Introduce them one at a time, mixing well after each. After that, stir in the pure vanilla extract. This adds a wonderful flavor. In another bowl, whisk together the all-purpose flour, baking powder, baking soda, and salt until they’re well mixed. Gradually add this dry mix to the butter mixture. Be gentle while mixing to avoid overmixing, which can make the bars dense.
Baking Process
Once your batter is ready, pour it into your prepared baking dish. Use a spatula to spread it evenly. Bake in the preheated oven for 25 to 30 minutes. To check if it’s done, insert a toothpick in the center. If it comes out clean, you’re good to go!
Assembling the Bars
After baking, take the dish out and let the cake cool completely. This step is key for proper assembly. Once cooled, spread the vanilla custard evenly over the top. This creates a smooth and rich layer. Next, melt the semi-sweet chocolate chips with the heavy whipping cream in a small saucepan. Heat it on low, stirring until smooth. Let it cool slightly, then pour the chocolate ganache over the custard layer. Use a spatula to cover it evenly. Finally, place the Boston Cream Bars in the refrigerator for at least 2 hours. This helps the layers set perfectly before you cut them into squares.
Tips & Tricks
Perfecting Your Boston Cream Bars
To make the best Boston Cream Bars, avoid overmixing the batter. Overmixing can make the bars dense. Mix just until the dry and wet ingredients combine. This keeps your bars light and fluffy.
Making homemade custard can elevate your dessert. Start with fresh ingredients. Use whole milk for a rich flavor. Cook the mixture on low heat and stir often. This helps prevent lumps. Always strain the custard to ensure it is smooth. Let it cool completely before spreading it on the cake.
Presentation Suggestions
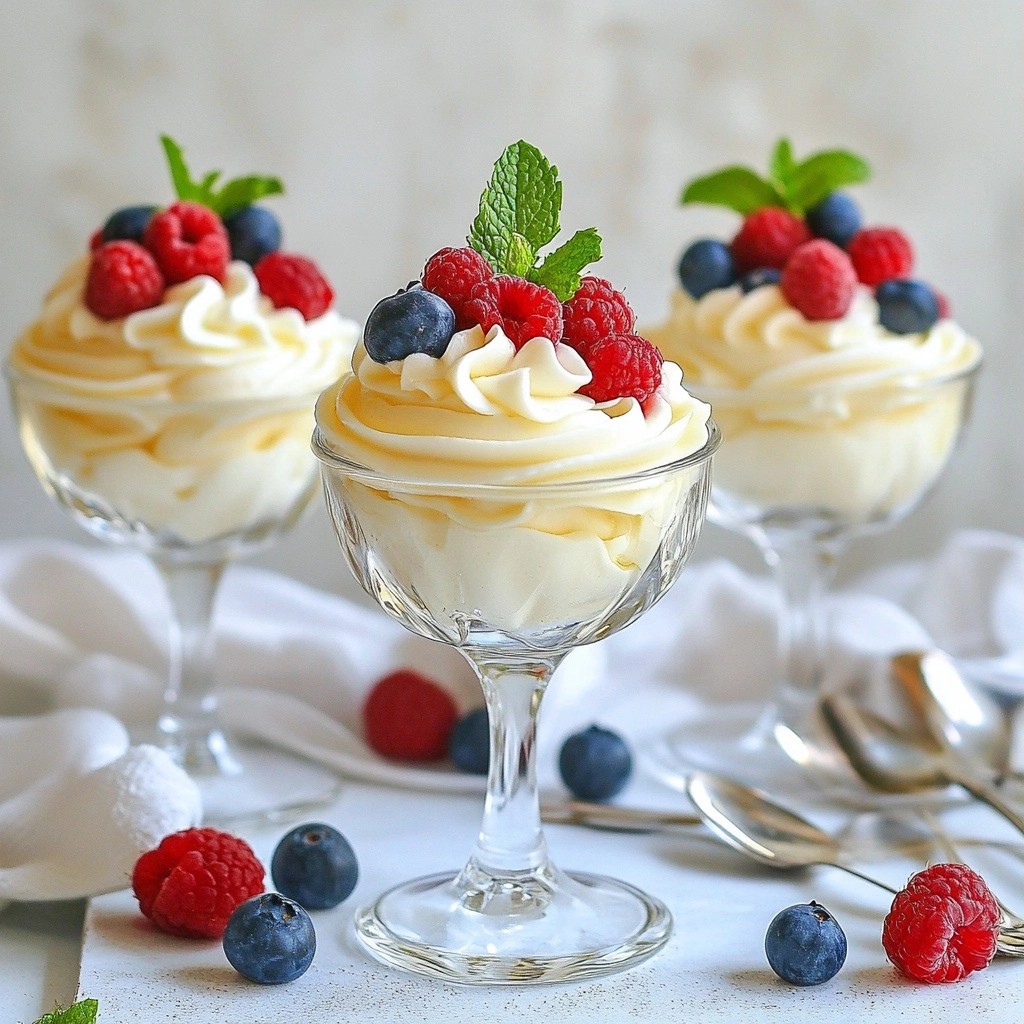
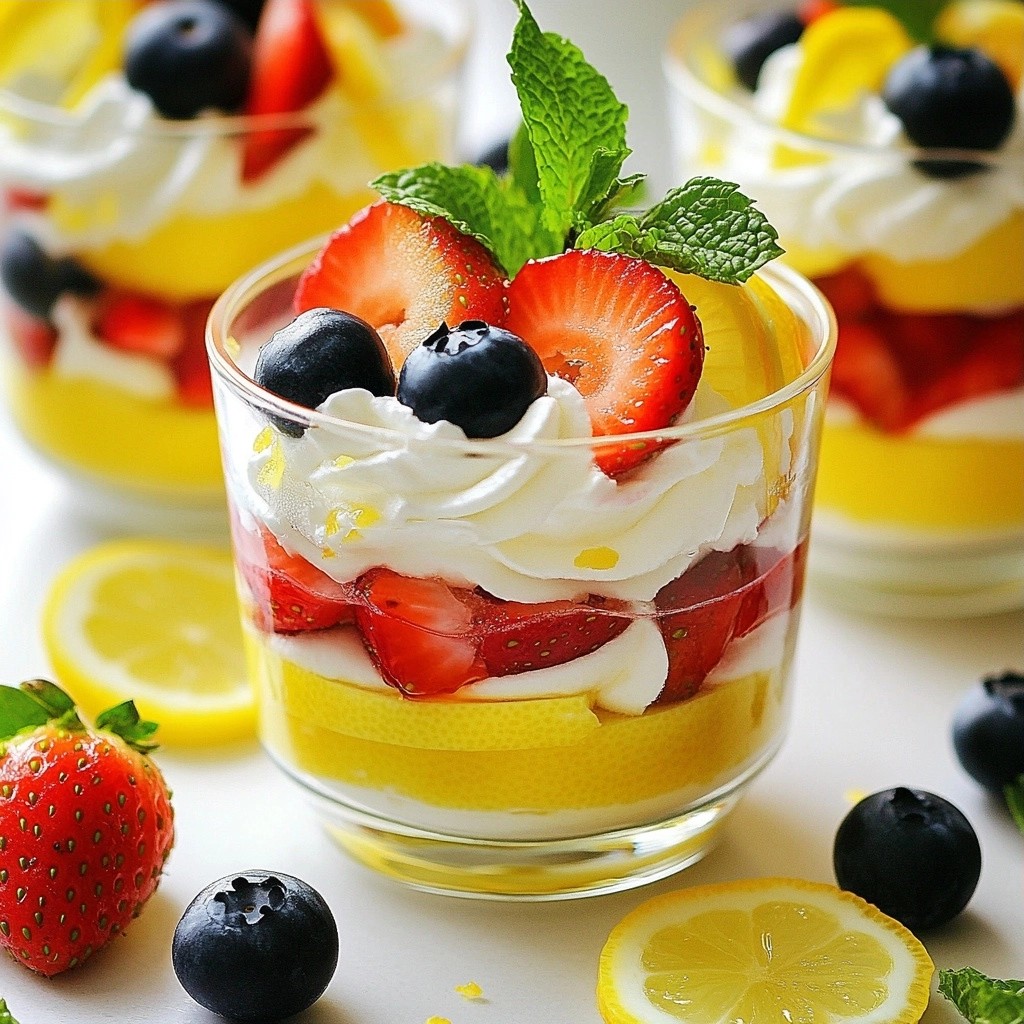
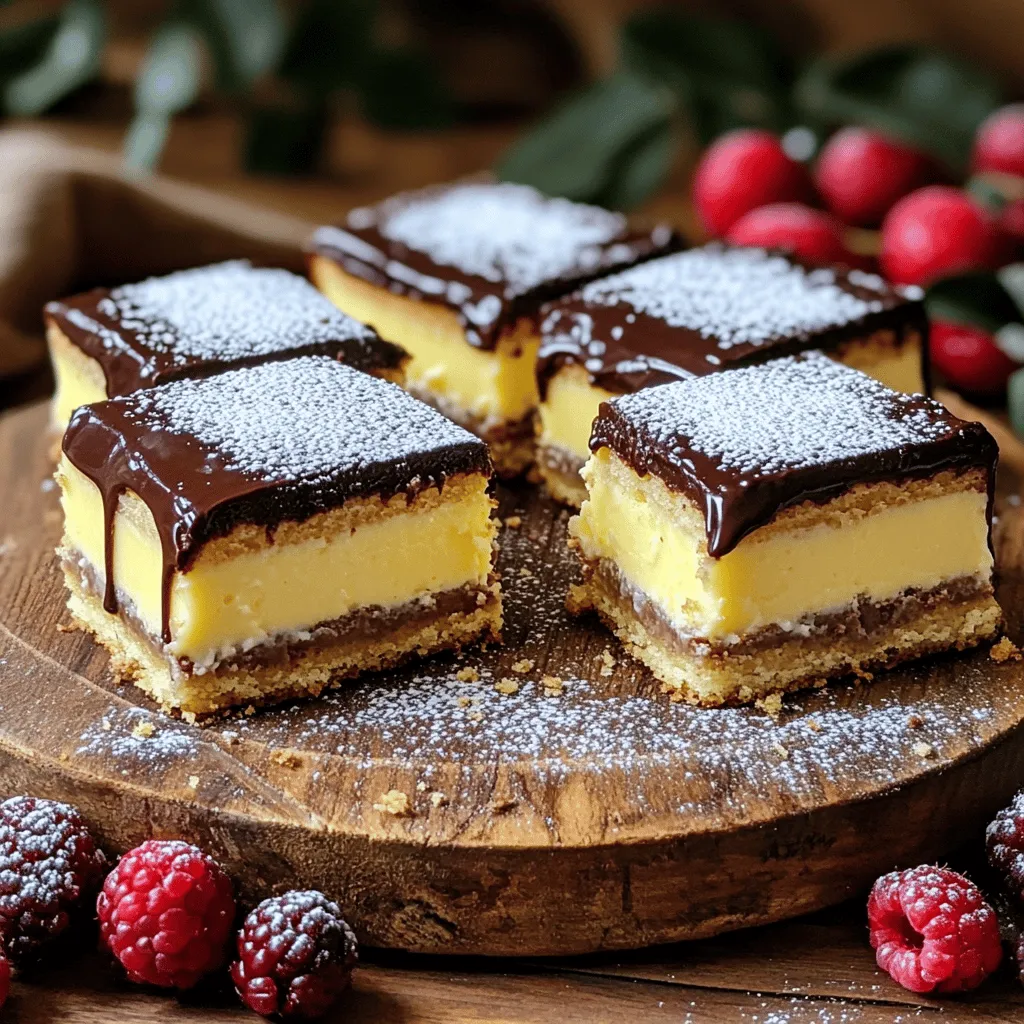
For garnishing, fresh berries add color and flavor. A light dusting of powdered sugar looks elegant. You can also drizzle extra chocolate on top for added sweetness.
When serving these bars at gatherings, cut them into equal squares. Use a sharp knife for clean edges. Serve on a lovely platter to impress your guests. Consider pairing the bars with coffee or tea for a delightful treat.
Variations and Customizations
Flavor Variations
You can add your twist to Boston Cream Bars. One fun way is to add almond extract. Just a few drops enhance the flavor. It gives a nice nutty taste that many love.
You can also incorporate fresh fruits into the mix. Ripe berries or sliced bananas add a burst of flavor. They pair well with the creamy custard. Just scatter them on top before you pour the ganache. This makes your bars look and taste even better.
Dietary Modifications
For those with gluten issues, you can make gluten-free Boston Cream Bars. Use a gluten-free flour blend instead of all-purpose flour. It works well and keeps the texture light.
If you’re looking for vegan options, you can replace eggs and butter. Use flax eggs or applesauce as an egg substitute. For butter, try coconut oil or a vegan butter. These swaps help you enjoy the bars without dairy.
These variations let you enjoy Boston Cream Bars in many ways. Don’t hesitate to get creative!
Storage Information
Best Practices for Storage
Storing Boston Cream Bars is easy. First, you want to keep them cool. Place the bars in an airtight container. This helps keep them fresh. You can store them in the fridge for best results. If you want to freeze them, wrap each bar in plastic wrap. Then, place them in a freezer bag. This way, they won’t get freezer burn.
Shelf Life
In the fridge, Boston Cream Bars will last for about 3 to 5 days. If you freeze them, they can last up to 2 months. Just remember to let them thaw in the fridge before eating. This keeps them from getting soggy. Enjoy the creamy, chocolatey goodness any time!
FAQs
Common Questions
Can I use store-bought custard?
Yes, you can use store-bought custard. It saves time and still tastes great. Just spread it evenly over the cake layer.
What’s the best way to reheat if frozen?
To reheat frozen Boston Cream Bars, let them thaw in the fridge overnight. If you need to speed it up, use the microwave in short bursts on low power.
How to know when the bars are fully set?
The bars are fully set when the chocolate ganache feels firm to the touch. You can also gently shake the dish. If it jiggles, it needs more time.
Can I make Boston Cream Bars ahead of time?
Yes, you can make these bars a day in advance. They taste even better after a night in the fridge. Just cover them well to keep them fresh.
You learned how to make tasty Boston Cream Bars using simple steps and ingredients. We covered the right mix of flour, sugar, and butter for the best flavor. You now know about baking, assembling, and storing these treats, plus tips for flavor changes. Keep practicing and enjoy your bars with friends and family. Baking can be fun and tasty! Now it’s your turn to whip these up and share the joy.