If you love cookies, you need to try my Brown Butter Chocolate Chunk Cookies! They’re rich, tasty, and perfect for any occasion. The secret? Browning the butter adds a deep flavor that takes these cookies to the next level. Whether you’re a baking pro or a beginner, I’ll guide you through every step. Get ready to impress your friends and family with these delicious treats!
Why I Love This Recipe
- Rich Flavor: The brown butter adds a nutty depth of flavor that elevates these cookies above the ordinary.
- Chunky Goodness: Generous amounts of dark chocolate chunks create gooey pockets of chocolate in every bite.
- Customizable: Add your favorite nuts or even a sprinkle of sea salt on top for a personal touch.
- Perfect Texture: The chilling step ensures a chewy center with crisp edges, making each cookie irresistible.
Ingredients
List of Ingredients
- 1 cup unsalted butter
- 1 cup packed brown sugar
- 1/2 cup granulated sugar
- 2 large eggs
- 2 teaspoons pure vanilla extract
- 2 1/4 cups all-purpose flour
- 1 teaspoon baking soda
- 1/2 teaspoon fine sea salt
- 1 1/2 cups dark chocolate chunks
- 1/2 cup chopped pecans or walnuts (optional)
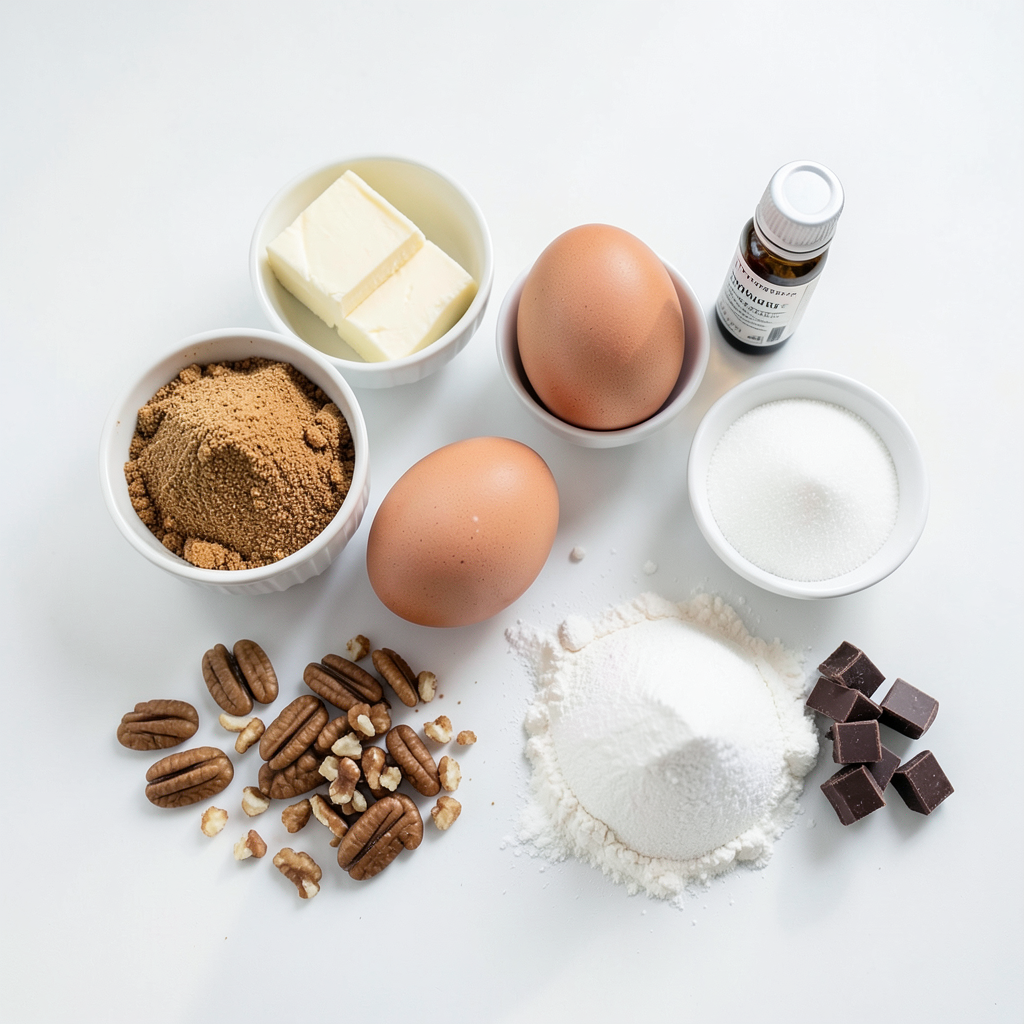
The ingredients for brown butter chocolate chunk cookies are simple but full of flavor. First, you need one cup of unsalted butter. This is essential, as it allows you to control the saltiness of your cookies. Next, gather one cup of packed brown sugar and half a cup of granulated sugar. The brown sugar gives the cookies a lovely chew and rich taste, while the granulated sugar helps them spread.
You will also need two large eggs. They add moisture and help bind the dough. Don’t forget two teaspoons of pure vanilla extract. This adds a warm, inviting aroma and flavor. For the dry ingredients, use two and a quarter cups of all-purpose flour, one teaspoon of baking soda, and half a teaspoon of fine sea salt. The baking soda helps the cookies rise, while the salt enhances all the flavors.
The stars of the show are the chocolate chunks. Use one and a half cups of dark chocolate chunks for a rich bite. If you like, add half a cup of chopped pecans or walnuts for extra crunch. Mixing these ingredients together will create a cookie that is rich, tasty, and truly irresistible.
Step-by-Step Instructions
Brown the Butter
To start, melt the unsalted butter in a medium saucepan over medium heat. Stir it constantly. This helps it brown evenly. As it melts, it will foam and then turn a rich golden brown. This process takes about 5 to 7 minutes. You’ll know it’s done when it smells nutty. After browning, remove it from the heat and let it cool for a few minutes. Cooling is key. It helps the butter mix better with the sugars.
Mix the Sugars
In a large mixing bowl, combine the cooled browned butter with the packed brown sugar and granulated sugar. Mix it well until you have a smooth and blended mixture. The sugars should dissolve nicely, creating a creamy consistency. This is important for the texture of your cookies.
Add Eggs and Vanilla
Next, add in the eggs, one at a time. Make sure each egg is fully mixed in before adding the next. This helps the batter stay smooth. After incorporating the eggs, pour in the pure vanilla extract and stir until it’s well blended. This will add a lovely flavor to your cookies.
Combine Dry Ingredients
In a separate bowl, whisk together the all-purpose flour, baking soda, and fine sea salt. Gradually add this dry mixture to the wet ingredients. Mix just until combined. Be careful not to overmix. Overmixing can make the cookies tough, and we want them soft and chewy.
Fold in Chocolate and Nuts
Once the dough is mixed, it's time to add the fun part! Gently fold in the dark chocolate chunks and the optional chopped nuts using a spatula or wooden spoon. Folding helps keep the dough light and airy. Make sure the chocolate and nuts are evenly distributed. This way, every bite has a bit of chocolatey goodness.
Chill the Dough
Finally, cover the bowl with plastic wrap and place it in the refrigerator. Chill the dough for at least 30 minutes to 1 hour. Chilling is crucial because it enhances the flavors and improves the cookie texture. It also helps the cookies hold their shape while baking.
Tips & Tricks
Achieving the Perfect Texture
- Optimum baking time: Bake your cookies for 10-12 minutes. Watch for the edges turning golden brown. The centers should look soft but not raw. This timing gives the best texture.
- Checking for doneness: Use a toothpick. Insert it in the center of a cookie. It should come out with a few crumbs or clean. This means they are done.
Flavor Enhancements
- Suggestions for extra flavor: Add a pinch of cinnamon or espresso powder. This will give your cookies a nice depth. You can also use sea salt on top for a sweet-salty mix.
- Pairing with toppings or sides: Serve these cookies warm with cold milk or vanilla ice cream. They also taste great with a cup of coffee.
Common Mistakes to Avoid
- Issues with butter and sugar mixtures: Make sure your butter is browned properly. If it’s not, your cookies may taste bland. Mix the sugars well with the butter for a smooth blend.
- Dough consistency problems: If your dough is too wet, add a bit more flour. If it is too dry, a splash of milk can help. This ensures your cookies bake evenly and taste great.
Pro Tips
- Brown Your Butter Well: Ensure that the unsalted butter is browned to a rich golden color before using it. This enhances the nutty flavor, making your cookies extra delicious.
- Don’t Skip Chilling: Chilling the dough for at least 30 minutes helps solidify the fats in the butter, leading to thicker cookies that maintain their shape while baking.
- Use Quality Chocolate: Opt for high-quality dark chocolate chunks for a richer flavor. The better the chocolate, the more decadent your cookies will be.
- Check Your Oven Temperature: Use an oven thermometer to ensure your oven is at the correct temperature. Baking at the right temperature is crucial for achieving the perfect cookie texture.
Variations
Nut-Free Version
If you prefer a nut-free cookie, leave out the pecans or walnuts. You can replace them with extra chocolate chunks. This change still gives you a rich flavor. You can also add a pinch of cinnamon for warmth. Try mixing in dried fruit for a chewy twist. Raisins or dried cranberries work well in cookies.
Different Chocolate Options
You can choose between milk and dark chocolate. Milk chocolate has a sweet, creamy taste. Dark chocolate adds a rich, deep flavor. You can even mix both types for added depth. If you love white chocolate, feel free to add that too. White chocolate gives a sweet contrast to the dough.
Gluten-Free Adaptations
To make gluten-free cookies, use a gluten-free flour blend. Look for a mix that has xanthan gum, as it helps bind the dough. You may need to adjust the flour amount slightly. Start with 2 cups and see how the dough feels. The goal is to keep a soft and sticky texture.
Storage Info
How to Store Cookies
To keep your brown butter chocolate chunk cookies fresh, follow these tips:
- Use an airtight container: This helps maintain moisture and flavor.
- Layer with parchment paper: Place a sheet between layers to prevent sticking.
- Keep at room temperature: Store in a cool, dry place away from sunlight.
These practices will help keep your cookies soft and tasty for days.
Freezing Instructions
You can freeze both raw dough and baked cookies easily:
- Freezing raw dough: Scoop dough balls onto a baking sheet. Freeze until firm, then transfer to a freezer bag. Label and date the bag.
- Storing baked cookies: Let cookies cool completely. Layer them in an airtight container with parchment paper between each layer. They will last for up to three months.
When you're ready to bake, just pop the dough balls in the oven straight from the freezer!
Shelf Life
Brown butter chocolate chunk cookies have a good shelf life:
- For baked cookies: They stay fresh for about 5-7 days at room temperature.
- For frozen cookies: They remain fresh for about three months.
Watch for signs of spoilage like a change in smell or texture. If they feel hard or taste stale, it’s time to toss them.
FAQs
Can I use salted butter instead of unsalted?
Yes, you can use salted butter. It adds flavor but can make cookies too salty. If you use salted butter, cut back on added salt. Try using just a pinch of salt in the recipe. This way, you can still enjoy the rich taste without the salt overpowering the cookies.
How do I keep cookies soft?
To keep cookies soft, bake them until the edges are golden. The centers should look slightly undercooked. This method helps keep moisture in the cookies. Accurate measuring is key. Use a kitchen scale for best results. This ensures your cookies are light and fluffy, not tough or dry.
Can I make the dough ahead of time?
Yes, you can make the dough ahead. Wrap it tightly in plastic wrap and store it in the fridge for up to 3 days. For longer storage, freeze the wrapped dough for up to 3 months. When ready to bake, let it thaw in the fridge overnight. Bake as usual for fresh cookies.
What to do if the dough is too sticky?
Sticky dough is common. It often happens when butter is too warm or too much liquid is added. To fix it, add a tablespoon of flour at a time until it feels right. The dough should be soft but manageable. Avoid adding too much flour, as this can make the cookies tough.
Can I substitute chocolate chunks with chips?
You can swap chocolate chunks with chips. However, chunks give a richer taste and a better texture. If you use chips, pick a high-quality brand for best results. Chips hold their shape better while baking, so you may want to bake a minute longer for that gooey goodness.
Enjoying homemade cookies is simple with this guide. We covered key ingredients, from butter to chocolate chunks. You learned step-by-step how to make, chill, and bake the dough for the best texture. Remember tips on storing and freezing to keep cookies fresh. Explore variations for nut-free or gluten-free options. With these insights, you can create delicious cookies every time. Now, get baking and share with friends!