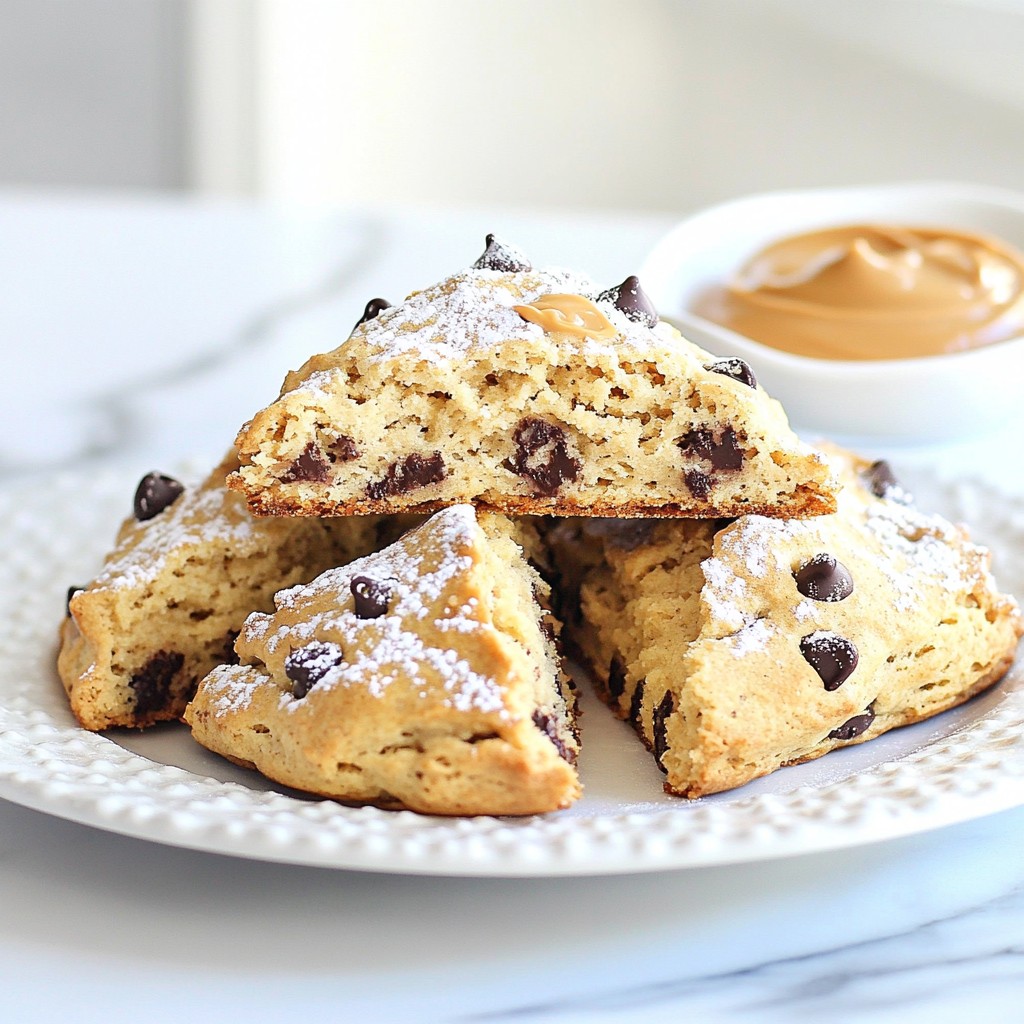
Are you ready to indulge in a warm, buttery treat that combines rich peanut butter and sweet chocolate? In this easy recipe, I’ll show you how to make scrumptious Chocolate Chip Peanut Butter Scones that are perfect for breakfast or a cozy snack. With just a few simple ingredients and some straightforward steps, you’ll be enjoying these tasty delights in no time. Let's dive into the fun of baking!
Why I Love This Recipe
- Decadent Flavor Combination: The rich chocolate and creamy peanut butter meld together perfectly, creating an indulgent treat that satisfies any sweet tooth.
- Easy to Make: This recipe is straightforward and quick, allowing you to whip up a batch of scones in just about 35 minutes.
- Perfect for Any Occasion: Whether it's a cozy breakfast or a delightful afternoon tea, these scones are versatile enough for any setting.
- Customizable Options: You can easily adapt this recipe by adding nuts, different types of chocolate, or even spices for an extra twist.
Ingredients
List of Ingredients
- 2 cups all-purpose flour
- 1/2 cup granulated sugar
- 1 tablespoon baking powder
- 1/2 teaspoon salt
- 1/2 cup unsalted butter, chilled and diced
- 1/2 cup creamy peanut butter
- 3/4 cup whole milk
- 1 teaspoon pure vanilla extract
- 1/2 cup semisweet chocolate chips
- 1 large egg (for egg wash)
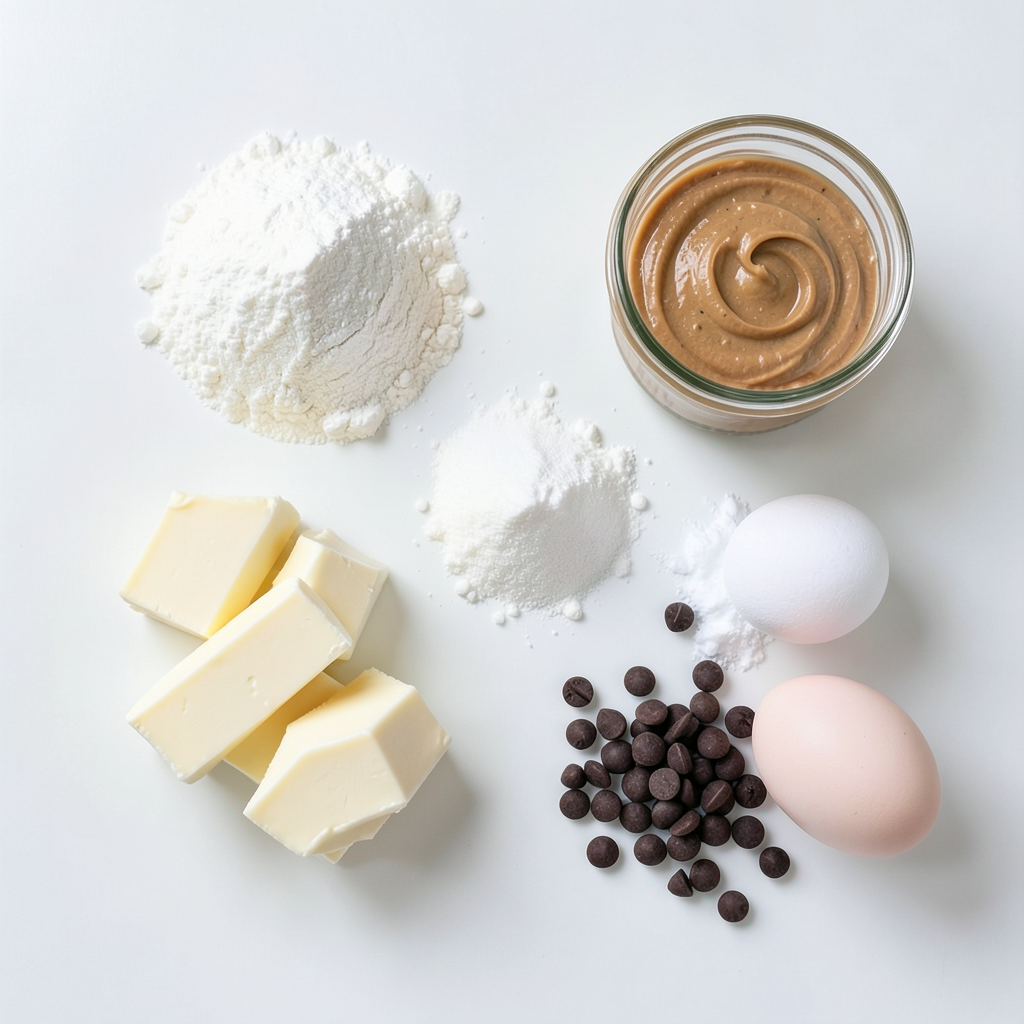
To make these scones, gather all your ingredients first. This helps you stay organized. Using all-purpose flour gives the scones a nice rise. The sugar adds sweetness, while baking powder helps them rise. Salt balances the flavors.
Chilled butter is key for flakiness. It should feel cold to the touch. Creamy peanut butter brings that rich taste we love. Whole milk makes the dough moist, while vanilla adds a nice aroma.
Don't forget the chocolate chips! They add a sweet touch. Lastly, an egg wash gives the tops a shiny finish. Each ingredient plays a vital role in creating these tasty scones.
Step-by-Step Instructions
Prepping the Oven and Baking Sheet
- Preheat oven to 400°F (200°C)
- Line baking sheet with parchment paper
Start by heating your oven to 400°F (200°C). This will help the scones rise well. Next, line a baking sheet with parchment paper. This makes for easy cleanup and prevents sticking.
Mixing Dry Ingredients
- Combine flour, sugar, baking powder, and salt
In a large bowl, mix together 2 cups of flour, 1/2 cup of sugar, 1 tablespoon of baking powder, and 1/2 teaspoon of salt. Whisk them well so they blend nicely. This step is key for even flavor and rise.
Incorporating Butter
- Blend in the diced butter until coarse crumbs form
Now, add 1/2 cup of chilled, diced butter to the dry mix. Use your fingers, a fork, or a pastry cutter to blend. You want the mix to look like coarse crumbs. This helps make the scones flaky and tender.
Adding Wet Ingredients
- Combine peanut butter, milk, and vanilla in a separate bowl
In a different bowl, mix together 1/2 cup of creamy peanut butter, 3/4 cup of whole milk, and 1 teaspoon of vanilla extract. Stir until it’s smooth. This mixture adds a great taste and moisture to the scones.
Forming the Dough
- Mix wet ingredients into dry without overmixing
- Fold in chocolate chips
Pour the peanut butter mix into the dry ingredients. Stir gently with a spatula until just combined. Be careful not to overmix, as this can make the scones tough. Next, fold in 1/2 cup of semisweet chocolate chips evenly.
Shaping and Baking
- Shape dough and arrange on baking sheet
- Brush with egg wash and bake for 15-18 minutes
Transfer the dough onto a floured surface. Shape it into a disk about 1 inch thick. You can cut it into wedges or use a biscuit cutter for round shapes. Place the scones on the lined baking sheet. Brush the tops with an egg wash made from 1 beaten egg. Bake for 15-18 minutes until golden brown.
Tips & Tricks
Ensuring Flakiness
Using chilled butter is key to making great scones. Cold butter creates tiny pockets of steam when baking. This steam helps the scones rise and become flaky. To keep your butter chilled, you can cut it into small pieces and place it in the fridge while you prepare your other ingredients.
When mixing the dough, be gentle. Overworking the dough can make scones tough. Use a light hand when blending the butter with the dry ingredients. Mix until you see coarse crumbs, then add the wet mix. This will help keep your scones tender.
Flavor Enhancements
To make your scones even more exciting, consider adding nuts or spices. Chopped walnuts or pecans pair well with the peanut butter flavor. A pinch of cinnamon or nutmeg can also add warmth and depth. You can experiment with flavors to find your perfect mix.
Presentation Suggestions
For a beautiful finish, dust the warm scones with powdered sugar. This adds a nice touch and looks great. You can also serve the scones with creamy peanut butter or a chocolate spread on the side. This makes for a fun dipping experience and enhances the flavors of your scones. Arrange them on a rustic board for a charming display.
Pro Tips
- Keep Ingredients Cold: Make sure your butter is very cold, as this will help create those flaky layers that scones are known for.
- Don’t Overmix: When combining the wet and dry ingredients, mix until just combined. Overmixing can lead to tough scones.
- Use Quality Chocolate: Choose high-quality semisweet chocolate chips for a richer flavor that pairs beautifully with peanut butter.
- Perfect Baking Time: Keep an eye on the scones as they bake; they should be golden brown and firm to the touch, but not overbaked.
Variations
Nut-Free Option
If you need a nut-free option, no worries! You can swap creamy peanut butter with sun butter or soy nut butter. Both options provide a similar creamy texture without nuts. If you want a different flavor, try using tahini, made from sesame seeds. This will give your scones a unique taste while keeping them nut-free.
Chocolate Variations
For chocolate lovers, consider mixing up the chocolate chips. You can use dark chocolate, white chocolate, or even milk chocolate chips. Dark chocolate adds a rich flavor, while white chocolate gives a sweet twist. You can blend different chocolates for a fun mix. Just make sure to use the same amount, about 1/2 cup, to keep the balance in your scones.
Fruit Additions
Adding fruits can enhance the flavor of your scones. Dried fruits like cranberries or blueberries work great. You can fold in about 1/2 cup of your chosen fruit along with the chocolate chips. This will add a burst of sweetness and a nice chewy texture. Fresh berries are also a fun option, but be careful not to add too many, as they can make the dough too wet.
Storage Info
Storing Leftover Scones
To keep your scones fresh, store them in an airtight container. You can keep them on the counter for up to two days. If you want to keep them longer, the fridge is a good option for up to a week. Just make sure they are cool before sealing them. This helps prevent sogginess.
Freezing Instructions
To freeze your scones, place them in a single layer on a baking sheet. Put the sheet in the freezer for about an hour. Once they are frozen, transfer the scones to a freezer bag. They can last for up to three months in the freezer. When you want to enjoy them, just thaw them in the fridge overnight.
Reheating Tips
To reheat your scones, preheat your oven to 350°F (175°C). Place the scones on a baking sheet. Heat them for about 5-10 minutes, or until warm. You can also microwave them for about 15-20 seconds, but this may make them soft. For the best taste and texture, the oven is the way to go. Enjoy your delicious scones warm!
FAQs
Can I use whole wheat flour?
Yes, you can use whole wheat flour. It adds more fiber and nutrients. However, it changes the texture. Your scones may be denser and not as flaky. If you want to use whole wheat, try mixing it with all-purpose flour. A mix of 50% whole wheat and 50% all-purpose works well. This way, you keep some lightness while boosting nutrition.
How do I know when my scones are done?
Look for a few signs to know when scones are done. They should be golden brown on top and firm to touch. Use a toothpick to check the center. If it comes out clean, your scones are ready. If they are still wet, bake for a few more minutes. Keep an eye on them to avoid overbaking.
Can I make the dough ahead of time?
You can prepare the dough in advance! Wrap it tightly in plastic wrap and store it in the fridge. It can last for up to 24 hours. When you’re ready to bake, just shape and bake as usual. If you freeze the dough, it can last for a month. Thaw it in the fridge overnight before baking.
You now have everything you need to bake perfect scones. We covered the ingredients, step-by-step instructions, and useful tips. I shared how to enhance flavor and different ways to switch things up. Storing and reheating practices will keep your scones fresh and tasty.
Baking scones is simple and fun. With these easy steps, you can impress anyone. So go ahead, gather your ingredients, and start baking! You won't regret it.