Looking for a sweet treat that won't spike your sugar? You’re in the right place! These Sugar-Free Coconut Lime Bars are not just simple to make, but they burst with refreshing flavor. Using a few wholesome ingredients, you can whip up delicious bars that everyone will love. Join me as we dive into this delightful recipe you can enjoy guilt-free! Let’s get started!
Why I Love This Recipe
- Healthy Indulgence: These Coconut Lime Bars are sugar-free, allowing you to enjoy a treat without the guilt of added sugars.
- Refreshing Flavor: The combination of coconut and lime creates a tropical flavor that is both refreshing and satisfying.
- Simple Ingredients: Made with almond flour and coconut oil, these bars use wholesome ingredients that are easy to find.
- Quick to Prepare: With just 10 minutes of prep time, you can have these delicious bars baking in no time!
Ingredients
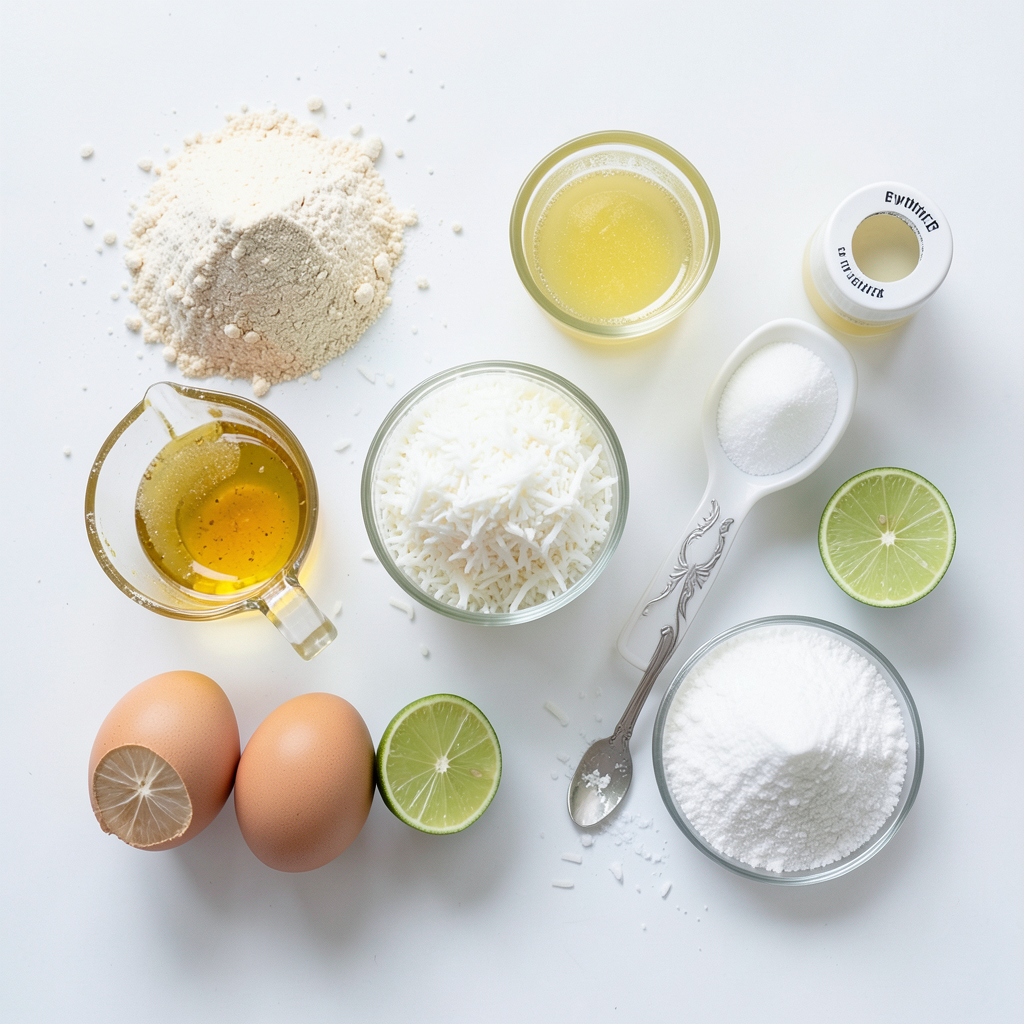
To make sugar-free coconut lime bars, gather the following ingredients:
- 1 cup almond flour
- 1/2 cup unsweetened shredded coconut
- 1/4 cup coconut oil, melted
- 1/4 cup granulated erythritol (or your preferred sugar substitute)
- 2 large eggs
- Zest of 2 limes
- 1/4 cup fresh lime juice
- 1 teaspoon baking powder
- A pinch of salt
Each ingredient plays a key role in the final flavor and texture of the bars. Almond flour gives a nutty base that keeps these bars gluten-free. Unsweetened shredded coconut adds a chewy texture and rich coconut flavor without extra sugar.
Coconut oil adds moisture, while erythritol gives sweetness without carbs. The eggs bind everything together and add fluffiness. Lime zest and lime juice bring a bright and tangy taste that balances the sweetness. Baking powder helps the bars rise, creating a light texture. A pinch of salt enhances all these flavors.
These ingredients are easy to find and make the bars both tasty and healthy. You can enjoy them as a snack or dessert without the sugar!
Step-by-Step Instructions
Preparation Steps
1. Preheat oven and prepare baking dish
Start by setting your oven to 350°F (175°C). Line an 8x8-inch baking dish with parchment paper. Leave some paper hanging over the edges. This helps with easy removal later.
2. Mix dry ingredients
In a large bowl, add 1 cup of almond flour, 1/2 cup of unsweetened shredded coconut, 1/4 cup of granulated erythritol, and 1 teaspoon of baking powder. Mix these well until no dry clumps remain.
3. Whisk together wet ingredients
In a medium bowl, whisk 1/4 cup of melted coconut oil, 2 large eggs, the zest of 2 limes, and 1/4 cup of fresh lime juice. Add a pinch of salt. Whisk until smooth and well combined.
4. Combine wet and dry mixtures
Slowly pour the wet mixture into the dry ingredients. Stir gently until just combined. Be careful not to overmix, as this can make the bars dense.
Baking Process
5. Transfer batter to baking dish
Pour the batter into your prepared baking dish. Use a spatula to spread it evenly. Make sure the surface is level.
6. Bake time and doneness check
Place the dish in your preheated oven. Bake for about 20 to 25 minutes. The edges should be lightly golden. Insert a toothpick into the center; if it comes out clean, the bars are done.
Cooling and Serving
7. Cooling instructions
After baking, take the dish out of the oven. Let it cool in the pan for about 10 minutes. Carefully lift the bars out using the parchment paper. Set them on a wire rack to cool completely.
8. Cutting the bars for serving
Once cool, cut the bars into squares or rectangles. Enjoy your sugar-free coconut lime bars!
Tips & Tricks
Baking Tips
Do not overmix the batter. This keeps your bars light and fluffy. Mix the wet and dry ingredients just until combined. To check for doneness, look for lightly golden edges. Insert a toothpick into the center; it should come out clean.
Presentation Tips
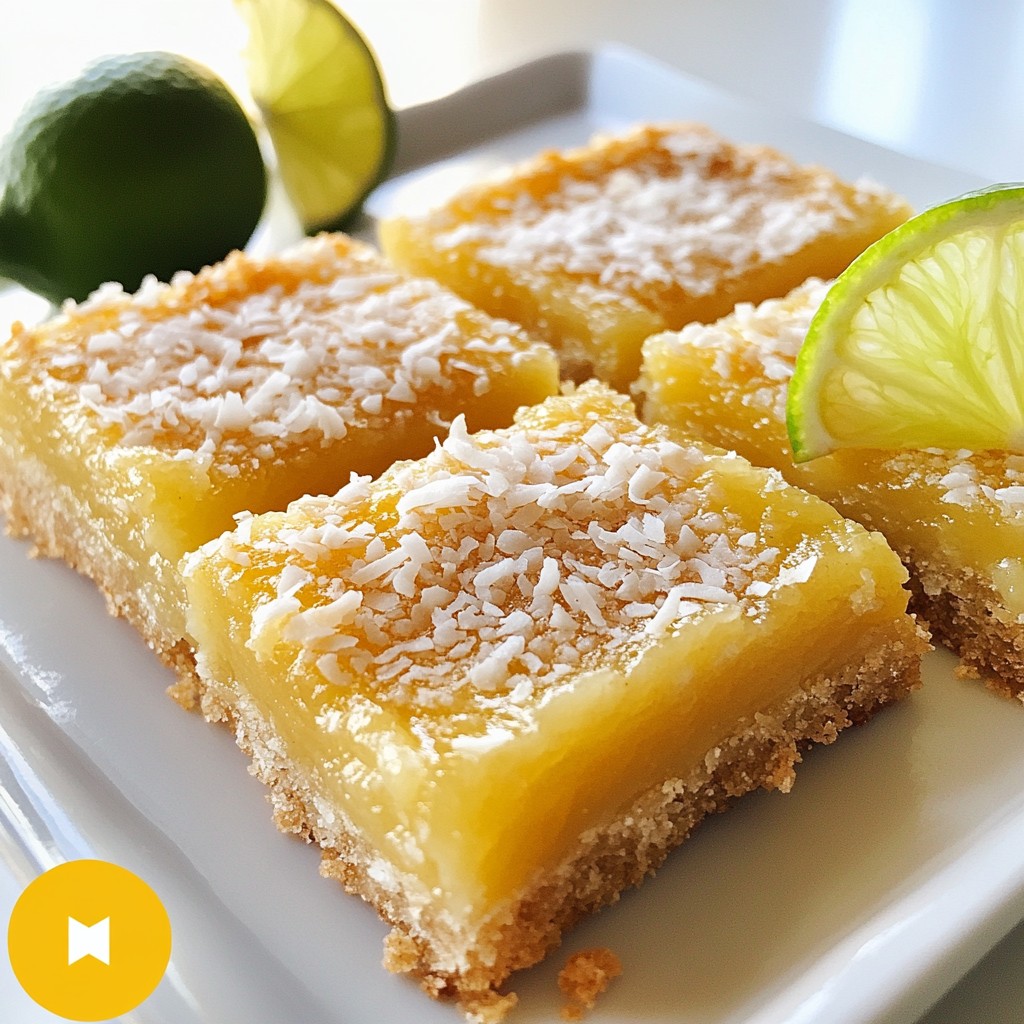
For a lovely finish, dust the bars with shredded coconut. Add a lime wedge or twist on top for some flair. Store the bars in an airtight container. This helps keep them fresh and tasty.
Flavor Enhancements
Consider adding toppings like chopped nuts or berries. These add texture and flavor. You can also try different citrus zest. Lemon or orange pairs nicely with lime and coconut.
Pro Tips
- Use Fresh Limes: Always opt for fresh limes instead of bottled juice for the best flavor. Fresh lime juice adds a zesty brightness that enhances the overall taste of your bars.
- Check for Doneness: Keep an eye on your bars as they bake. Ovens vary, so start checking for doneness a few minutes before the suggested baking time to prevent overbaking.
- Cool Completely: Allow the bars to cool completely before cutting. This helps them firm up and makes it easier to slice into neat squares without crumbling.
- Storage Tips: Store any leftovers in an airtight container in the refrigerator for up to a week. These bars also freeze well, making them a great make-ahead treat!
Variations
Dietary Alternatives
You can make this recipe gluten-free. Use coconut flour or oat flour instead of almond flour. Each flour has a different texture. Adjust the amount based on your choice. For a vegan option, swap the eggs for chia seeds. Mix 1 tablespoon of chia seeds with 3 tablespoons of water. Let it sit for a few minutes until it thickens. This will help bind your mixture.
Flavor Variations
Want to mix it up? Add lemon or orange zest for a new twist. The citrus taste will brighten the bars. You can also add dark chocolate chips or chopped nuts. Both add crunch and flavor. Try mixing in different nuts like walnuts or pecans for a unique touch.
Serving Suggestions
These bars pair well with a refreshing drink. Serve them with iced tea or coconut water. They are perfect for summer parties or picnics. You can also enjoy them as a snack after a meal. They are great for gatherings where you want a light dessert.
Storage Info
Proper Storage Methods
To keep your sugar-free coconut lime bars fresh, use an airtight container. Glass or plastic containers work well. They keep moisture out and help maintain flavor. Store the bars in the fridge for the best results. If you leave them at room temperature, they may not stay fresh as long.
Shelf Life
When stored properly, these bars last about a week in the fridge. You will notice spoilage if they turn dry or develop an off smell. If you see mold, it's time to toss them. Always check before you eat!
Freezing Information
Yes, you can freeze coconut lime bars! To freeze, wrap each bar tightly in plastic wrap. Place them in a freezer bag to avoid freezer burn. When you want to enjoy a bar, thaw it in the fridge overnight. This keeps them tasty and fresh.
FAQs
Common Questions
Can I use another sweetener? Yes, you can use other sweeteners. Stevia and monk fruit work well. Just adjust the amount to taste. These options are also sugar-free. They keep the bars sweet without adding sugar.
How can I make these bars firmer? To make the bars firmer, add more almond flour. You can also chill the bars longer in the fridge after baking. This helps them set up nicely.
Are these bars suitable for keto diets? Absolutely! These bars fit well into keto diets. They are low in carbs and high in healthy fats. Enjoy without guilt while sticking to your meal plan.
Nutritional Information
Caloric breakdown and health benefits Each bar has about 120 calories. They are rich in healthy fats from coconut oil. Almond flour adds protein, making these bars a nutritious treat.
Sugar content and dietary adjustments These bars have zero sugar. Erythritol keeps them sweet without the sugar rush. This makes them a great choice for anyone cutting sugar from their diet.
Troubleshooting
What to do if bars crumble If your bars crumble, try adding more coconut oil. This helps bind the mixture. You can also press the mixture down more firmly in the pan before baking.
How to fix overbaking issues If you overbake the bars, they may become dry. To fix this, try adding a light glaze of coconut oil on top. This helps add moisture back to the bars.
You now have a complete guide to making delicious coconut lime bars. We covered the key ingredients, step-by-step instructions, and essential tips for great results. You learned about variations and storage options to keep your bars fresh. I hope this helps you create tasty treats for any occasion. Enjoy experimenting with flavors and sharing your creations! Your journey in the kitchen can be fun and rewarding. Let's bake and savor every bite!