If you're craving a dessert that’s both delicious and guilt-free, you’ve come to the right place! My Creamy Sugar-Free Vanilla Berry Mousse Delight is easy to make and packed with flavor. With just a few simple ingredients, you can whip up a light and airy treat that satisfies your sweet tooth without added sugar. Join me as I guide you through the steps to create this delightful dessert!
Why I Love This Recipe
- Deliciously Light: This mousse is incredibly airy and light, making it a perfect dessert for any occasion without the guilt of added sugars.
- Versatile Ingredients: Using Greek yogurt not only adds creaminess but also packs in protein, making this dessert a healthier choice.
- Berry Bliss: The combination of mixed berries brings vibrant color, flavor, and antioxidants to this delightful treat.
- Quick and Easy: With just a 15-minute prep time, this mousse is a simple yet impressive dessert option that anyone can whip up!
Ingredients
List of Ingredients
- 1 cup heavy whipping cream
- 1 cup plain, unsweetened Greek yogurt
- 1 teaspoon pure vanilla extract
- 1 tablespoon sugar-free sweetener (such as stevia or monk fruit)
- 1 cup mixed berries (fresh or frozen, including strawberries, blueberries, and raspberries)
- A pinch of salt
- Fresh mint leaves for garnish
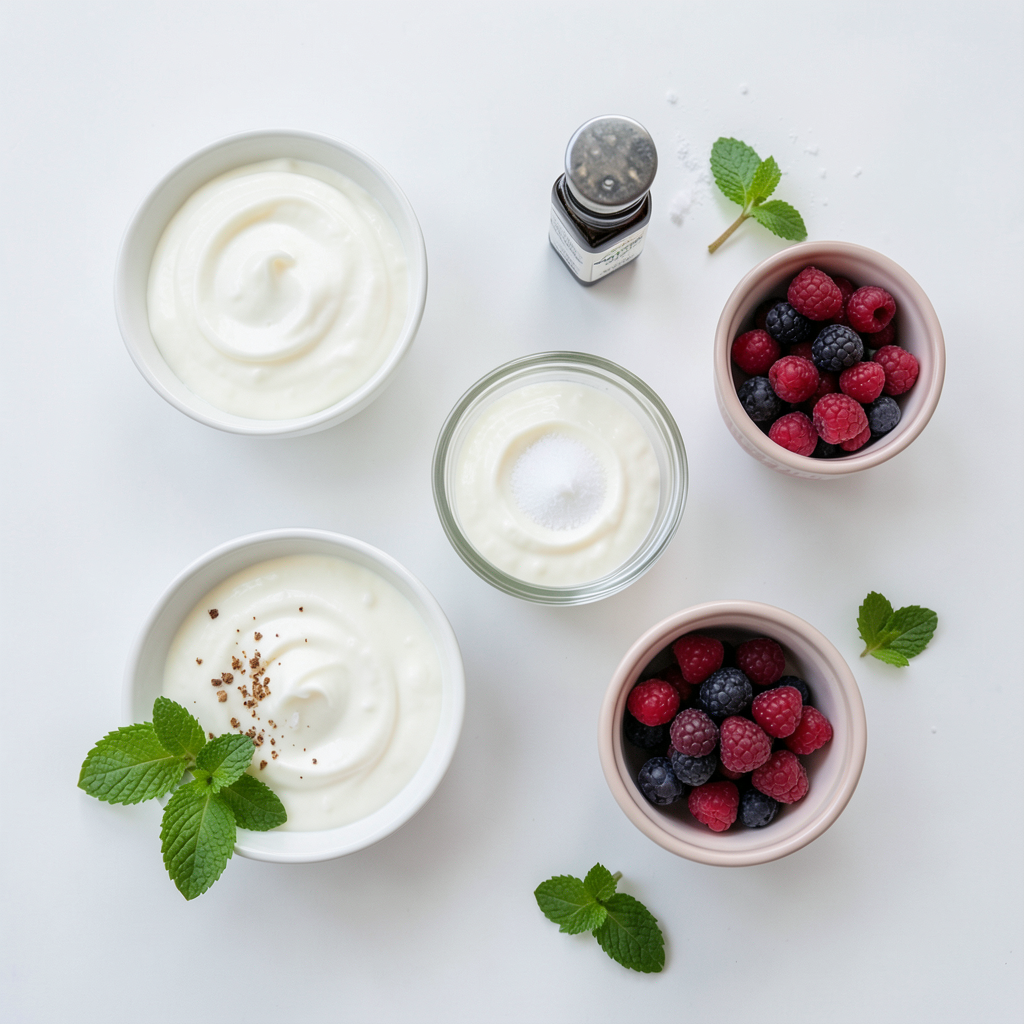
You will need a mix of rich and tangy flavors. The heavy whipping cream gives the mousse its creamy texture. Greek yogurt adds a nice tang. The pure vanilla extract brings warmth and sweetness. For sweetness, I love using sugar-free options like stevia or monk fruit.
Mixed berries are the star here. You can choose strawberries, blueberries, or raspberries. Each berry adds a unique taste. A small pinch of salt helps enhance all the flavors without being too salty. Lastly, fresh mint leaves make a great garnish. They add color and a hint of freshness.
Gather these ingredients, and you are all set for a delightful treat.
Step-by-Step Instructions
Cream Preparation
Start by pouring 1 cup of heavy whipping cream into a mixing bowl. Use an electric mixer on high speed. Beat the cream until you see stiff peaks. This usually takes about 3-5 minutes. Stiff peaks are key for a fluffy mousse.
Mixing the Base
In another bowl, combine 1 cup of plain, unsweetened Greek yogurt with 1 teaspoon of pure vanilla extract. Add 1 tablespoon of your favorite sugar-free sweetener and a pinch of salt. Stir everything well until the mixture is smooth and creamy. This step ensures a rich flavor.
Folding and Incorporating
Now, gently fold the whipped cream into the yogurt mixture. Use a spatula for this. Be careful to keep the airy texture of the whipped cream. A gentle folding motion is important. Overmixing can deflate your mousse.
Berry Integration
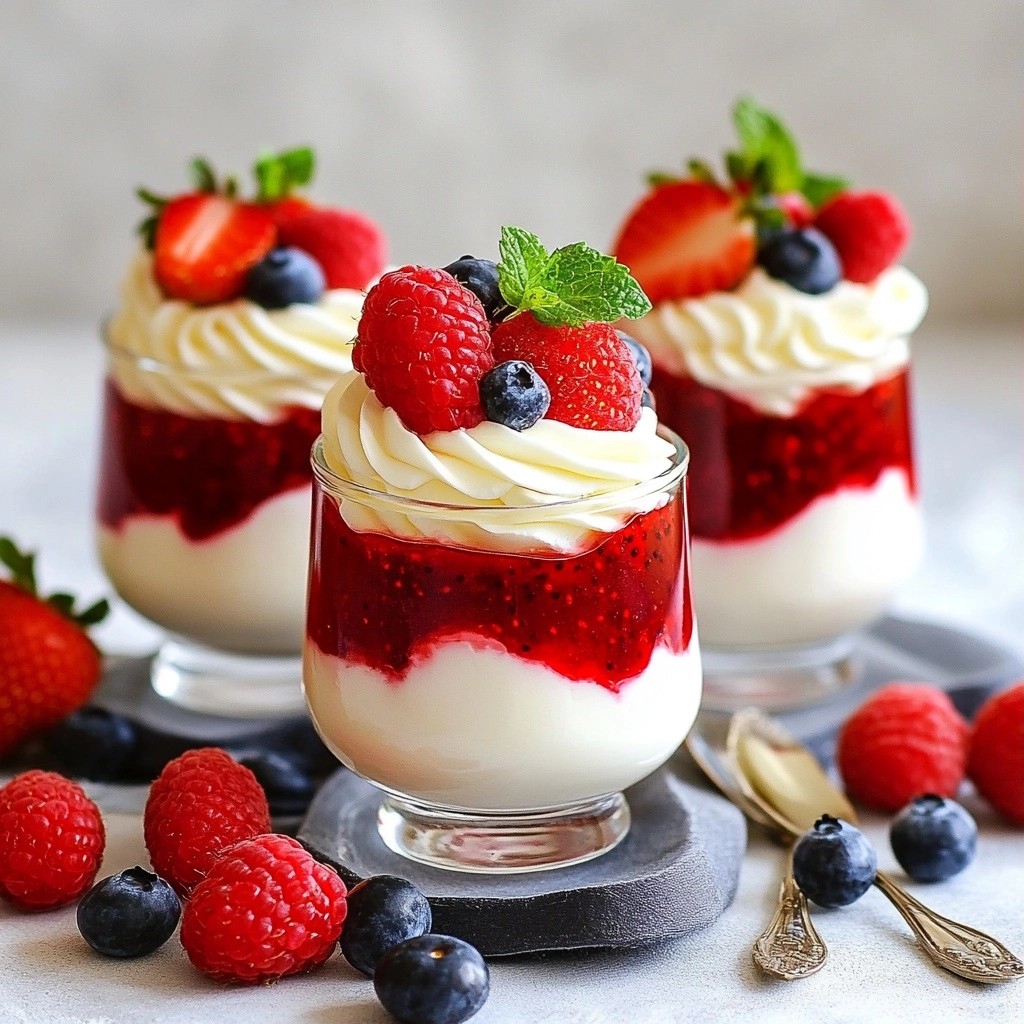
Take half of the mixed berries and puree them in a blender. You can use strawberries, blueberries, or raspberries. Blend until smooth. Slowly pour the berry puree into the mousse mixture. Carefully swirl it around. This creates beautiful marbled patterns. Don't overmix; you want to keep the berry flavor distinct.
Serving and Chilling
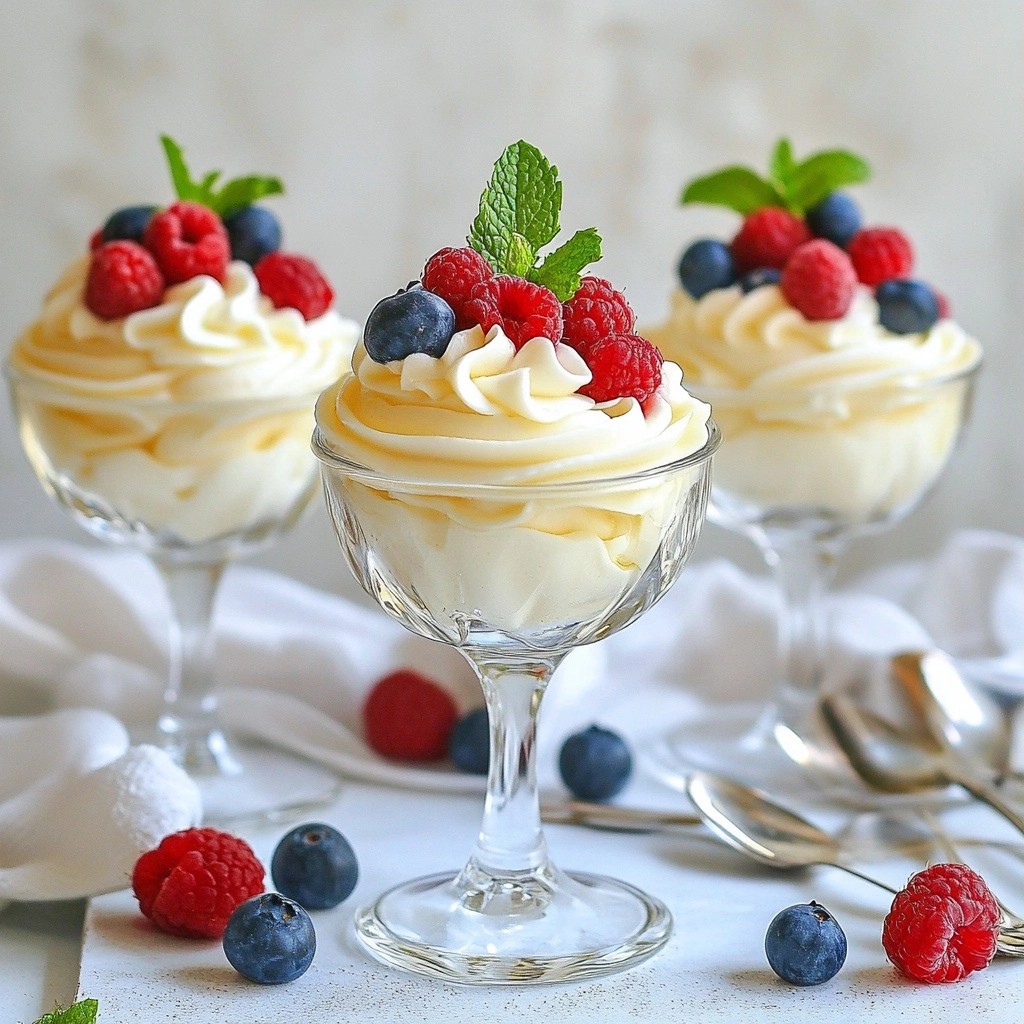
Spoon the mousse into serving glasses, filling them about three-quarters full. Top each glass with the rest of the mixed berries. Cover the glasses with plastic wrap. Chill the mousse in the fridge for at least 30 minutes. This helps the flavors blend and the mousse set.
Tips & Tricks
Perfecting the Texture
To get the best mousse, whipped cream is key. Whip the cream until it forms stiff peaks. This makes the mousse light and fluffy. When you fold in the whipped cream, use a spatula. Be gentle to keep the air in. This step ensures a creamy texture without deflation.
Flavor Enhancements
You can spice up the mousse by adding some cinnamon or nutmeg. A few drops of almond or coconut extract give nice twists. For sweetness, taste and adjust as needed. Add more sweetener if you like it sweeter. Just remember, the berries bring their own natural sweetness too.
Presentation Suggestions
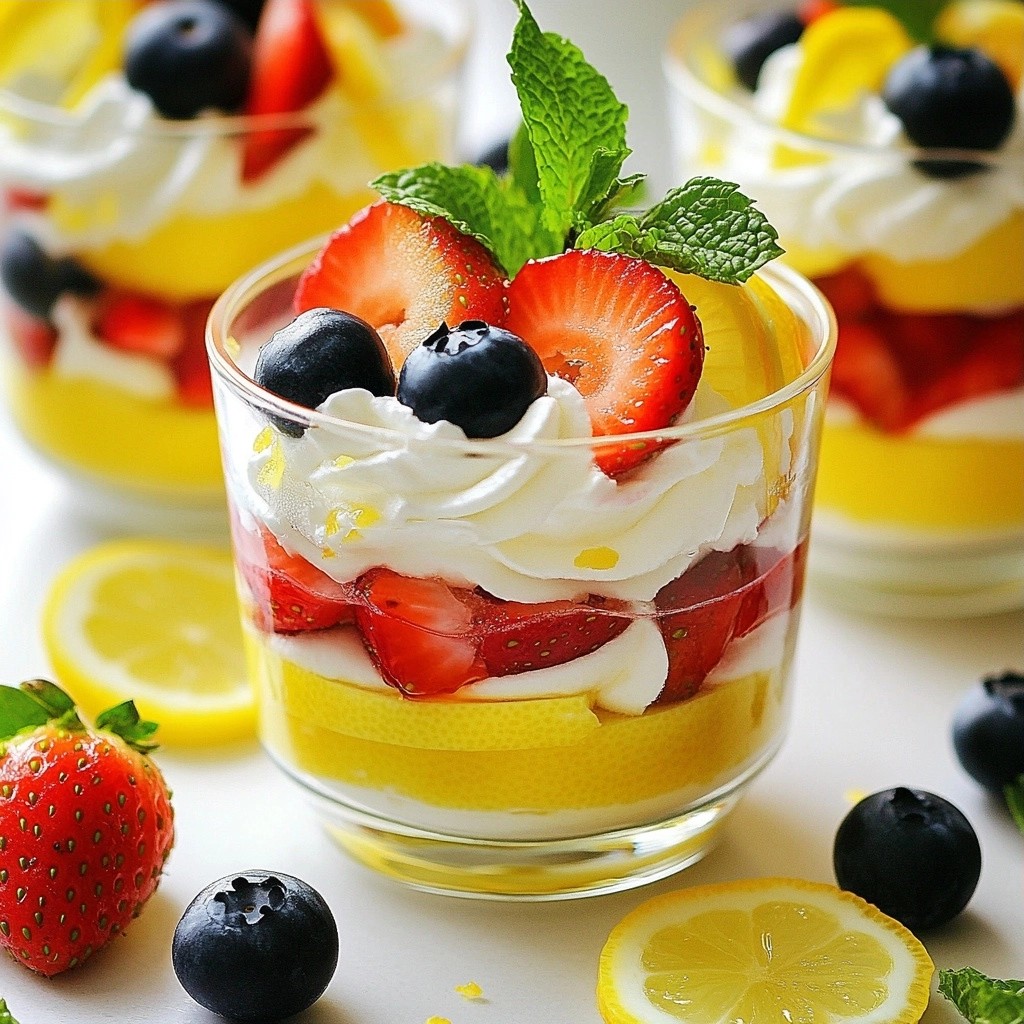
Clear glassware works best for serving. It shows off the beautiful layers. For extra flair, garnish with mint leaves. You can also add a berry compote on top for color. A few whole berries on top make it eye-catching and delicious.
Pro Tips
- Whipping Cream Tips: Make sure your mixing bowl and beaters are cold; this helps the cream whip up faster and achieve stiff peaks more easily.
- Choosing Sweetener: Different sugar-free sweeteners can have various levels of sweetness. Adjust the amount according to your taste preference.
- Berry Selection: Use a mix of fresh and frozen berries for a delightful texture contrast; frozen berries can create a lovely chill in the mousse.
- Garnishing Tips: For an elegant presentation, use a mint leaf that has been rinsed and dried; it will add a fresh aroma and enhance the visual appeal.
Variations
Flavor Alternatives
You can change the taste of this mousse easily. Using different sweeteners can alter its flavor. Some options include erythritol, monk fruit, or even agave for a more natural touch. Each sweetener brings a unique taste.
You can also explore other fruit combinations. Try mango, peach, or even banana. These fruits blend well and add new flavors. You can adjust the berry blend to suit your taste. Mixing fruits can create a fun twist.
Dietary Modifications
If you seek dairy-free options, swap heavy cream and yogurt for coconut cream and almond yogurt. This change gives a creamy texture without dairy. You still get that rich flavor and delightful mousse feel.
For low-fat versions, you can use reduced-fat yogurt. This simple swap cuts calories but keeps taste. You still enjoy a rich mousse without the guilt.
Serve Temperature Options
You can serve this mousse straight from the fridge for a cool treat. The chilled mousse is refreshing. It helps the flavors combine better.
Alternatively, serving at room temperature allows for a softer texture. This change can make it easier to eat. You can also incorporate it into other desserts, like a layered cake or parfait. It adds creaminess and flavor to any dessert.
Storage Info
Storing Leftovers
To keep your mousse fresh, use airtight containers. Glass containers work best, but plastic ones are fine too. Make sure to cover the mousse tightly. In the fridge, it lasts for 3 to 5 days. After that, the texture may change.
Freezing Possibilities
You can freeze the mousse, but it may lose some creaminess. Spoon it into freezer-safe containers. Leave room for expansion. It can stay frozen for up to one month. When you want to enjoy it, move the mousse to the fridge. Let it thaw overnight. For best quality, stir it gently before serving.
FAQs
Can I make this mousse ahead of time?
Yes, you can make this mousse up to two days in advance. Just follow the recipe and chill it. The flavors will deepen, making it even more delicious. Store it covered in the fridge until you are ready to serve.
How can I make this recipe dairy-free?
To make this mousse dairy-free, use coconut cream instead of heavy cream. You can also replace Greek yogurt with dairy-free yogurt. Look for unsweetened options for the best flavor.
What can I substitute for the sugar-free sweetener?
You can use honey or maple syrup if you want a natural sweetener. Just keep in mind this will add some sugar. Adjust the amount to taste since these sweeteners are not sugar-free.
How do I know if the whipped cream is overbeaten?
If the whipped cream looks grainy or starts to turn into butter, it is overbeaten. Perfect whipped cream should hold stiff peaks and be creamy and smooth.
Are there any additional toppings I can use?
Yes! You can use chopped nuts, shredded coconut, or dark chocolate shavings. Fresh fruit, like sliced bananas or kiwi, also adds a nice touch.
This blog post covered a simple berry mousse recipe, from ingredients to serving tips. You learned about key ingredients like heavy cream, yogurt, and mixed berries. The step-by-step guide helps you create a light, airy dessert. Remember to avoid overbeating the cream and explore flavor variations. This mousse is tasty, versatile, and can fit various dietary needs. Enjoy making it ahead or storing leftovers. With the right techniques, you’ll impress everyone with your dessert skills. Now, grab those ingredients and start creating your berry mousse masterpiece!