Are you craving a rich dessert without the sugar? I’ve got just the treat for you: Gooey Sugar-Free Chocolate Lava Cakes! These easy delights melt in your mouth and satisfy your sweet tooth guilt-free. With simple ingredients and fun variations, I’ll guide you through each step to achieve that perfect molten center. Let’s dive into the world of indulgence without the added sugar!
Why I Love This Recipe
- Healthy Indulgence: This recipe allows you to enjoy a rich chocolate dessert without the added sugar, making it a guilt-free treat.
- Quick and Easy: With a prep time of just 10 minutes, you can whip up these lava cakes in no time, perfect for unexpected guests or cravings.
- Customizable: You can easily adapt the recipe by adding your favorite mix-ins, like nuts or different flavor extracts, to make it your own.
- Decadent Presentation: The molten center and optional toppings make for an impressive dessert that tastes as good as it looks.
Ingredients
Main Ingredients List
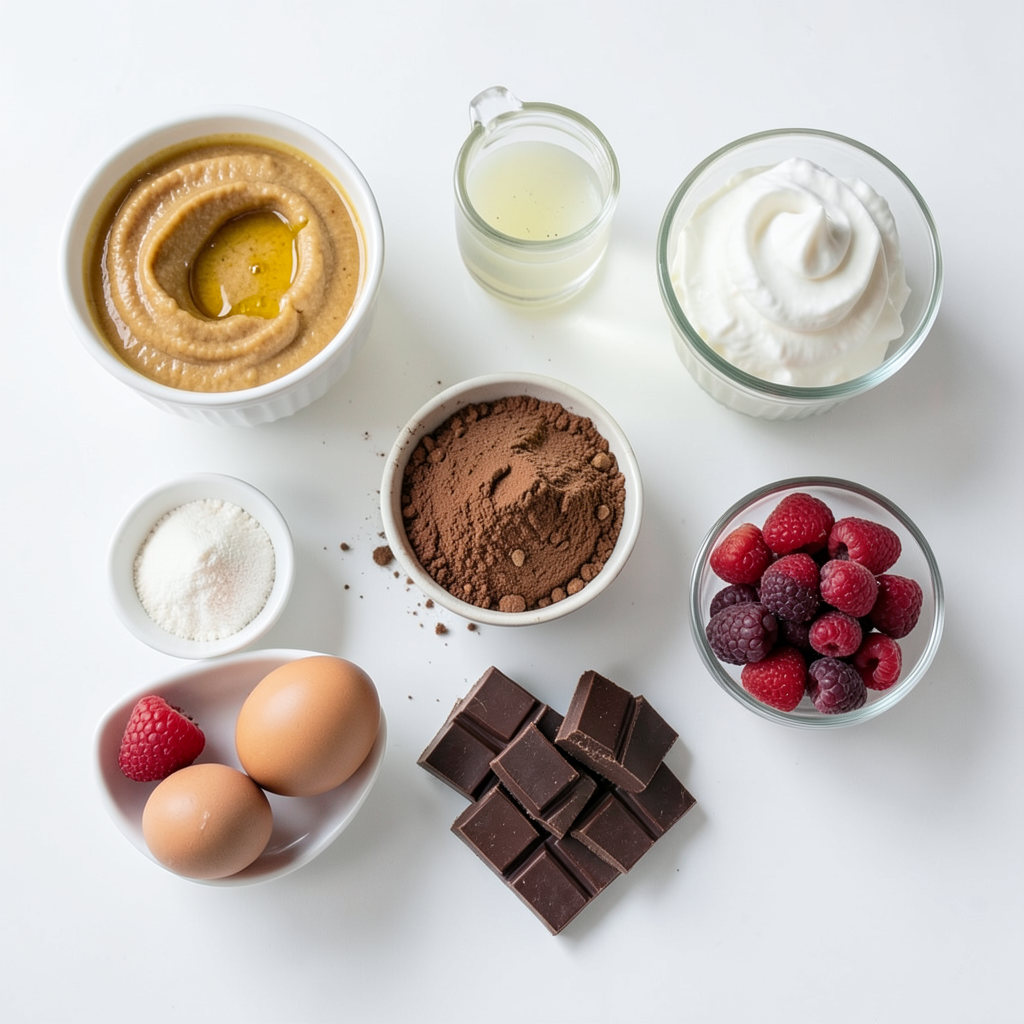
- 1 cup unsweetened applesauce
- 1/4 cup coconut oil, melted
- 1/4 cup unsweetened cocoa powder
- 1/4 cup granulated erythritol (or your preferred sugar substitute)
- 2 large eggs
- 1 teaspoon vanilla extract
- 1/2 teaspoon baking powder
- A pinch of salt
- 4 ounces sugar-free dark chocolate, finely chopped
These ingredients create a rich and gooey cake. The applesauce gives moisture and sweetness. Coconut oil adds a nice touch. Cocoa powder and dark chocolate give deep flavor. Erythritol keeps it sugar-free.
Optional Toppings
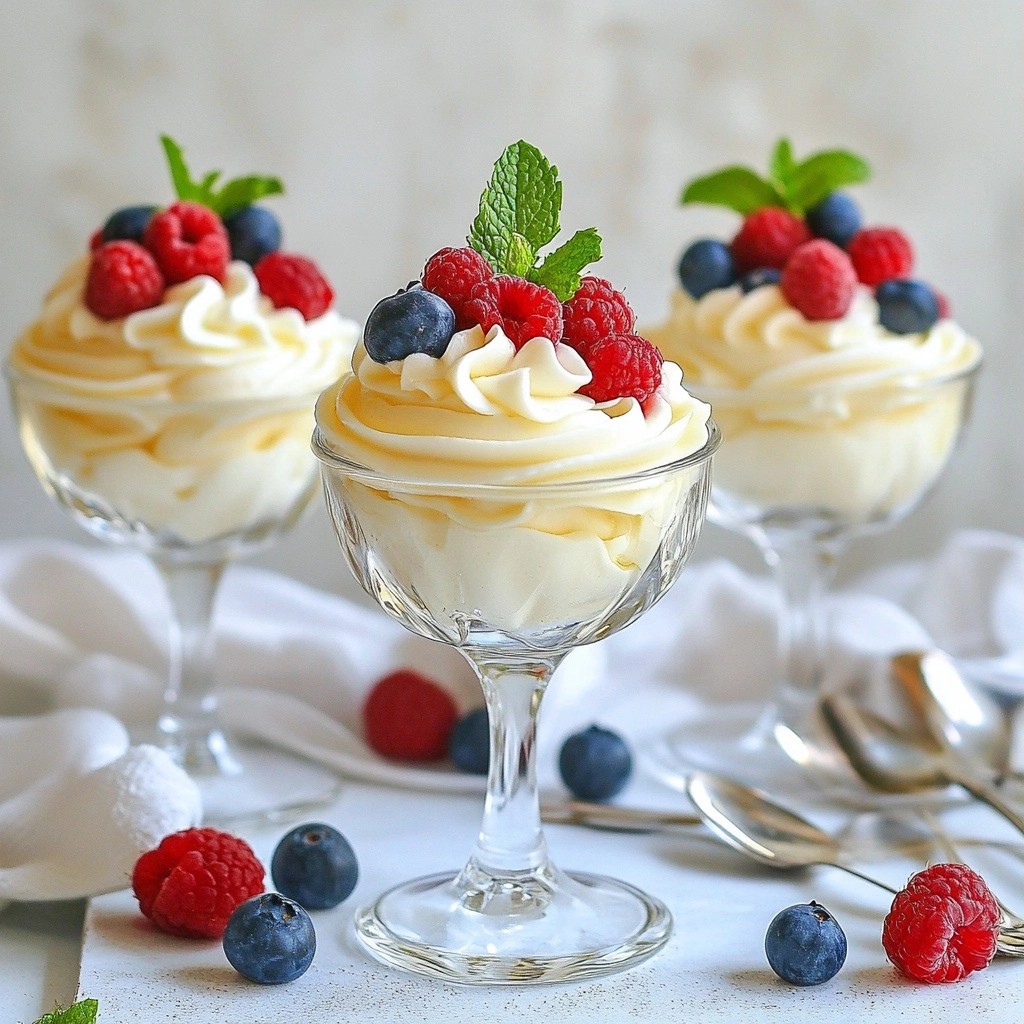
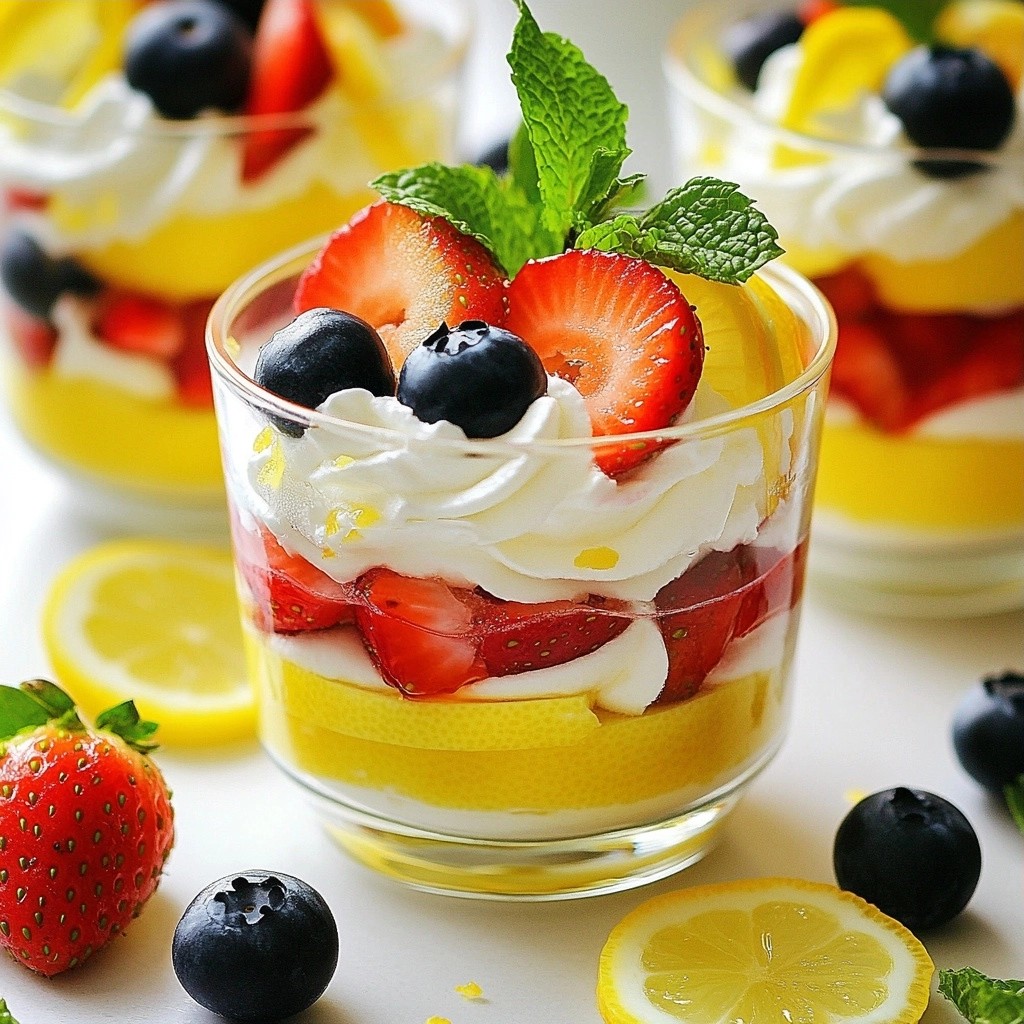
- Fresh berries
- Sugar-free whipped cream
Toppings can add freshness and color. Berries pair well with chocolate. Whipped cream adds creaminess. Feel free to mix and match!
Substitutions for Dietary Preferences
- Use apple puree for unsweetened applesauce.
- Swap coconut oil with butter for a different flavor.
- Choose any sugar substitute that fits your needs.
These swaps can help meet any dietary needs. Check labels if you have allergies. Cooking should be fun and fit your lifestyle!
Step-by-Step Instructions
Preheat and Prepare Ramekins
Start by preheating your oven to 350°F (175°C). While the oven heats, grease four ramekins with melted coconut oil. You can also use non-stick spray. This helps the cakes come out easily.
Mix Wet Ingredients
In a medium bowl, combine 1 cup of unsweetened applesauce, 1/4 cup of melted coconut oil, and 1/4 cup of granulated erythritol. Whisk until the mixture is smooth and free of lumps. This step is key to a good batter.
Incorporate Eggs and Flavorings
Add two large eggs, one at a time, mixing well after each addition. Next, stir in 1 teaspoon of vanilla extract. This adds a lovely flavor to your cakes.
Add and Fold in Dry Ingredients
Sift in 1/4 cup of unsweetened cocoa powder, 1/2 teaspoon of baking powder, and a pinch of salt. Gently fold these dry ingredients into your wet mix. Be careful not to overmix, as this can make the cakes tough.
Fill Ramekins and Bake
Now, divide the batter evenly among the four ramekins. Fill each about three-quarters full. This gives room for the cakes to rise. Place the ramekins on a baking tray and bake for 12-15 minutes. The edges should set, but the centers will stay soft.
Cool, Invert, and Serve
After baking, let the ramekins cool for 1-2 minutes. Carefully invert each ramekin onto a plate. Watch the lava cake slide out. Allow it to rest for a moment so the gooey center flows out. Serve warm and enjoy!
Tips & Tricks
Achieving the Perfect Gooey Center
To get the perfect gooey center, time is key. Bake the cakes for no more than 12 to 15 minutes. The edges should be firm, but the center must look soft. It may be helpful to watch them closely in the last few minutes. If they look too set, remove them right away.
Best Baking Practices
Always preheat your oven to 350°F (175°C) before you start. This helps the cakes rise evenly. Greasing the ramekins is also a must. Use melted coconut oil or non-stick spray to avoid sticking. Make sure to fill the ramekins about three-quarters full. This allows room for the cakes to expand.
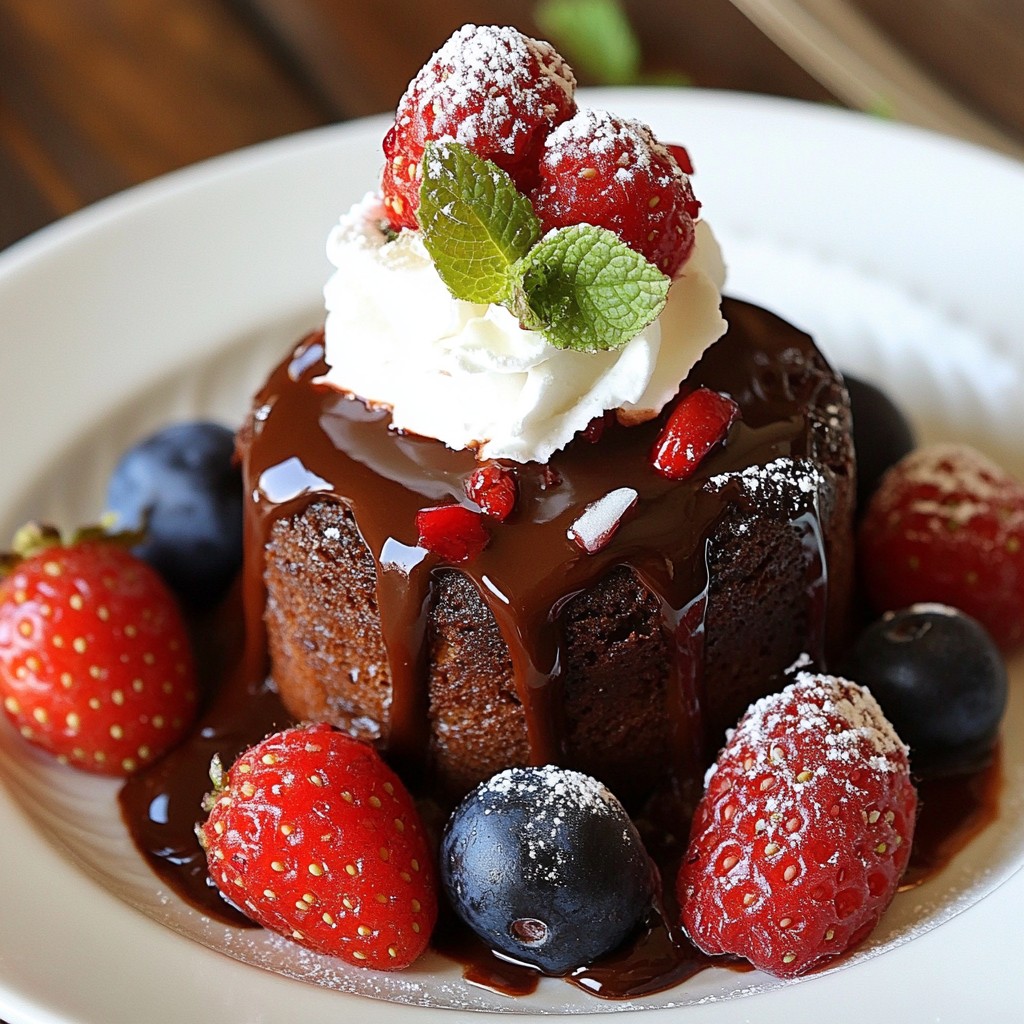
Serving Suggestions
Serve the lava cakes warm for the best taste. Top with fresh berries for color and flavor. Sugar-free whipped cream adds a nice touch too. You can dust cocoa powder on top for extra flair. A sprig of mint can bring a fresh pop and enhance the look. Enjoy your dessert with a friend or family for double the fun!
Pro Tips
- Perfectly Measure Ingredients: Use a kitchen scale for precise measurements, especially for the cocoa powder and dark chocolate, to ensure consistent results.
- Control the Gooeyness: Adjust baking time according to your preference; for a more molten center, bake for the shorter time, around 12 minutes.
- Experiment with Flavors: Add a pinch of espresso powder to the batter to enhance the chocolate flavor without adding sugar.
- Let Them Rest: Allow the lava cakes to sit for a minute after baking before inverting to ensure the gooey center flows out perfectly.
Variations
Chocolate Lava Cakes with Different Flavors
You can change the flavor of your lava cakes in fun ways. Try adding a bit of espresso powder or a few drops of peppermint extract. For a fruity twist, mix in some orange zest or raspberry puree. Each change gives a unique taste that keeps things exciting. You can even use flavored sugar-free chocolate. This will make the chocolate lava cakes pop with flavor!
Vegan Adaptation
If you want to make these cakes vegan, it's easy! Replace the eggs with flax eggs. To make a flax egg, mix one tablespoon of ground flaxseed with two and a half tablespoons of water. Let it sit for five minutes to thicken. You can also use plant-based yogurt instead of applesauce. This keeps the cakes moist and delicious. With these swaps, everyone can enjoy a gooey treat!
Nut-Free Options
For those with nut allergies, this recipe is still safe. Use coconut oil instead of any nut-based oils. You can also check your chocolate to make sure it is nut-free. If you want to add creaminess, try using oat-based whipped cream. This way, everyone can enjoy the rich chocolate flavor without worry. Enjoy your nut-free lava cakes!
Storage Info
How to Store Leftovers
After your lava cakes cool, store them in an airtight container. This keeps them fresh. They can last up to three days in the fridge. Place a piece of parchment paper between layers to avoid sticking.
Freezing Instructions
To freeze your lava cakes, first cool them completely. Wrap each cake tightly in plastic wrap. Then, place them in a freezer-safe bag. They can stay good for up to three months. When you are ready to enjoy them, just thaw them in the fridge overnight.
Reheating Tips
To reheat, preheat your oven to 350°F (175°C). Place the cake on a baking tray. Warm for about 10 minutes. Keep an eye on them so they don’t overbake. You want that gooey center to stay soft. Enjoy your warm, delicious treat!
FAQs
Can I use regular sugar instead of erythritol?
Yes, you can use regular sugar. It will change the sugar-free aspect. Use the same amount as erythritol. However, erythritol has zero calories, making it a better choice for many.
What can I serve with sugar-free chocolate lava cakes?
You can serve these cakes with fresh berries. They pair well with sugar-free whipped cream too. A sprinkle of cocoa powder can add a nice touch. Mint leaves can brighten the plate and taste.
How do I know when the lava cakes are done?
Look for the outer edges to be set. The center should still look soft and gooey. A good bake time is 12-15 minutes at 350°F (175°C).
Can I make these in advance?
Yes, you can prepare the batter in advance. Store it in the fridge for up to a day. Just bake them fresh when you are ready to enjoy!
You learned how to make delicious chocolate lava cakes. We covered key ingredients, tips, and variations. You can adjust it for your tastes and needs. Whether you want a gooey center or vegan options, there’s a way to do it. Don’t forget about storage and reheating tips to enjoy later. I hope this guide inspires you to bake and share these treats. Happy baking!