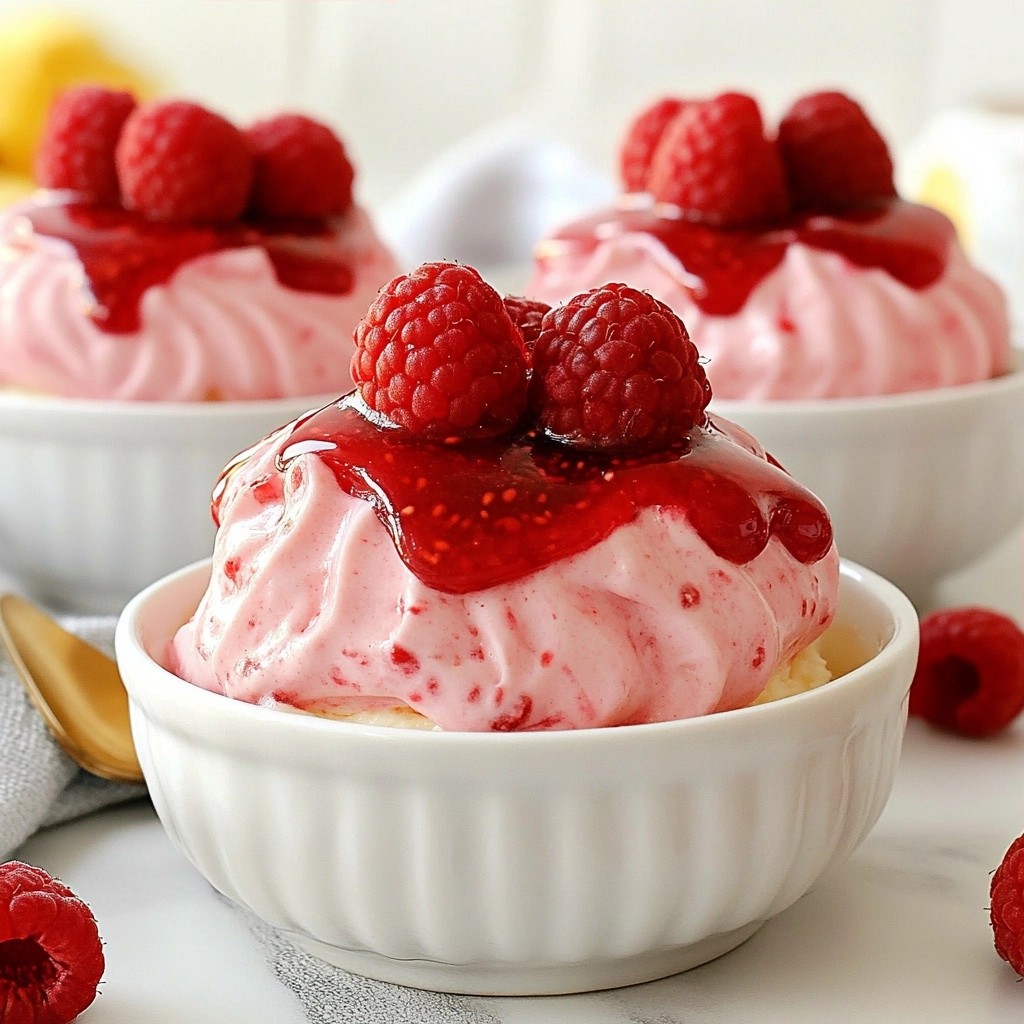
Are you craving a rich and creamy dessert without the guilt? This easy Sugar-Free Raspberry Cheesecake Mousse is perfect for you! With just a few simple ingredients, you can create a delightful treat that satisfies sweet cravings and stays low in sugar. In this article, I’ll walk you through each step, share tips for success, and offer tasty variations to suit your taste. Let’s dive into this delicious dessert!
Why I Love This Recipe
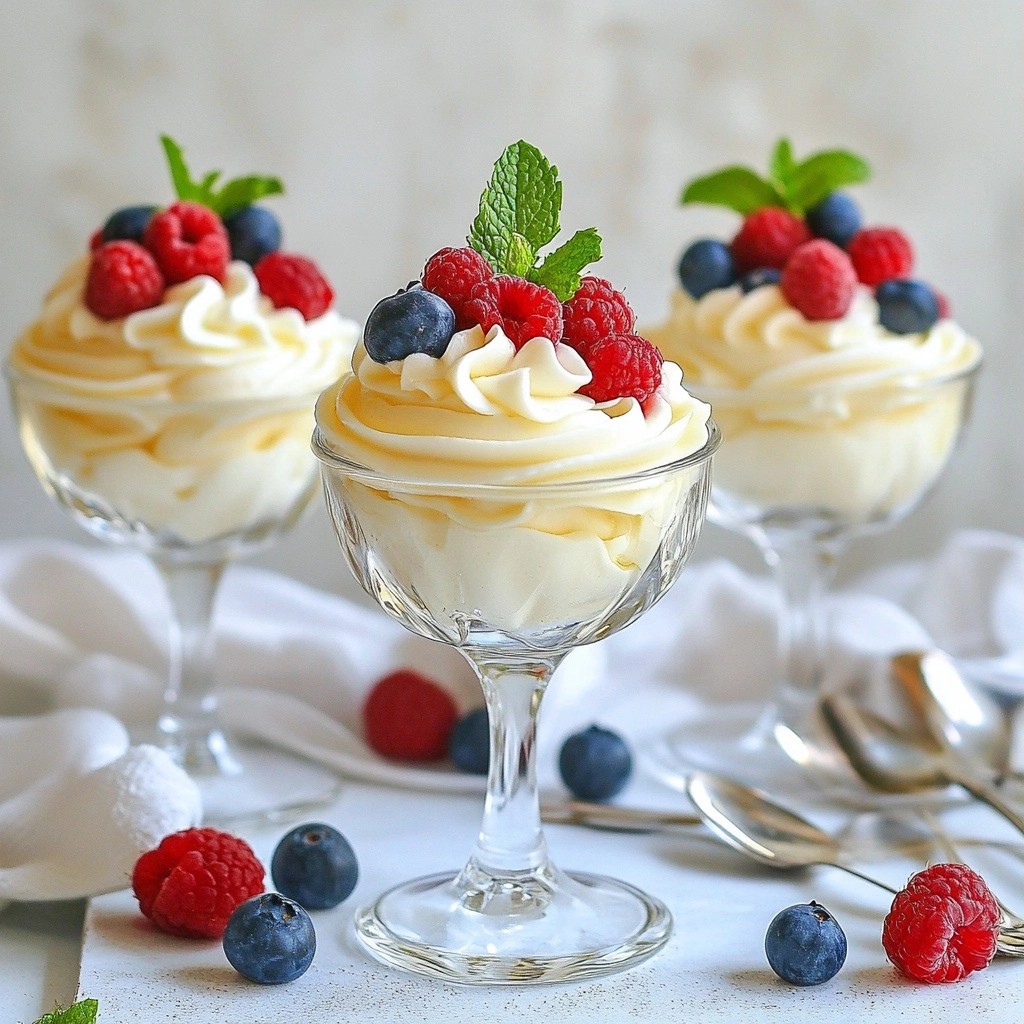
- Deliciously Light: This mousse offers a rich and creamy texture without the guilt, making it a perfect dessert choice for health-conscious individuals.
- Fresh Ingredients: Using fresh raspberries not only enhances the flavor but also provides a beautiful color and nutritional benefits.
- Easy to Make: The simple steps and minimal cooking involved make this dessert accessible for home cooks of all skill levels.
- Customizable: You can easily adjust the sweetness or add different toppings to suit your taste, making it versatile for any occasion.
Ingredients
Essential Ingredients for Sugar-Free Raspberry Cheesecake Mousse
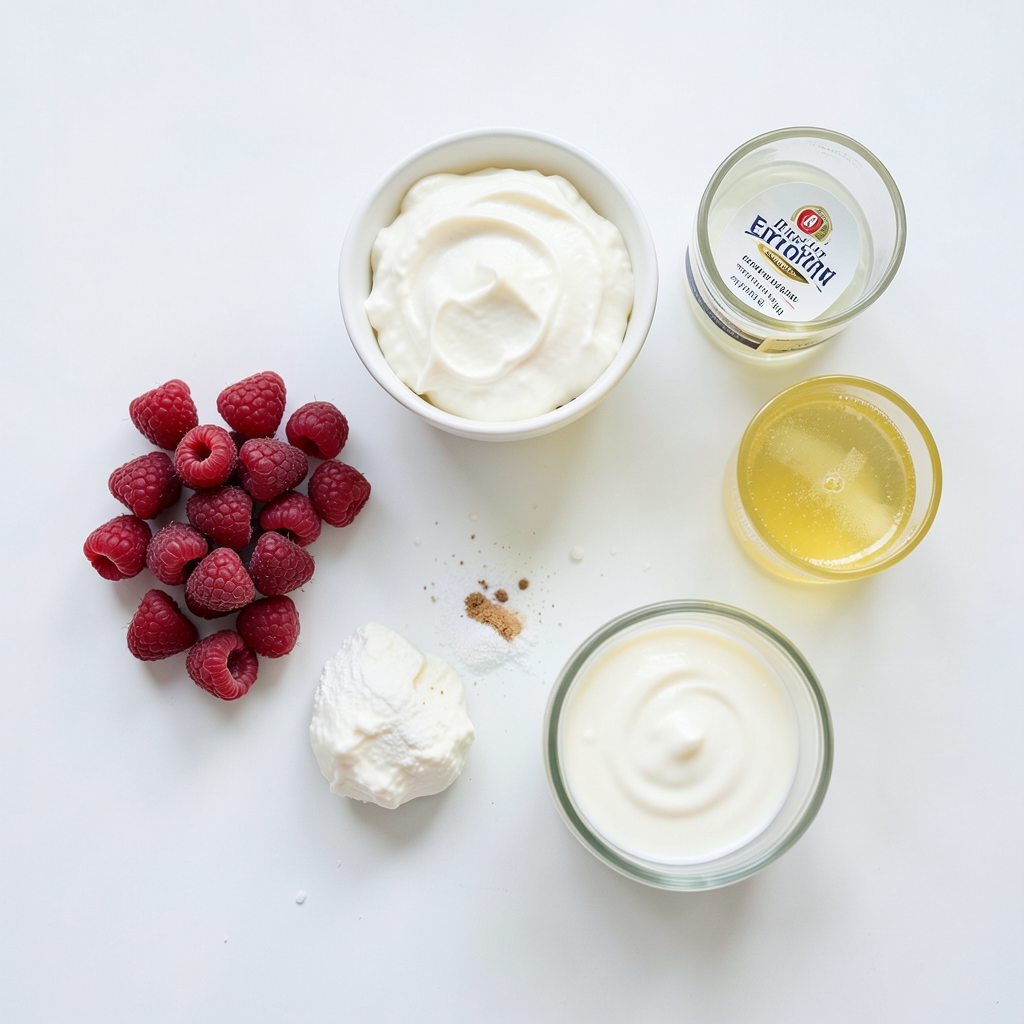
To make a tasty sugar-free raspberry cheesecake mousse, you need a few key ingredients. Here’s the list:
- 1 cup fresh raspberries, plus extra for garnish
- 8 oz (226 g) cream cheese, softened
- 1/2 cup Greek yogurt (plain or vanilla)
- 1/2 cup powdered erythritol or your preferred sugar substitute
- 1 teaspoon pure vanilla extract
- 1/2 teaspoon freshly squeezed lemon juice
- 1/2 cup heavy whipping cream
- Pinch of sea salt
These ingredients work together to create a rich and creamy dessert. The raspberries add a fresh, fruity taste, while the cream cheese and yogurt give it a smooth texture.
Recommended Sugar Substitutes
I recommend using erythritol for this recipe. It is a natural sweetener with no calories and no sugar. Other options include stevia or monk fruit. Each will give you a sweet taste without the sugar. When using these, check the package for the right amount to use. Some sweeteners are sweeter than sugar, so adjust as needed.
Optional Garnishes and Add-Ins
Garnishes can make your mousse look special. Here are some ideas:
- A few fresh raspberries on top
- A drizzle of raspberry puree
- A sprinkle of unsweetened cocoa powder
- Shaved dark chocolate
These add-ons enhance the look and taste of your mousse. You can even mix in some chopped nuts for crunch or a bit of lemon zest for extra zing. Enjoy experimenting with flavors and textures!
Step-by-Step Instructions
Preparing the Fresh Raspberries
Start by measuring 1 cup of fresh raspberries. Place them in a small bowl. Use a fork to mash the berries. Aim for a mostly pureed mix, but keep some small chunks. This adds nice texture. Set the raspberry mixture aside for later.
Mixing the Cream Cheese Base
In a larger mixing bowl, place 8 ounces of softened cream cheese. Beat the cream cheese with an electric mixer at medium speed. Mix until it is smooth and creamy. Make sure there are no lumps. Add in 1/2 cup of Greek yogurt. Then, pour in 1/2 cup of powdered erythritol, 1 teaspoon of pure vanilla extract, and 1/2 teaspoon of lemon juice. Mix everything together until it is well-blended and creamy. Scrape down the sides of the bowl as you go.
Whipping the Heavy Cream
Take a separate bowl and chill it in the fridge. After a few minutes, add 1/2 cup of heavy whipping cream to the bowl. Use an electric mixer to whip the cream on medium-high speed. Watch closely as soft peaks begin to form. Stop mixing when the cream is fluffy and still pourable.
Folding the Ingredients Together
Now it's time to combine the mixtures. Gently fold the whipped cream into the cream cheese mix. Do this in three additions. Use a spatula to carefully mix, keeping the airiness of the mousse. This is key for a light texture.
Chilling the Mousse
Spoon the mousse into individual serving glasses or bowls. Cover them with plastic wrap. Refrigerate for at least 2 hours. This helps the mousse set perfectly and develop its flavors.
Serving Suggestions
When you are ready to serve, take the mousse out of the fridge. Garnish each serving with a few fresh raspberries on top. For a special touch, drizzle some of the reserved raspberry puree over each serving. Enjoy your delightful and creamy mousse!
Tips & Tricks
Achieving the Perfect Mousse Texture
To get the best mousse texture, start with room-temperature cream cheese. This helps it blend smoothly. Whipping the cream until soft peaks form is also key. If you over-whip it, your mousse can become grainy. When folding in the whipped cream, do it gently. This keeps air in the mixture and gives it that light, fluffy feel.
Common Mistakes to Avoid
One common mistake is not mashing the raspberries enough. You want some smoothness but also small chunks for texture. Another mistake is overmixing after adding the raspberries. If you mix too much, you lose the airiness. Lastly, don’t skip chilling the mousse. It needs time to set for the best flavor and texture.
How to Enhance Flavor Without Sugar
To boost flavor without sugar, use fresh lemon juice. It adds brightness and depth. You can also try adding a touch more vanilla extract. For a fun twist, consider a splash of almond extract. This small change can elevate the entire dish. Lastly, fresh herbs like mint can add a unique flavor burst when serving.
Pro Tips
- Use Room Temperature Ingredients: Ensure your cream cheese is softened to room temperature before mixing. This helps create a smoother and creamier mousse without lumps.
- Whip the Cream Properly: When whipping the heavy cream, stop as soon as soft peaks form. Over-whipping can lead to a grainy texture, which you want to avoid for a silky mousse.
- Fold Gently: When combining the whipped cream and raspberry mixture, use a gentle folding motion. This technique preserves the airiness of the mousse, making it light and fluffy.
- Chill for Best Results: Allow the mousse to chill in the refrigerator for at least 2 hours. This not only helps it set but also enhances the flavors, making it even more delicious.
Variations
Flavor Alternatives for Raspberry Cheesecake Mousse
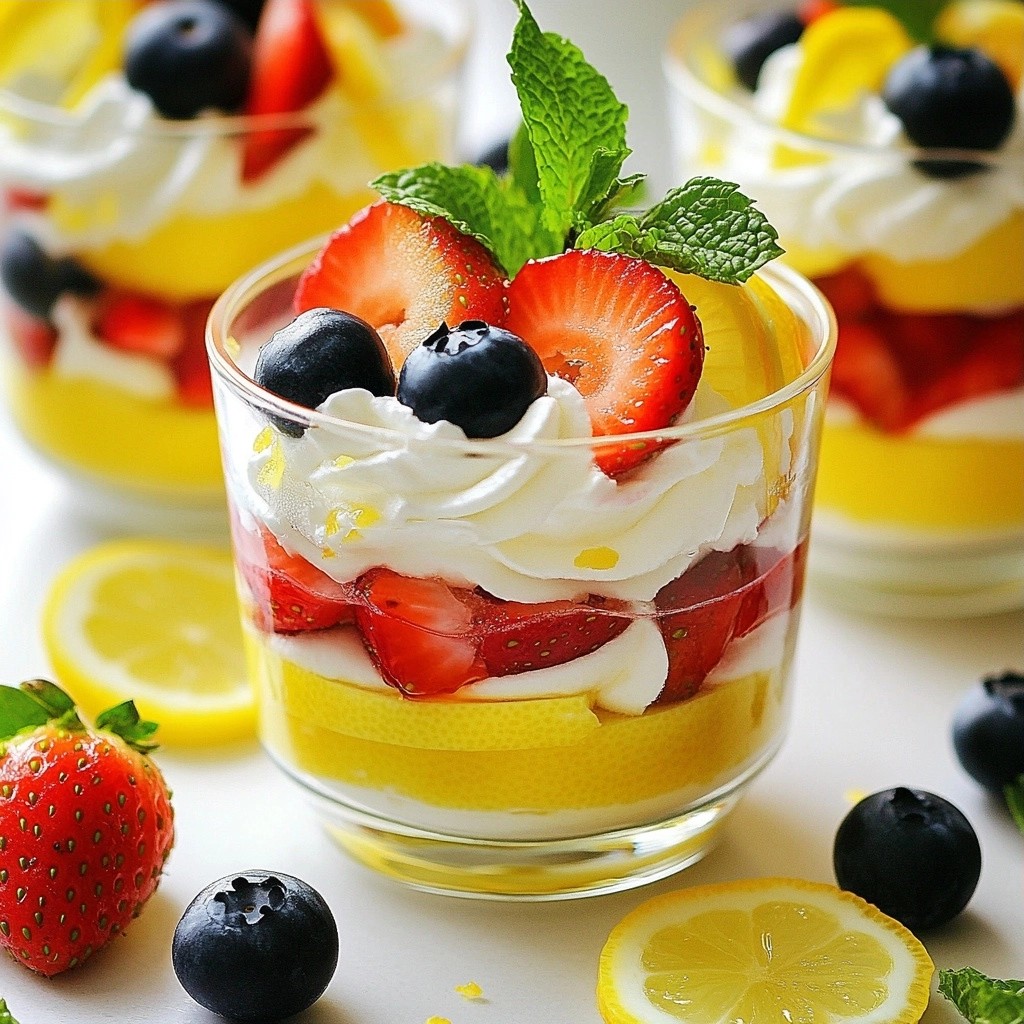
You can switch up flavors in this mousse. Try using strawberries instead of raspberries. Blend fresh strawberries like you do with raspberries. You can also use blueberries for a different twist. Each fruit adds its own taste. This keeps the dessert fresh and fun!
Dairy-Free Version of the Recipe
To make this mousse dairy-free, swap cream cheese with a vegan cream cheese. There are many brands available at stores. Use coconut yogurt instead of Greek yogurt. For the heavy cream, try coconut cream. This keeps the mousse rich and creamy without dairy.
Using Different Types of Sweeteners
You can use different sweeteners based on your taste. If you prefer, try monk fruit sweetener. Stevia is another good option, but use less since it is sweeter. Just remember to check the package for conversion rates. This way, you can enjoy the mousse just how you like it!
Storage Info
Proper Refrigeration Techniques
Store your mousse in the fridge. Use airtight containers to keep it fresh. Make sure it stays covered to prevent it from absorbing other odors. The mousse stays good for up to three days. If you notice any change in texture or smell, it's best to toss it.
Freezing Instructions for Leftovers
You can freeze leftovers for later. Place the mousse in freezer-safe containers. Leave some space at the top since it expands when frozen. It can last for up to two months in the freezer. When you're ready to enjoy it, thaw it in the fridge overnight. The texture may change a bit but should still taste great.
Best Practices for Storing Garnishes
For garnishes, like fresh raspberries, keep them separate. Store them in a cool, dry place. Use a paper towel to absorb moisture. This helps them stay fresh longer. Do not wash them until you're ready to use them. This prevents them from getting mushy. If you have leftover raspberry puree, store it in a jar in the fridge. Use it within a week for the best flavor.
FAQs
Can I use frozen raspberries instead of fresh?
Yes, you can use frozen raspberries. They work well in this recipe. Just thaw them first. Drain any excess juice to avoid a watery mousse. Frozen raspberries may be softer than fresh ones. This can change the mousse's texture slightly.
How can I adjust the sweetness level?
To change the sweetness, add more or less erythritol. Start with a little extra, then taste. You can also try other sugar substitutes. Each one has a different sweetness level. Adjust based on your taste and health needs.
Is this mousse suitable for special diets?
Yes, this mousse is great for many diets. It is sugar-free, low-carb, and gluten-free. If you use dairy-free cream cheese and yogurt, it can be dairy-free too. Always check the labels of your ingredients to be sure.
What is the texture difference if I use a different cream cheese?
Using a different cream cheese can change the mousse's texture. Some types may be creamier or denser. Light or whipped cream cheese will make it lighter. The key is to mix until smooth to keep the mousse fluffy.
How long can I store leftovers in the fridge?
You can store leftovers in the fridge for up to three days. Keep it in an airtight container. If you see any water on top, just stir it before serving. The mousse may lose some airiness but will still taste great.
Can I make this mousse ahead of time?
Yes, you can make this mousse ahead of time. It sets well in the fridge. Prepare it a day before serving for best results. Just cover it well to keep it fresh and tasty.
This blog post covered everything you need for a sugar-free raspberry cheesecake mousse. We explored key ingredients, great substitutes, and tasty garnishes. You learned simple steps to prepare and serve the dessert, along with tips for perfecting texture. Variations suit different diets, and storage info ensures freshness.
Remember, making this treat can be fun and healthy. Enjoy your mousse creation!